Creative Woodworks & crafts 2003-09, страница 42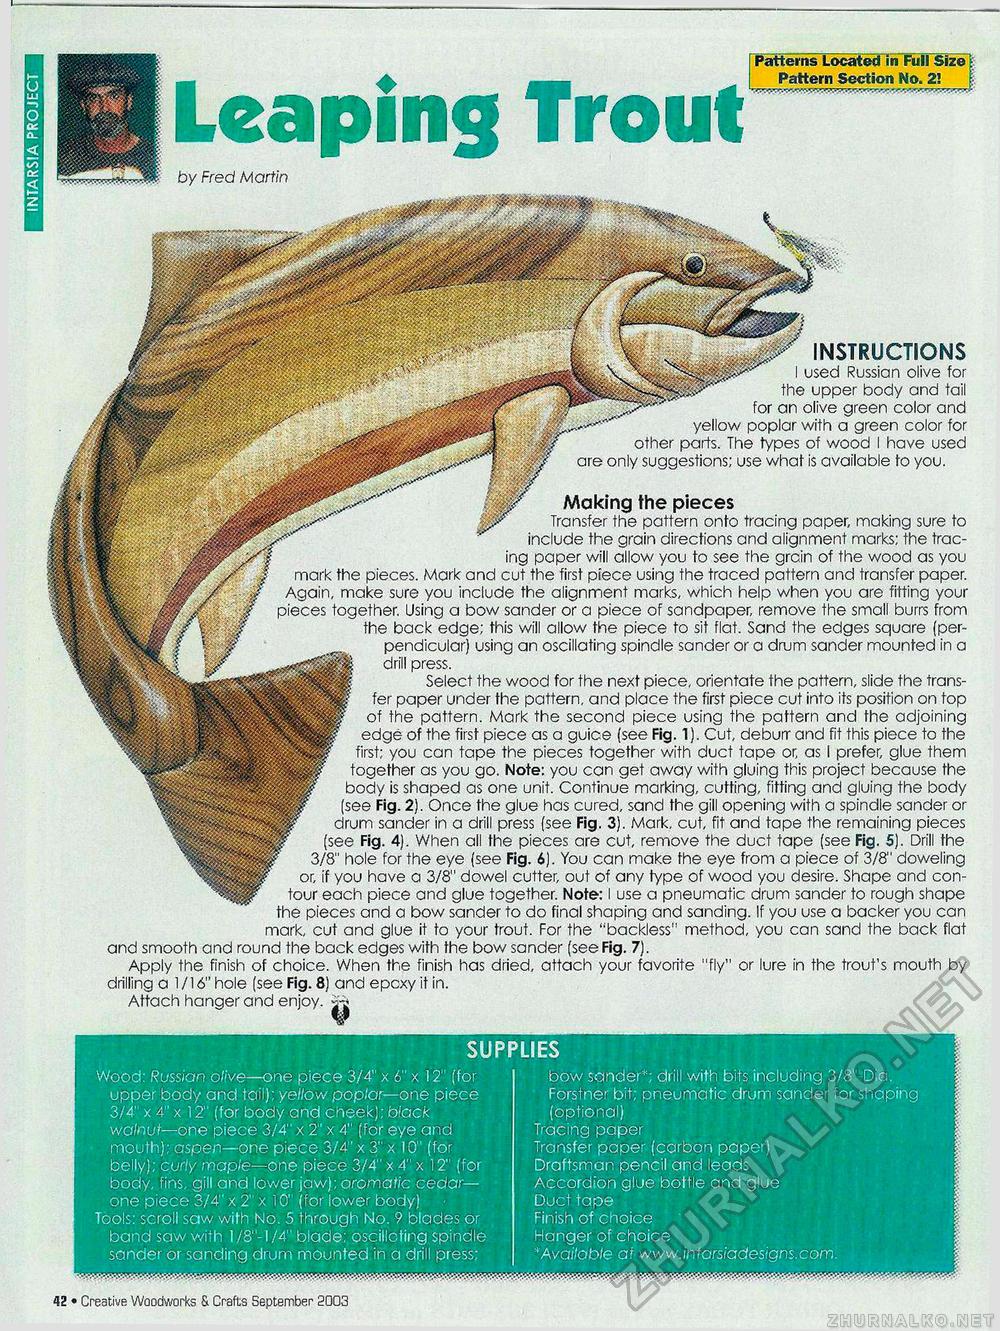
Patterns Located in Full Size PatternSeetion No.2! Leaping Trout — by Fred Martin INSTRUCTIONS I used Russian olive for the upper body and tail for an olive green color and yellow poplar with a green color for other parts. The types of wood I have used are only suggestions; use what is available to you. Making the pieces Transfer the pattern onto tracing paper, making sure to include the grain directions and alignment marks; the tracing paper will allow you to see the groin of the wood as you mark the pieces. Mark and cut the first piece using the traced pattern and transfer paper. Again, make sure you include the alignment marks, which help when you are fitting your pieces together. Using a bow sander or a piece of sandpaper, remove the small burrs from the back edge; this will allow the piece to sit flat. Sand the edges square (perpendicular) using an oscillating spindle sander or a drum sander mounted in a drill press. Select the wood for the next piece, orientate the pattern, slide the transfer paper unCer the pattern, and place the first piece cut into its position on top of the pattern. Mark the second piece using the pattern and the adjoining edge of the first piece as a guice (see Fig. 1). Cut, deburr and fit this piece to the first; you can tape the pieces together with duct tape or, as I prefer, glue them together as you go. Note: you can get away with gluing this project because the body is shaped as one unit. Continue marking, cutting, fitting and gluing the body (see Fig. 2). Once the glue has cured, sand the gill opening with a spindle sander or drum sander in a drill press (see Fig. 3). Mark, cut, fit and tape the remaining pieces (see Fig. 4). When all the pieces are cut, remove the duct tape (see Fig. 5). Drill the 3/8" hole for the eye (see Fig. 6). You can make the eye from a piece of 3/8" doweling or, if you have a 3/8" dowel cutter, out of any type of wood you desire. Shape and contour each piece and glue together. Note: I use a pneumatic drum sander to rough shape the pieces and a bow sander to do final shaping and sanding. If you use a backer you can mark, cut and glue it to your trout. For the "backless" method, you can sand the back flat and smooth and round the back edges with the bow sander (see Fig. 7). Apply the finish of choice. When the finish has dried, attach your favorite "fly" or lure in the trout's mouth by drilling a 1/16" hole (see Fig. 8) and epcxy it in. Attach hanger and enjoy. -j* SUPPLIES Wood: Russian olive—one piece 3/4" x 6" x 12" (for upper body ana tail); yellow poplar— one piece 3/4" x 4" x 12" (for body and cheek); black walnut—one piece 3/4" x 2" x 4" (for eye and mouth); aspen—one piece 3/4" x 3" x 10" (for belly); curly maple—one piece 3/4" x 4" x 12" (for body, fins, gill and lower jaw); aromatic cedar— one piece 3/4" x 2" x 10" (for lower body) Tools: scroll saw with No. 5 through No. 9 blades or band saw with 1/8"-1/4" blade; oscillcting spindle sander or sanding drum mounted in a drill press; bow sander*; drill with bits including 3/8"-Dia. Forstner bit; pneumatic drum sander for shaping (optional) Tracing paper Transfer paper (carbon paper) Draftsman pencil and leads Accordion glue bottle and glue Duct tape Finish of choice Hanger of choice *Available at www.intarsiadesigns.com. 42 • Creative Woodworks & Crafts September 2003 the bottom supports. shelf supports. |


