Creative Woodworks & crafts 2003-11, страница 56
SUPPLIES Wood: inlay stripping—six pieces 1 /4" x 36"* Tools: table saw; router with 1/2" and 1/4" roundover bits, 30° chamfer bit, 1/4" and 1/2" straight bits and 5/8" o.d. template guide bushing; scroll saw; sander; compass; air nailer with small nails Two-sidec tape Epoxy White or yellow glue 12 oz. of Envirotex*" Sandpaper Finish of choice Spray sealer of choice * Available from Inlay Product World, (610-566-8660) www.inlays.com. **Available from Alpine Imports, (800-654-6114) www.alpineimport.com.
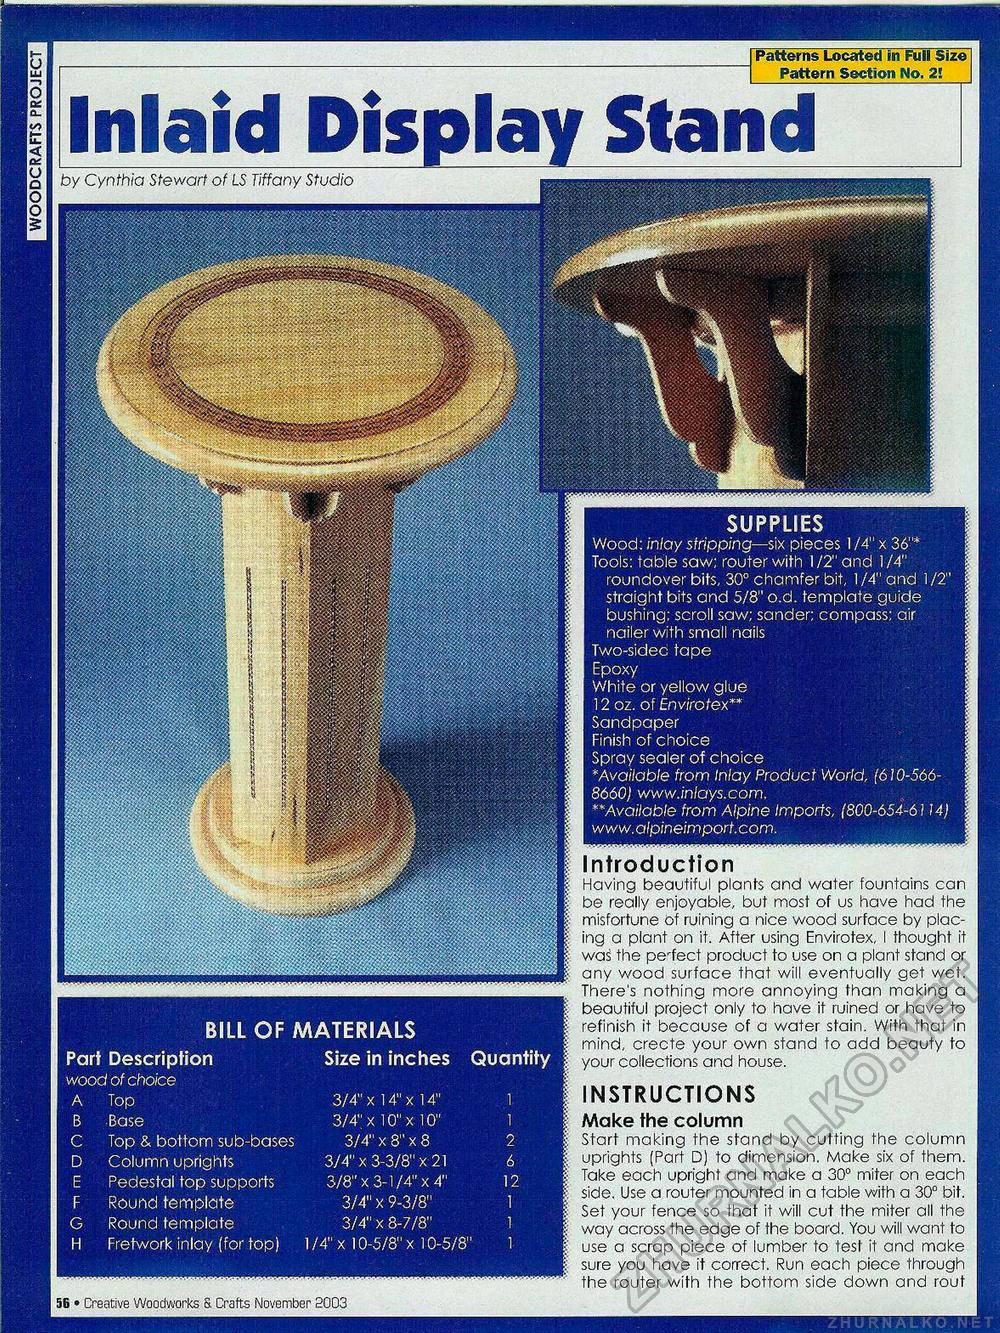
56 • Creative Woodworks 8. Crafts November 2003 Introduction Having beautiful plants ana water fountains can be really enjoyable, but most of us have had the misfortune of ruining a nice wood surface by placing a plant on it. After using Envirotex, I thought it was the pe'fect product to use on a plant stand or any wood surface that will eventually get wet. There's nothing more annoying than making a beautiful project only to have it ruined or have to refinish it because of a water stain. With that in mind, crecte your own stand to add beauty to your collections and house. INSTRUCTIONS Make the column Start making the stand by cutting the column uprights (Part D) to dimension. Make six of them. Take each upright and make a 30° miter on each side. Use a router mounted in a table with a 30° bit. Set your fence so that it will cut the miter all the way across the edge of the board. You will want to use a scrap piece of lumber to test it and make sure you have it correct. Run each piece through the router with the bottom side down and rout Patterns Located in Full Size Pattern Section No. 2! Inlaid Display Standby Cynthia Stewart of LS Tiffany Studio |
|||||||||||||||||||||||||||||||||


