Creative Woodworks & crafts 2004-08, страница 60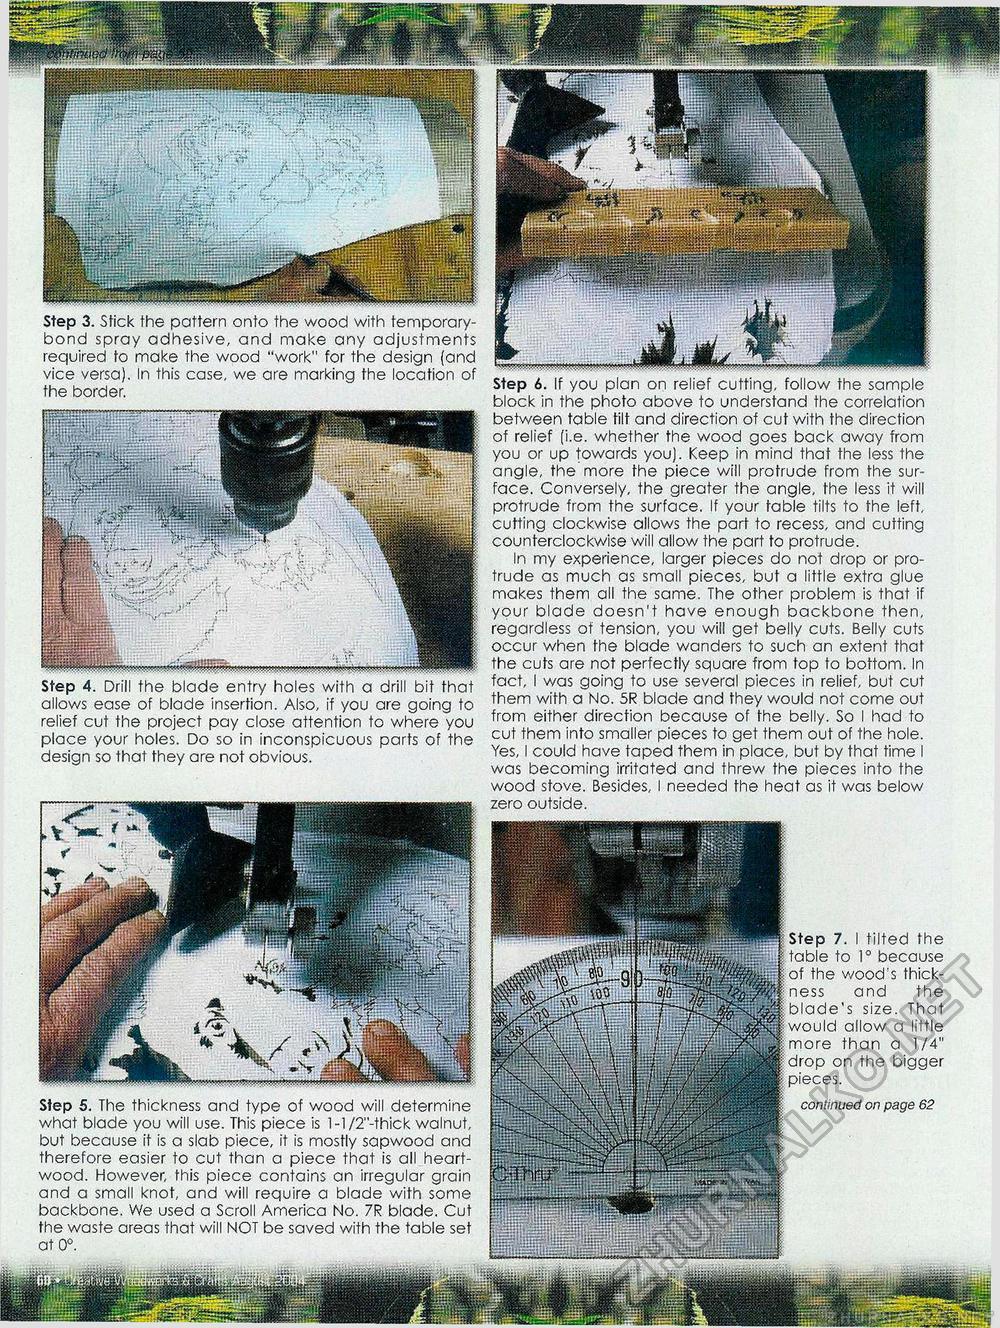
Step 3. Stick the pattern onto the wood with temporary-bond spray adhesive, and make any adjustments required to make the wood "work" for the design (and vice versa). In this case, we are marking the location of the border. Step 4. Drill the blade entry holes with a drill bit that allows ease of blade insertion. Also, if you are going to relief cut the project pay close attention to where you place your holes. Do so in inconspicuous parts of the design so that they are not obvious. Step 6. If you plan on relief cutting, follow the sample block in the photo above to understand the correlation between table tilt and direction of cut with the direction of relief (i.e. whether the wood goes back away from you or up towards you). Keep in mind that the less the angle, the more the piece will protrude from the surface. Conversely, the greater the angle, the less it will protrude from the surface. If your table tilts to the left, cutting clockwise allows the part to recess, and cutting counterclockwise will allow the part to protrude. In my experience, larger pieces do not drop or protrude as much as small pieces, but a little extra glue makes them all the same. The other problem is that if your blade doesn't have enough backbone then, regardless of tension, you will get belly cuts. Belly cuts occur when fhe blade wanders to such an extent that the cuts are not perfectly square from top to bottom. In fact, I was going to use several pieces in relief, but cut them with a No. 5R blade and they would not come out from either direction because of the belly. So I had to cut them into smaller pieces to get them out of the hole. Yes, I could have taped them in place, but by that time I was becoming irritated and threw the pieces into the wood stove. Besides, I needed the heat as it was below zero outside. Step 5. The thickness and type of wood will determine what blade you will use. This piece is l-l/2"-thick walnut, but because it is a slab piece, it is mostly sapwood and therefore easier to cut than a piece that is all heart-wood. However, this piece contains an irregular grain and a small knot, and will require a blade with some backbone. We used a Scroll America No. 7R blade. Cut the waste areas that will NOT be saved with the table set at 0°. Step 7. I tilted the to 1° because of the wood's thickness and the blade's size. That Id allow a little more than a 1/4" drop on the bigger continued on page 62 |


