Creative Woodworks & crafts 2004-09, страница 46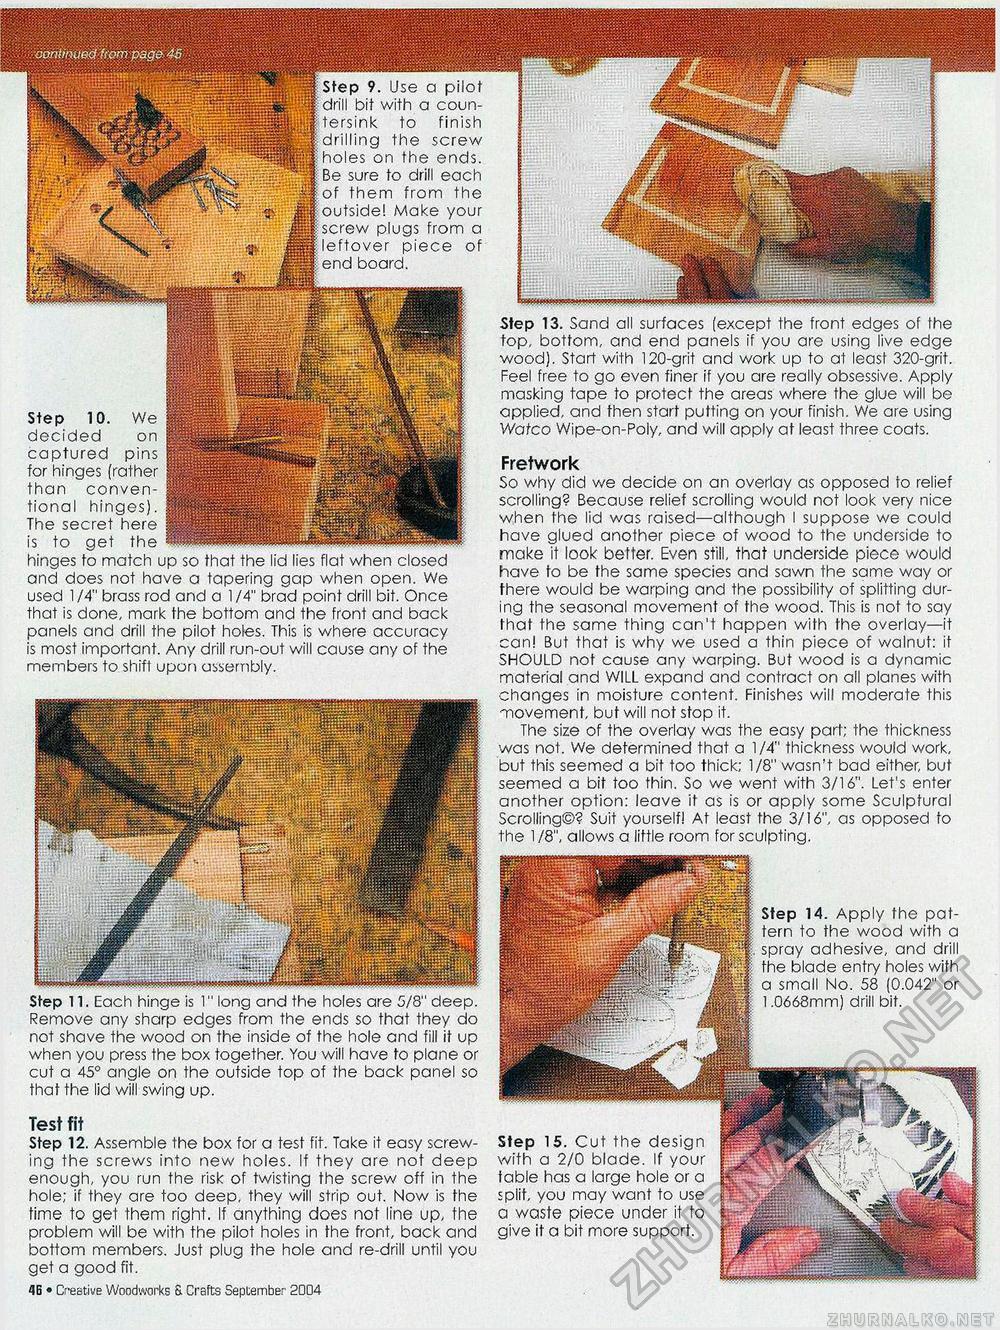
continued from page45 Step 9. Use a pilot drill bit with a countersink to finish drilling the screw holes on the ends. Be sure to drill each of them from the outside! Make your screw plugs from a leftover piece of end board. Step 11. Each hinge is 1" long and the holes are 5/8" deep. Remove any sharp edges from the ends so that they do not shave the wood on the inside of the hole and fill it up when you press the box together. You will have to plane or cut a 45° angle on the outside top of the back panel so that the lid will swing up. Test fit Step 12. Assemble the box for a test fit. Take it easy screwing the screws into new holes. If they are not deep enough, you run the risk of twisting the screw off in the hole; if they are too deep, they will strip out. Now is the time to get them right. If anything does not line up, the problem will be with the pilot holes in the front, back and bottom members. Just plug the hole and re-drill until you get a good fit. 4B • Creative Woodworks S Crafts September 20D4 Step 14. Apply the pattern to the wood with a spray adhesive, and drill the blade entry holes with a small No. 58 (0.042" or 1,0668mm) drill bit. Step 15. Cut the design with a 2/0 blade. If your table has a large hole or a split, you may want to use a waste piece under it to give it a bit more support. pins Step 10. decided captured for hinges (rather than conventional hinges). The secret here is to get the hinges to match up so that the lid lies flat when closed and does not have a tapering gap when open. We used 1/4" brass rod and a 1/4" brad point drill bit. Once that is done, mark the bottom and the front and back panels and drill the pilot holes. This is where accuracy is most important. Any drill run-out will cause any of the members to shift upon assembly. Step 13. Sand all surfaces (except the front edges of the fop, bottom, and end panels if you are using live edge wood). Start with 120-grit and work up to at least 320-grit. Feel free to go even finer if you are really obsessive. Apply masking tape to protect the areas where the glue will be applied, and then start putting on your finish. We are using Watco Wipe-on-Poly, and will apply at least three coats. Fretwork So why did we decide on an overlay as opposed to relief scrolling? Because relief scrolling would not look very nice when the lid was raised—although I suppose we could have glued another piece of wood to the underside to make it look better. Even still, that underside piece would have to be the same species and sawn the same way or there would be warping and the possibility of splitting during the seasonal movement of the wood. This is not to say that the same thing can't happen with the overlay—it can! But that is why we used a thin piece of walnut: it SHOULD not cause any warping. But wood is a dynamic material and WILL expand and contract on all planes with changes in moisture content. Finishes will moderate this movement, but will not stop it. The size of the overlay was the easy part; the thickness was not. We determined that a 1 /4" thickness would work, but this seemed a bit too thick; 1/8" wasn't bad either, but seemed a bit too thin. So we went with 3/16". Let's enter another option: leave if as is or apply some Sculptural Scrolling©? Suit yourself! At least the 3/16", as opposed to the 1/8", allows a little room for sculpting. |


