Creative Woodworks & crafts 2004-09, страница 60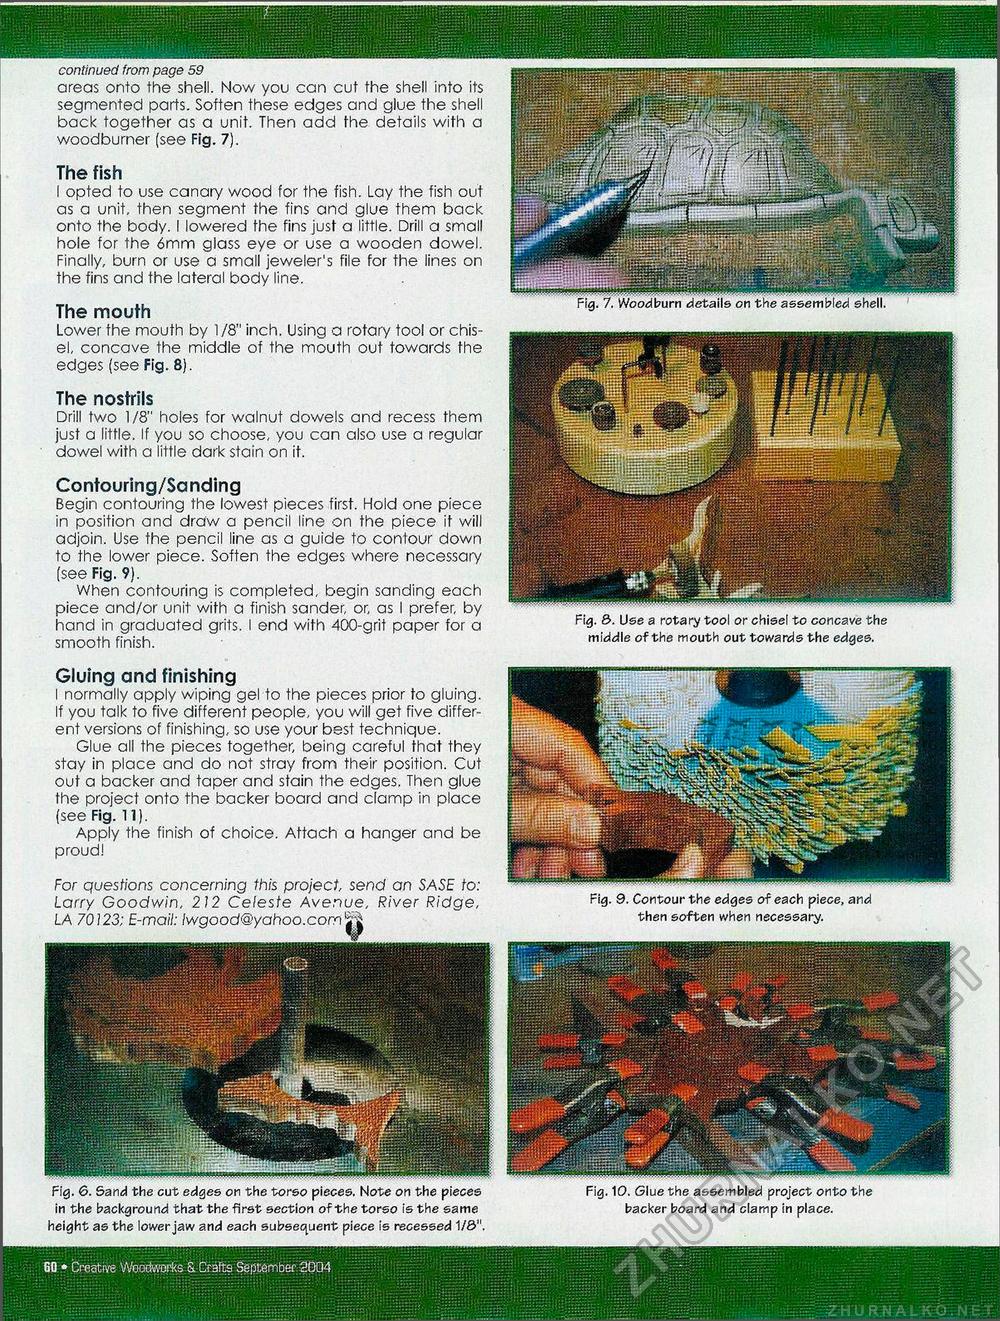
continued from page 59 areas onto the shell. Now you can cut the shell into its segmented parts. Soften these edges and glue the shell back together as a unit. Then add the details with a woodburner (see Fig. 7). The fish I opted to use canary wood for the fish. Lay the fish out as a unit, then segment the fins and glue them back onto the body. I lowered the fins just a little. Drill a small hole for the 6mm glass eye or use a wooden dowel. Finally, burn or use a small jeweler's file for the lines on the fins and the lateral body line. The mouth Lower the mouth by 1 /8" inch. Using a rotary tool or chisel, concave the middle of the mouth out towards the edges (see Fig. 8). The nostrils Drill two 1/8" holes for walnut dowels and recess them just a little. If you so choose, you can also use a regular dowel with a little dark stain on it. Contouring/Sanding Begin contouring the lowest pieces first. Hold one piece in position and draw a pencil line on the piece it will adjoin. Use the pencil line as a guide to contour down to the lower piece. Soften the edges where necessary (see Fig. 9). When contouring is completed, begin sanding each piece and/or unit with a finish sander, or, as I prefer, by hand in graduated grits. I end with 400-grit paper for a smooth finish. Fig. &. Use a rotary tool or chisel to concave the middle of the mouth out towards the edges. Fig. 6. Sand the cut edges on the torso pieces. Note on the pieces Fig. 10. Glue the assembled project onto the in the background that the first section of the torso is the same backer board and clamp in place, height as the lower jaw and each subsequent piece is recessed 1/0". Gluing and finishing I normally apply wiping gel to the pieces prior to gluing. If you talk to five different people, you will get five different versions of finishing, so use your best technique. Glue all the pieces together, being careful that they stay in place and do not stray from their position. Cut out a backer and taper and stain the edges. Then glue the project onto the backer board and clamp in place (see Fig. 11). Apply the finish of choice. Attach a hanger and be proud! For questions concerning this project, send an SASE to: Larry Goodwin, 212 Celeste Avenue, River Ridge, LA 70123; E-mail: lwgood@yahoo.comffi Fig. 9. Contour the edges of each piece, and then soften when necessary. 60 • Creative Woodworks S. Crafts September 2004 |


