Creative Woodworks & crafts 2004-11, страница 35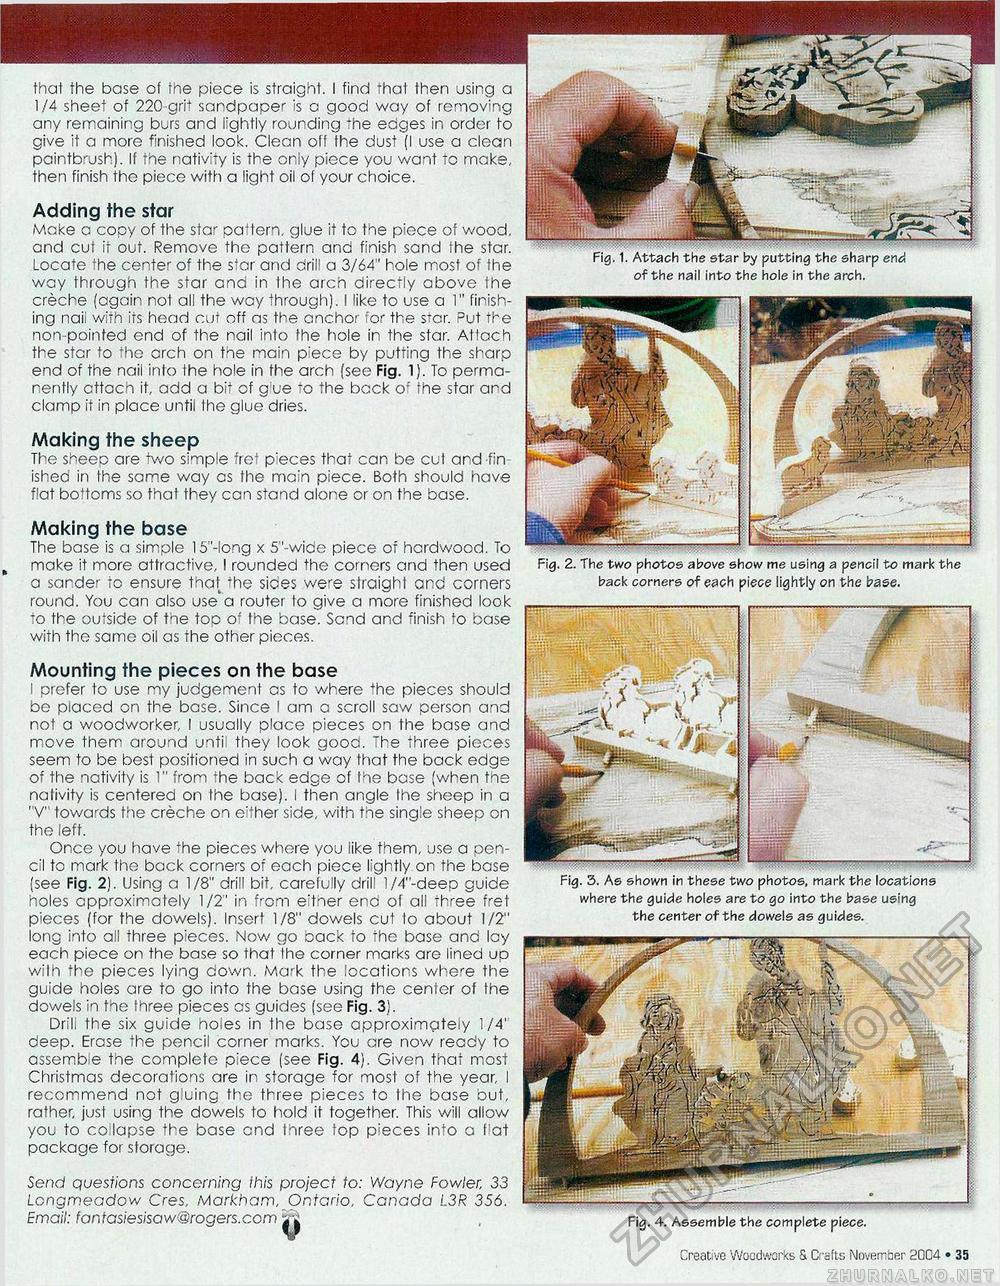
that the base of the piece is straight. I find thai then using a 1/4 sheet of 220 grit sandpaper is a good way of removing any remaining burs and lightly rounding The edges in order to give it a more finished look. Clean olf the dust (I use a clean paintbrush). If the nativity is the only piece you want to make, then finish the piece with a light oil of your choice. Making the sheep The sheep are two simple fret pieces that can be cut and fin ished in the same way as the main piece. Both should have flat bottoms so that they can stand alone or on the base. Adding the star Make a copy of the star pattern, glue it to the piece of wood, and cui it out. Remove the pattern and finish sand the star. Locate the center of the star and drill a 3/64" hole most of the way through the star and in the arch directly above the creche (again not all the way through). I like to use a 1" finishing naii with its head cut off as the anchor for the sTar. Put the non-pointed end of the nail into the hole in the star. Attach the star to the arch on the main piece by putting the sharp end of the nail into the hole in the arch (see Fig. 1). To permanently cttacn it, add a bit of g ue to the back o" the star and clamp it in place until the glue dries. end of the nail into the hole in the arch. Making the base The base is a simple 15"-long x 5"-wide piece of hardwood. To t make it more attractive, I rounded the corners and then used a sander to ensure that the sices we'e straight and corners round. You can also use'a router to give a more finished look to the outside of the top o" the base. Send and finish to base with the same oil as the other pieces. back corners of each piece lightly on the base. Mounting the pieces on the base I prefer to use my judgement as to where the pieces should be placed on the base. Since I am a scroll saw person and not a woodworker, I usually place pieces on the base and move them around until they look good. The three pieces seem to be best positioned in such a way that the back edge of the nativity is 1" from the back edge of the base (when the nalivity is centered on the base). I then angle the sheep in a "V" towards the creche on e'ther side, with the single sheep on the left. Once you have the pieces where you like them, use a pencil to mark the back corners of each piece lightly on the base (see Fig. 2). Using a 1/8" drill bit, carefully drill l/4"-deep guide holes approximately 1/2" in from either end of all three fret pieces (for the dowels). Insert 1/8" dowels cut lo about 1/2" long into all three pieces. Now go .sack to the base and Icy each pioce on the base so that Ihe corner marks are lined up wilh the pieces lying down. Mark the locations where the guide holes are to go into the base using the center of Ihe dowels in the three pieces as guides (see Fig. 3). Drill the six guide hoies in the base approximgtely 1/4' deep. Erase the pencil corner marks. You are now ready to assemble the complete piece (see Fig. 4). Given that most Christmas decorations are in storage for most of the year, I recommend not gluing the three pieces to Ihe base but, rather, just using the dowels to hold it together. This will allow you to co lapse the base and three top pieces into a fat package for storage. Fig. 3. As shown in these two photos, mark the locations where the guide holes are to go into the base using the center of the dowels as guides. Send questions concerning ihis project to: Wayne Fowler, 33 Longmeadow Cres, Markham, Ontario, Canada L3R 356. Email: fantasiesisaw@rogers.com ^ Fig. 4. Assemble the complete piece. Creative Woodworks & Cr afts November 2004 • 35 |


