Creative Woodworks & crafts 2004-11, страница 56
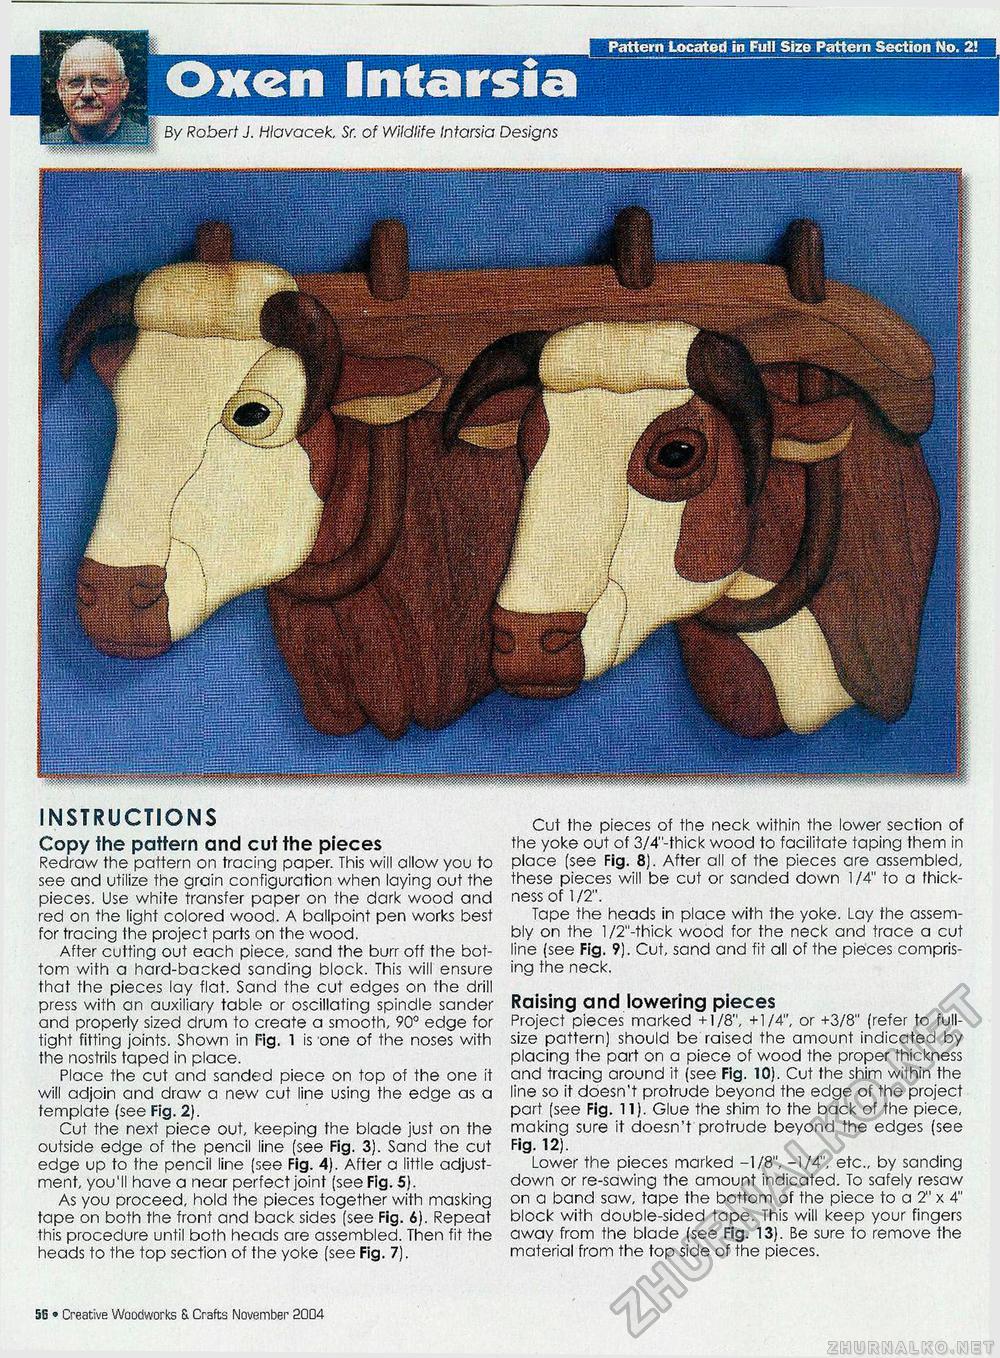
Pattern Located in Full Size Pattern Section No. 2! By Robert J. Hlavacek, Sr. of Wildlife Intarsia Designs INSTRUCTIONS Copy the pattern and cut the pieces Redraw the pattern on tracing paper. This will allow you to see and utilize the grain configuration when laying out the pieces. Use white transfer paper on the dark wood and red on the light colored wood. A ballpoint pen works best for tracing the project parts on the wood. After cutting out each piece, sand the burr off the bottom with a hard-backed sanding block. This will ensure that the pieces lay flat. Sand the cut edges on the drill press with an auxiliary table or oscillating spindle sander and properly sized drum to create a smooth, 90° edge for tight fitting joints. Shown in Tig. 1 is one of the noses with the nostrils taped in place. Place the cut and sanded piece on top of the one it will adjoin and draw a new cut line using the edge as a template (see Fig. 2). Cut the next piece out, keeping the blade just on the outside edge of the pencil line (see Fig. 3). Sand the cut edge up to the pencil line (see Fig. 4). After a little adjustment, you'll have a near perfect joint (see Fig. 5). As you proceed, hold the pieces together with masking tape on both the front and back sides (see Fig. 6). Repeat this procedure until both heads are assembled. Then fit the heads to the top section of the yoke (see Fig. 7). Cut the pieces of the neck within the lower section of the yoke out of 3/4"-thick wood to facilitate taping them in place (see Fig. 8). After all of the pieces are assembled, these pieces will be cut or sanded down 1 /4" to a thickness of 1 /2". Tape the heads in place with the yoke. Lay the assembly on the l/2"-thick wood for the neck and trace a cut line (see Fig. 9). Cut, sand and fit all of the pieces comprising the neck. Raising and lowering pieces Project pieces marked +1/8", +1/4", or +3/8" (refer to full-size pattern) should be raised the amount indicated by placing the part on a piece of wood the proper thickness and tracing around it (see Fig. 10). Cut the shim within the line so it doesn't protrude beyond the edge of the project part [see Fig. 11). Glue the shim to the back of the piece, making sure it doesn't protrude beyond the edges (see Fig. 12). Lower the pieces marked -1/8", -1/4", etc., by sanding down or re-sawing the amount indicated. To safely resaw on a band saw, tape the bottom of the piece to a 2" x 4" block with double-sided tape. This will keep your fingers away from the blade (see Fig. 13). Be sure to remove the material from the top side of the pieces. 5E • Creative Woodworks S. Crafts November 2004 |


