Creative Woodworks & crafts 2004-11, страница 57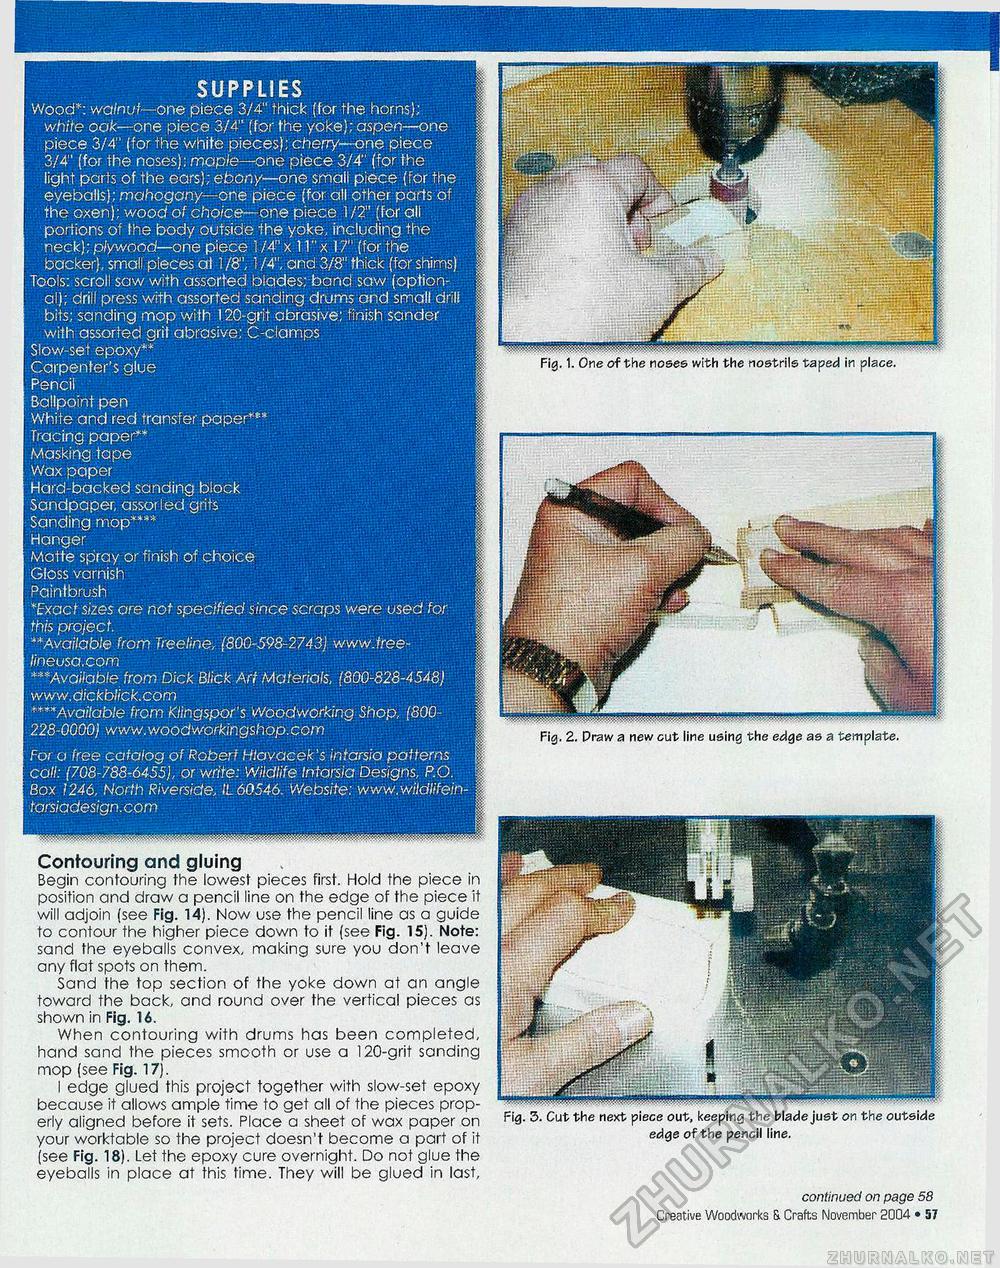
SUPPLIES Wood*: walnut—one piece 3/4" thick (for the horns); white oak—one piece 3/4" (for the yoke); aspen—one piece 3/4" (for the white pieces); cherry—one piece 3/4" (for the noses); maple—one piece 3/4" (for the light parts of the ears); ebony—one small piece (for the eyeballs); mahogany—one piece (for all other parts of the oxen); wood of choice— one piece 1/2" (for all portions of the body outside the yoke, including the neck); plywood—one piece 1 /4" x 11" x 17" (for the backer), small pieces at 1 /8", 1 /4", and 3/8" thick (for shims) Tools: scroll saw with assorted blades; band saw (optional); drill press with assorted sanding drums and small drill bits; sanding mop with 120-grit abrasive; finish sander with assorted grit abrasive; C-clamps Slow-set epoxy** Carpenter's glue Pencil Ballpoint pen White and red transfer paper*** Tracing paper** Masking tape Wax paper Hard-backed sanding block Sandpaper, assor ted grits Sanding mop**** Hanger Matte spray or finish of choice Gloss varnish Paintbrush *Exacf sizes are not specified since scraps were used for this project. **Available from Treeline, (800-598-2743) www Jree-lineusa.com ***Available from Dick Blick Art Materials, (800-828-4548) www.dickblick.com ****Available from Klingspor's Woodworking Shop, (800-228-0000) www.woodworkingshop.com For a free catalog of Robert Hlavacek's intarsia patterns call: (708-788-6455), or write: Wildlife Intarsia Designs, P.O. Box 1246, North Riverside, IL 60546. Website: www.wildlifein-tarsiadesign.com Contouring and gluing Begin contouring the lowest pieces first. Hold the piece in position and draw a pencil line on the edge of the piece it will adjoin (see Fig. 14). Now use the pencil line as a guide to contour the higher piece down to it (see Fig. 15). Note: sand the eyeballs convex, making sure you don't leave any flat spots on them. Sand the top section of the yoke down at an angle toward the back, and round over the vertical pieces as shown in Fig. 16. When contouring with drums has been completed, hand sand the pieces smooth or use a 120-grit sanding mop (see Fig. 17). I edge glued this project together with slow-set epoxy because it allows ample time to get all of the pieces properly aligned before it sets. Place a sheet of wax paper on your worktable so the project doesn't become a part of it (see Fig. 18). Let the epoxy cure overnight. Do not glue the eyeballs in place at this time. They will be glued in last, Fig. 2. Pravy a new cut line using the edge as a template. edge of the pencil line. continued on page 74 ■ Creative Woodworks & Crafts November 2004 • 57 |


