Creative Woodworks & crafts 2004-11, страница 61
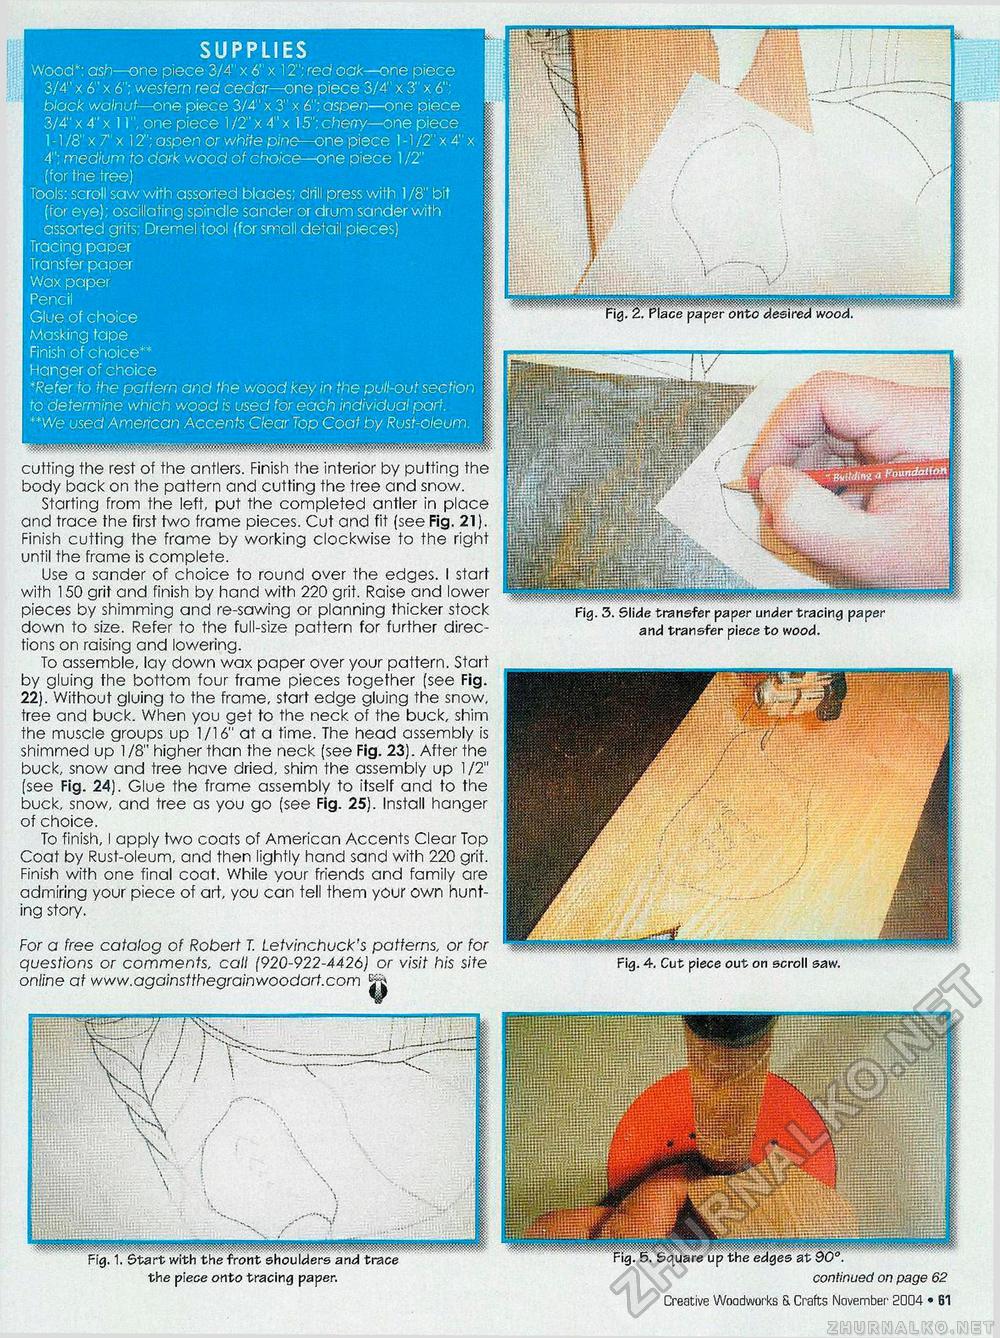
Fig. 2. Place paper onto desired wood, SUPPLIES Wood*: ash—one piece 3/4" x 6" x 12"; red oak—one piece 3/4" x 6" x 6"; western red cedar—one piece 3/4" x 3" x 6"; black walnut—one piece 3/4" x 3" x 6"; aspen—one piece 3/4" x 4" x 11", one piece 1 /2" x 4" x 15": cherry—one piece 1-1/8" x 7" x 12": aspen or white pine—one piece 1-1/2"x 4"x 4"; medium to dark wood of choice—one piece 1 /2" (for the tree) Tools: scroll saw with assorted blades; drill press with 1 /8" bit (for eye); oscillating spindle sander or drum sander with assorted grits; Dremel tool (for small detail pieces) Tracing paper Transfer paper Wax paper Pencil Glue of choice Masking tape Finish of choice** Hanger of choice *Refer to the pattern and the wood key in the pull-out section to determine which wood is used for each individual part. **We used American Accents Clear Top Coat by Rust-oleum. the piece onto tracing paper. Fig. 3. Slide transfer paper under tracing paper and transfer piece to wood. Fig. 4. Cut piece out on scroll saw. continued on page 62 Creative Woodworks & Crafts November 2004 • 61 cutting the rest of the antlers. Finish the interior by putting the body back on the pattern and cutting the tree and snow. Starting from the left, put the completed antler in place and trace the first two frame pieces. Cut and fit (see Fig. 21). Finish cutting the frame by working clockwise to the right until the frame is complete. Use a sander of choice to round over the edges. I start with 150 grit and finish by hand with 220 grit. Raise and lower pieces by shimming and re-sawing or planning thicker stock down to size. Refer to the full-size pattern for further directions on raising and lowering. To assemble, lay down wax paper over your pattern. Start by gluing the bottom four frame pieces together (see Fig. 22). Without gluing to the frame, start edge gluing the snow, tree and buck. When you get to the neck of the buck, shim the muscle groups up 1/16" at a time. The head assembly is shimmed up 1 /8" higher than the neck (see Fig. 23). After the buck, snow and tree have dried, shim the assembly up 1/2" (see Fig. 24). Glue the frame assembly to itself and to the buck, snow, and tree as you go (see Fig. 25). Install hanger of choice. To finish, I apply two coats of American Accents Clear Top Coat by Rust-oleum, and then lightly hand sand with 220 grit. Finish with one final coat. While your friends and family are admiring your piece of art, you can tell them your own hunting story. For a free catalog of Robert T. Letvinchuck's patterns, or for questions or comments, call (920-922-4426) or visit his site online at www.againstthegrainwoodart.com |


