Creative Woodworks & crafts 2005-01, страница 16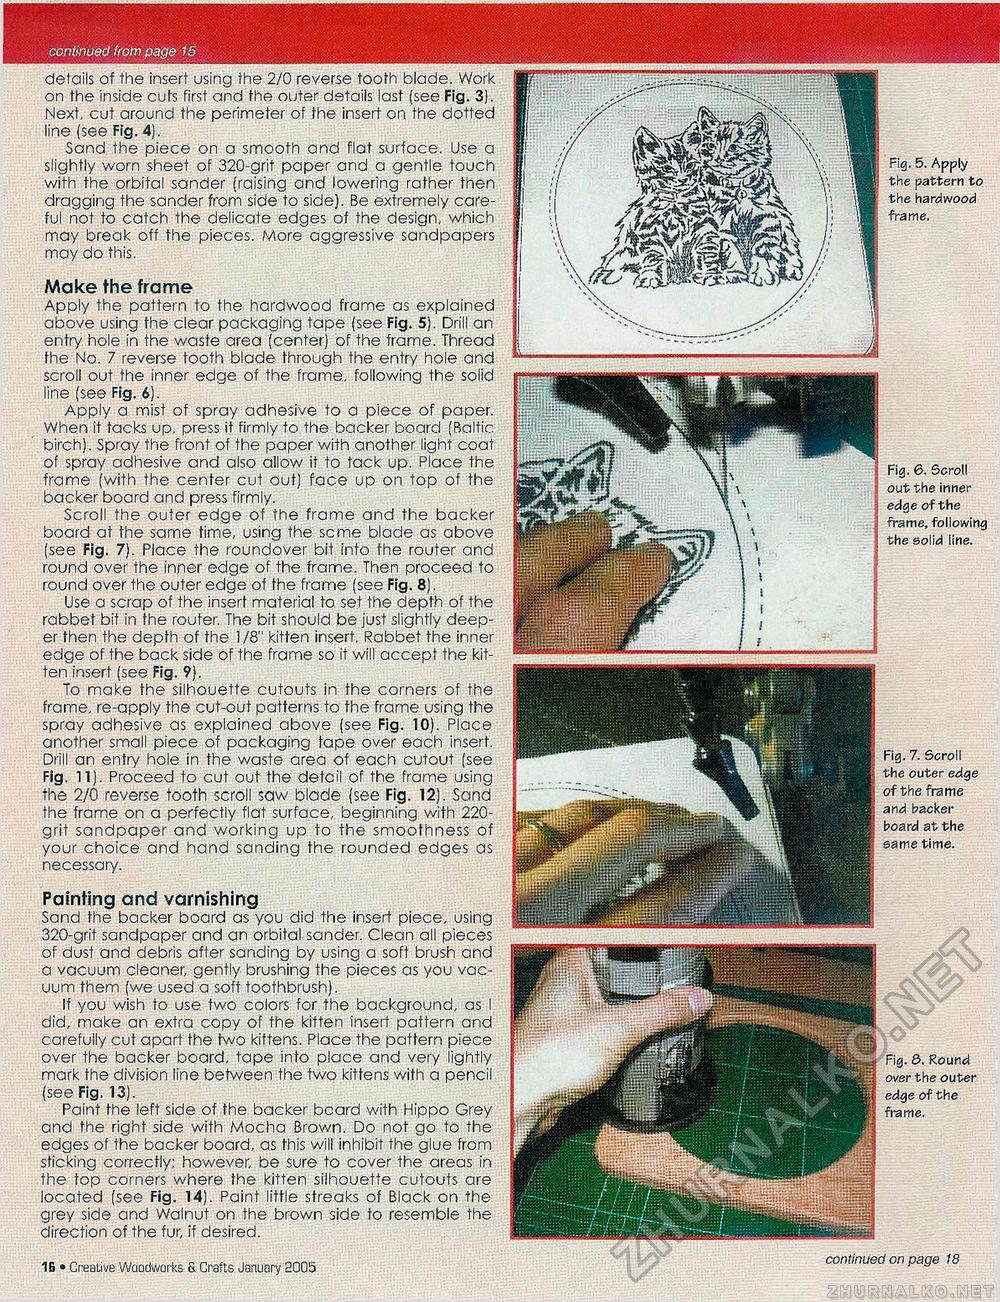
continued from page 15 details of the insert using the 2/0 reverse tooth blade. Work on the inside cuts first and the outer details last (see Fig. 3). Next, cut arouna the perimeter of the insert on the dotted line (see Fig. 4). Sand the piece on a smooth and flat surface. Use a slightly worn sheet of 320-grit paper and a gentle touch with the orbital sander (raising and lowering rather then dragging the sander from side to side). Be extremely careful not to catch the delicate edges of the design, which may break off the pieces. More aggressive sandpapers may do this. Make the frame Apply the pattern to the hardwood frame as explained above using the clear packaging tape (see Fig. 5). Drill an entry hole in the waste area (center) of the frame. Thread fhe No. 7 reverse tooth blade through the entry hole and scroll out the inner edge of the frame, following the solid line (see Fig. 6). Apply a mist of spray adhesive to a piece of paper. When it tacks up. press it firmly to the backer board (Baltic birch). Spray the front of the paper with another light coat of spray adhesive and also allow it to tack up. Place the frame (with the center cut out) face up on top of the backer board ana press firmly. Scroll the outer edge of the frame and the backer board at the same time, using the seme blade as above (see Fig. 7). Place the roundover bit into the router and round over the inner edge of the frame. Then proceed to round over the outer edge of the frame (see Fig. 8). Use a scrap of the insert material to set the depth of the rabbet bit in the router. The bit should be just slightly deeper then the depth of the 1/8" kitten insert. Rabbet the inner edge of the back side of the frame so it will accept the kitten insert (see Fig. 9). To make the silhouette cutouts in the corners of the frame, re-apply the cut-out patterns to the frame using the spray adhesive as explained above (see Fig. 10). Place another small piece of packaging tape over each insert. Drill an entry hole in the waste area of each cutout (see Fig. 11). Proceed to cut out the detcil of the frame using the 2/0 reverse tooth scroll saw blade (see Fig. 12). Sand the frame on a perfectly flat surface, beginning with 220-grit sanapaper and working up to the smoothness of your choice and hand sanding the rounded edges as necessary. Painting and varnishing Sand the backer board as you did the insert piece, using 320-grit sandpaper and an orbital sander. Clean all pieces of dust and debris after sanding by using a soft brush and a vacuum cleaner, gently brushing the pieces as you vacuum them (we used a soft toothbrush). If you wish to use two colors for the background, as I did, make an extra copy of the kitten insert pattern and carefully cut apart the two kittens. Place the pattern piece over the backer board, tape into place and very lightly mark the division line between the two kittens with a pencil (see Fig. 13). Paint the left side of the backer beard with Hippo Grey and fhe right side with Mocha Brown. Do not go to the edges of the backer board, as this will inhibit the glue from sticking correctly; however, be sure to cover the areas in the top corners where the kitten silhouette cutouts are located (see Fig. 14). Paint little streaks of Black on the grey side and Walnut on the brown side to resemble the direction of the fur, if desired. Fig, 5. Apply the pattern to the hardwood frame. Fig. 6. Scroll out the inner edge of the frame, following the solid line. Fig. 7. Scroll the outer edge of the frame and backer board at the same time. Fig. 5. Round over the outer edge of the frame. continued on page 18 16 • Creative Woodworks & Crafts January 200b |


