Creative Woodworks & crafts 2005-01, страница 54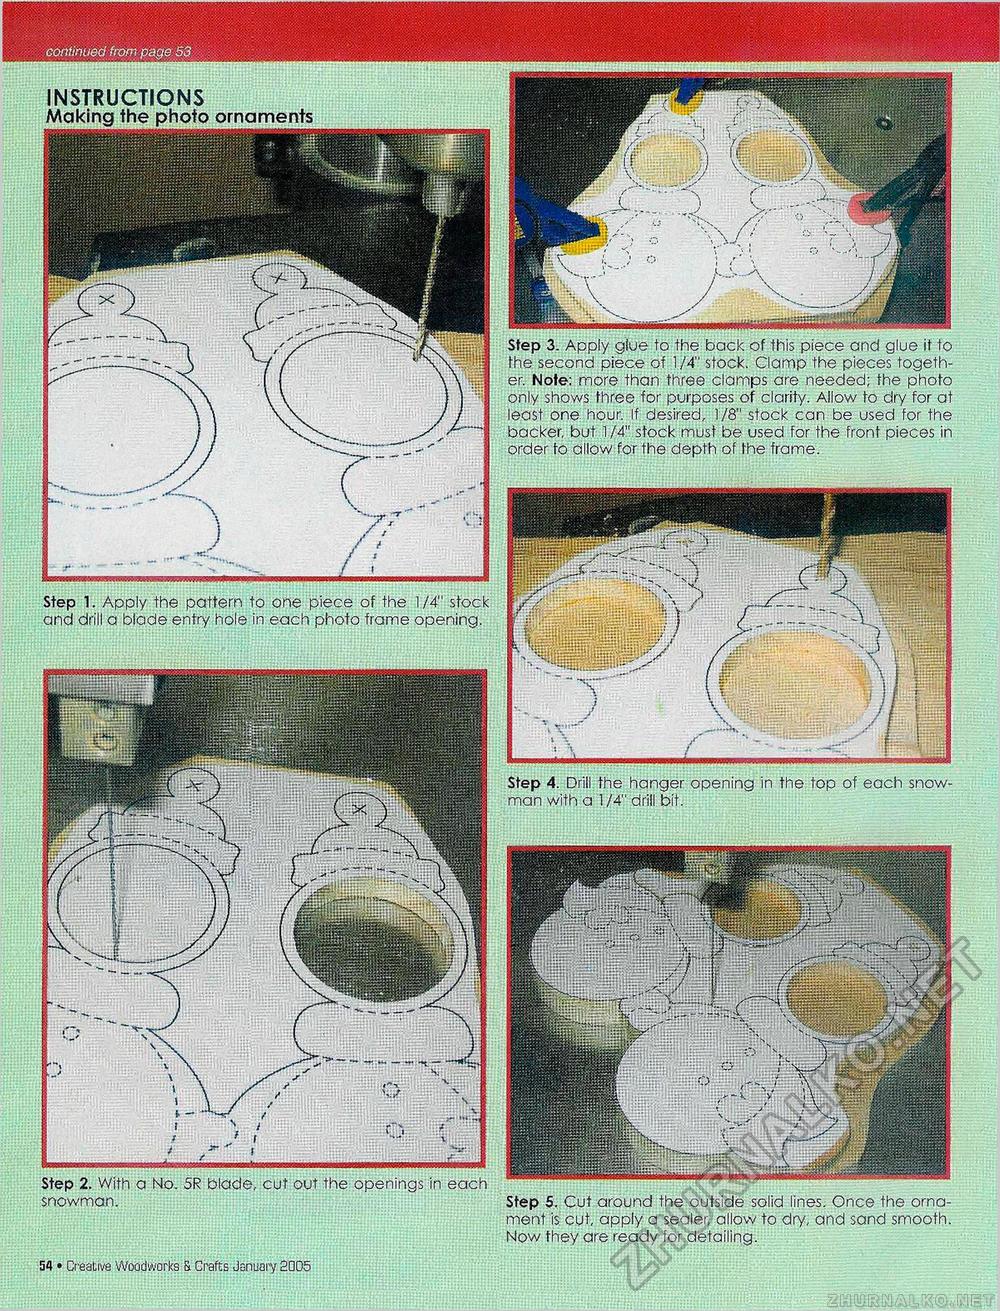
continued from page 53 INSTRUCTIONS Making the photo ornaments iiHiiinWLliiiiMiii Step 3. Apply glue to the back of this piece and glue it to fhe second piece of 1/4" stock. Clamp the pieces together. Note: more than three clamps are needed; the photo only shows three for purposes of clarity. Allow to dry for at least one hour. If desired, 1/8" stock can be used for the backer, but 1 /4" stock must be used for the front pieces in order fo allow for the depth of the frame. Step 1. Apply the pattern to one piece of the 1/4" stock and drill a blade entry hole in each photo frame opening. Step 4. Drill the hanger opening in the top of each snowman with a 1/4" drill bit. blade, cut out the openings in each Step 2. With a No. 5R snowman. Step 5. Cut around the outside solid lines. Once the ornament is cut, apply a sealer, allow to dry, and sand smooth Now they are ready for detailing. 54 • Creative Woodworks & Crafts Januaiy 2005 |


