Creative Woodworks & crafts 2005-01, страница 55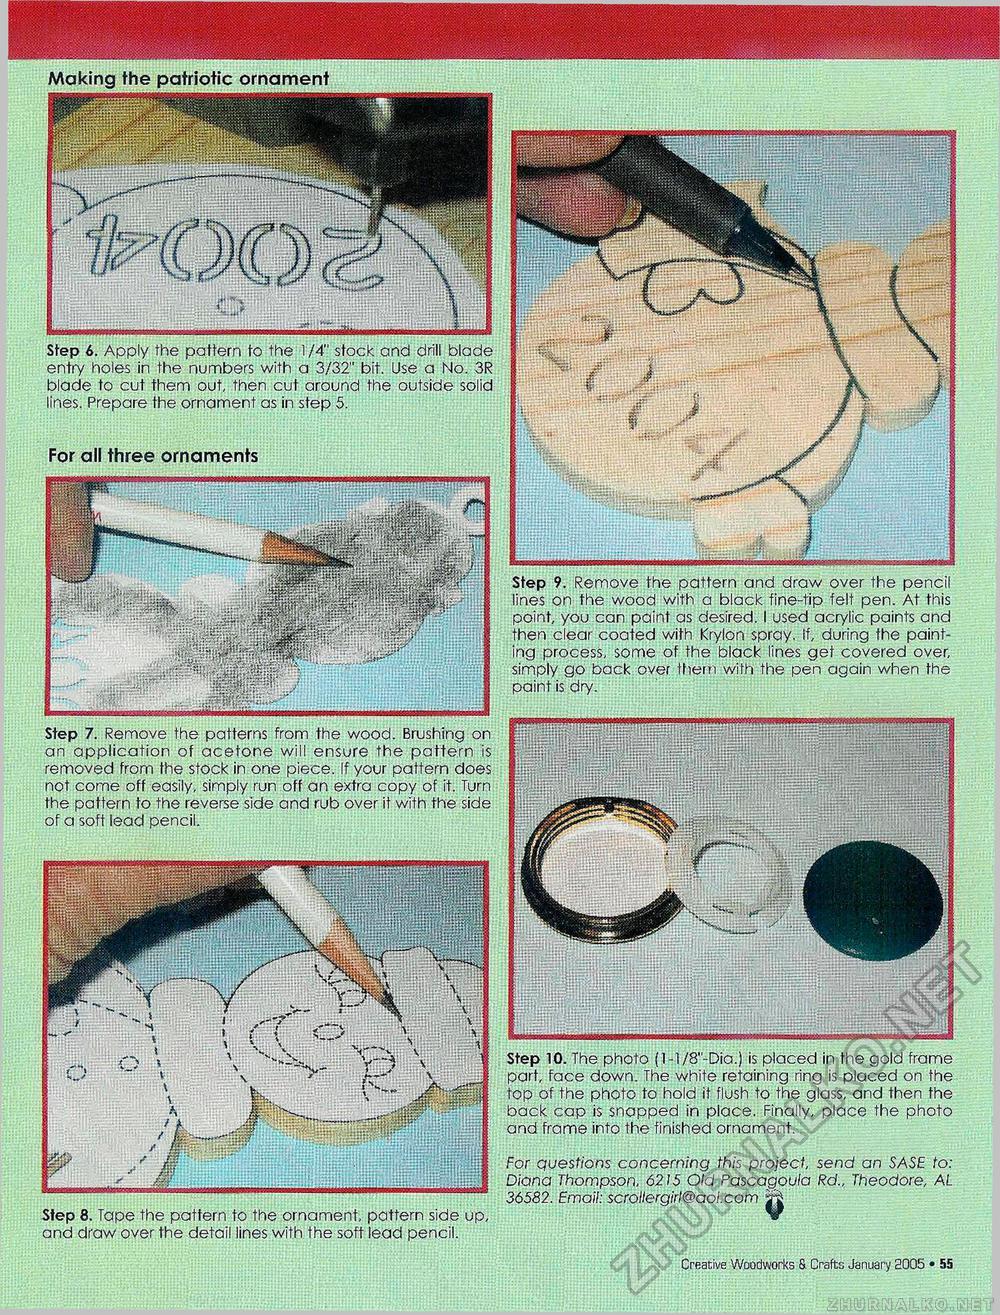
Step 6. Apply the pattern to the 1/4" stock and drill blade entry holes in the numbers with a 3/32" bit. Use a No. 3R blade to cut them out, then cut around the outside solid lines. Prepare the ornament as in step 5. For all three ornaments sbzbsmbmsmssrisi! Step 9. Remove the pattern and draw over the pencil lines on the wood with a black tine-tip felt pen. At this point, you can paint as desired. I used acrylic paints and then clear coated with Krylon spray. If, during the painting process, some of the black lines get covered over, simply go back over them with the pen again when the paint is dry. Step 7. Remove the patterns from the wood. Brushing on an application of acetone will ensure the pattern is removed from the stock in one piece. If your pattern does not come off easily, simply run off an extra copy of it. Turn the pattern to the reverse side and rub over it with the side of a soft lead pencil. Step 10. The photo (l-l/8"-Dia.) is placed in the gold frame part, face down. The white retaining ring is placed on the top of the photo to hold it flush to the glass, and then the back cap is snapped in place. Finally, place the photo and frame into the finished ornament. For questions concerning this project, send an SASE to: Diana Thompson, 6215 Old Pascagoula Rd., Theodore, AL 36582. Email: scrollergirl@aol.com jjr| Creative Woodworks 8 Crafts January 2005 • 55 |


