Creative Woodworks & crafts 2009-04, страница 33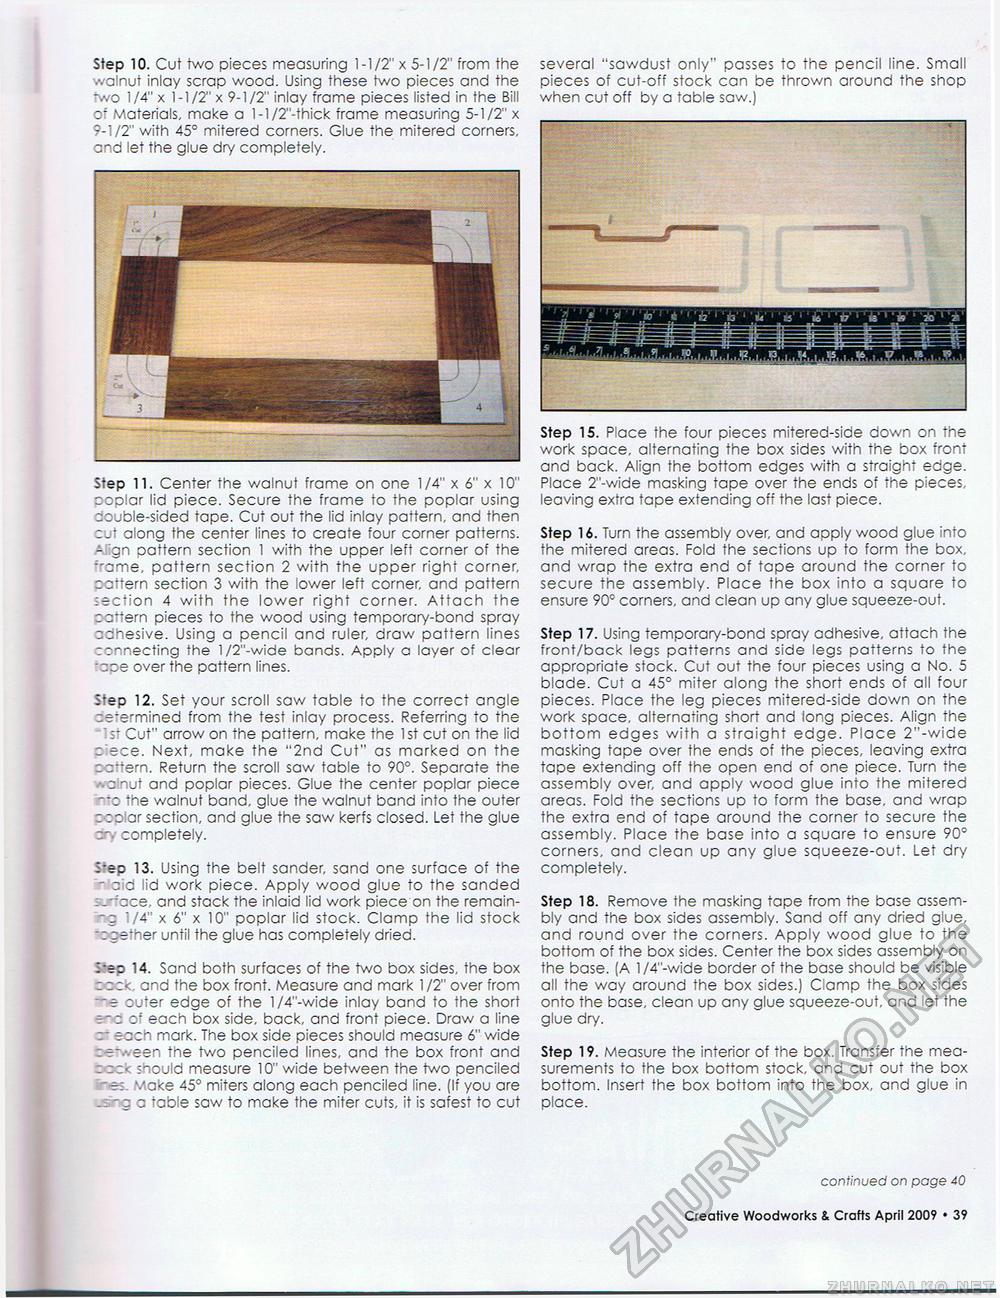
Step 10. Cut two pieces measuring 1-1/2" x 5-1/2" from the walnut inlay scrap wood. Using these two pieces and the -wo 1/4" x 1-1/2" x 9-1/2" inlay frame pieces listed in the Bill of Materials, make a l-l/2"-thick frame measuring 5-1/2" x 9-1/2" with 45° mitered corners. Glue the mitered corners, and let the glue dry completely. Step 11. Center the walnut frame on one 1/4" x 6" x 10" poplar lid piece. Secure the frame to the poplar using couble-sided tape. Cut out the lid inlay pattern, and then cut along the center lines to create four corner patterns. - gn pattern section 1 with the upper left corner of the ""'ame, pattern section 2 with the upper right corner, cattern section 3 with the lower left corner, and pattern lection 4 with the lower right corner. Attach the cattern pieces to the wood using temporary-bond spray adhesive. Using a pencil and ruler, draw pattern lines connecting the l/2"-wide bands. Apply a layer of clear -coe over the pattern lines. Srep 12. Set your scroll saw table to the correct angle ze'ermined from the test inlay process. Referring to the "" 5* Cut" arrow on the pattern, make the 1 st cut on the lid c'ece. Next, make the "2nd Cut" as marked on the cattern. Return the scroll saw table to 90°. Separate the A-aSnut and poplar pieces. Glue the center poplar piece no the walnut band, glue the walnut band into the outer coplar section, and glue the saw kerfs closed. Let the glue completely. !*sp 13. Using the belt sander, sand one surface of the - aid lid work piece. Apply wood glue to the sanded -_""ace, and stack the inlaid lid work piece on the remain-"3 1/4" x 6" x 10" poplar lid stock. Clamp the lid stock icetner until the glue has completely dried. 14. Sand both surfaces of the two box sides, the box : cc< and the box front. Measure and mark 1/2" over from - e outer edge of the l/4"-wide inlay band to the short r~c of each box side, back, and front piece. Draw a line :r each mark. The box side pieces should measure 6" wide re-.-.-een the two penciled lines, and the box front and i z z< should measure 10" wide between the two penciled e: v.ake 45° miters along each penciled line. (If you are -g a table saw to make the miter cuts, it is safest to cut several "sawdust only" passes to the pencil line. Small pieces of cut-off stock can be thrown around the shop when cut off by a table saw.) Step 15. Place the four pieces mitered-side down on the work space, alternating the box sides with the box front and back. Align the bottom edges with a straight edge. Place 2"-wide masking tape over the ends of the pieces, leaving extra tape extending off the last piece. Step 16. Turn the assembly over, and apply wood glue into the mitered areas. Fold the sections up to form the box, and wrap the extra end of tape around the corner to secure the assembly. Place the box into a square to ensure 90° corners, and clean up any glue squeeze-out. Step 17. Using temporary-bond spray adhesive, attach the front/back legs patterns and side legs patterns to the appropriate stock. Cut out the four pieces using a No. 5 blade. Cut a 45° miter along the short ends of all four pieces. Place the leg pieces mitered-side down on the work space, alternating short and long pieces. Align the bottom edges with a straight edge. Place 2"-wide masking tape over the ends of the pieces, leaving extra tape extending off the open end of one piece. Turn the assembly over, and apply wood glue into the mitered areas. Fold the sections up to form the base, and wrap the extra end of tape around the corner to secure the assembly. Place the base into a square to ensure 90° corners, and clean up any glue squeeze-out. Let dry completely. Step 18. Remove the masking tape from the base assembly and the box sides assembly. Sand off any dried glue, and round over the corners. Apply wood glue to the bottom of the box sides. Center the box sides assembly on the base. (A l/4"-wide border of the base should be visible all the way around the box sides.) Clamp the box sides onto the base, clean up any glue squeeze-out, and let the glue dry. Step 19. Measure the interior of the box. Transfer the measurements to the box bottom stock, and cut out the box bottom. Insert the box bottom into the box, and glue in place. continued on page 39 Creative Woodworks & Crafts April 2009 • 19 |


