Creative Woodworks & crafts 2009-04, страница 34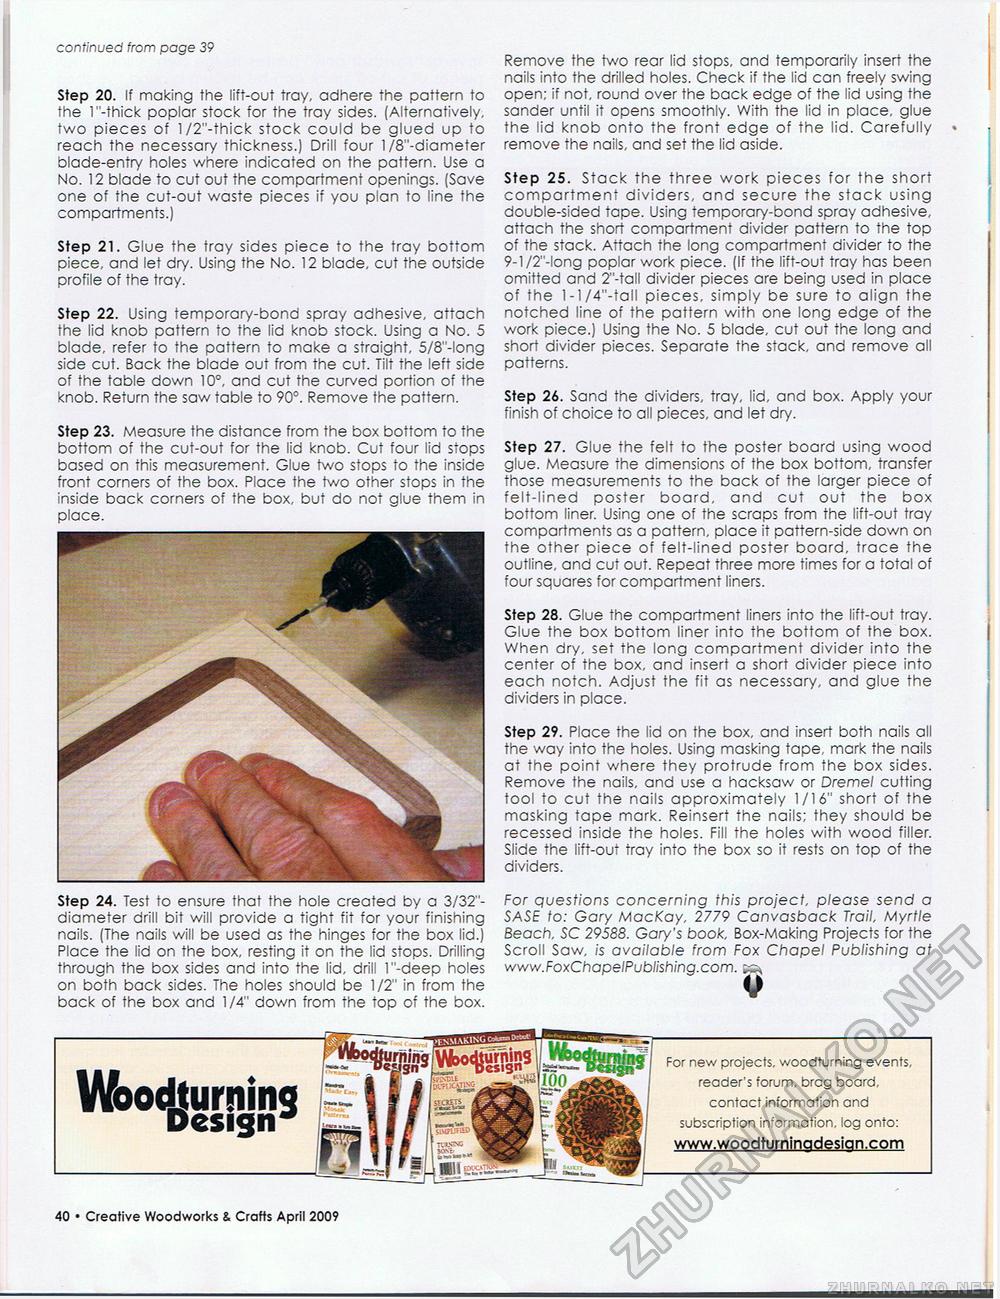
continued from page 40 Step 20. If making the lift-out tray, adhere the pattern to the T'-thick poplar stock for the tray sides. (Alternatively, two pieces of l/2"-thick stock could be glued up to reach the necessary thickness.) Drill four l/8"-diameter blade-entry holes where indicated on the pattern. Use a No. 12 blade to cut out the compartment openings. (Save one of the cut-out waste pieces if you plan to line the compartments.) Step 21. Glue the tray sides piece to the tray bottom piece, and let dry. Using the No. 12 blade, cut the outside profile of the tray. Step 22. Using temporary-bond spray adhesive, attach the lid knob pattern to the lid knob stock. Using a No. 5 blade, refer to the pattern to make a straight, 5/8"-long side cut. Back the blade out from the cut. Tilt the left side of the table down 10°, and cut the curved portion of the knob. Return the saw table to 90°. Remove the pattern. Step 23. Measure the distance from the box bottom to the bottom of the cut-out for the lid knob. Cut four lid stops based on this measurement. Glue two stops to the inside front corners of the box. Place the two other stops in the inside back corners of the box, but do not glue them in place. Step 24. Test to ensure that the hole created by a 3/32"-diameter drill bit will provide a tight fit for your finishing nails. (The nails will be used as the hinges for the box lid.) Place the lid on the box, resting it on the lid stops. Drilling through the box sides and into the lid, drill l"-deep holes on both back sides. The holes should be 1/2" in from the back of the box and 1/4" down from the top of the box. Remove the two rear lid stops, and temporarily insert the nails into the drilled holes. Check if the lid can freely swing open; if not, round over the back edge of the lid using the sander until it opens smoothly. With the lid in place, glue the lid knob onto the front edge of the lid. Carefully remove the nails, and set the lid aside. Step 25. Stack the three work pieces for the short compartment dividers, and secure the stack using double-sided tape. Using temporary-bond spray adhesive, attach the short compartment divider pattern to the top of the stack. Attach the long compartment divider to the 9-l/2"-long poplar work piece. (If the lift-out tray has been omitted and 2"-tall divider pieces are being used in place of the l-l/4"-tall pieces, simply be sure to align the notched line of the pattern with one long edge of the work piece.) Using the No. 5 blade, cut out the long and short divider pieces. Separate the stack, and remove all patterns. Step 26. Sand the dividers, tray, lid, and box. Apply your finish of choice to all pieces, and let dry. Step 27. Glue the felt to the poster board using wood glue. Measure the dimensions of the box bottom, transfer those measurements to the back of the larger piece of felt-lined poster board, and cut out the box bottom liner. Using one of the scraps from the lift-out tray compartments as a pattern, place it pattern-side down on the other piece of felt-lined poster board, trace the outline, and cut out. Repeat three more times for a total of four squares for compartment liners. Step 28. Glue the compartment liners into the lift-out tray. Glue the box bottom liner into the bottom of the box. When dry, set the long compartment divider into the center of the box, and insert a short divider piece into each notch. Adjust the fit as necessary, and glue the dividers in place. Step 29. Place the lid on the box, and insert both nails all the way into the holes. Using masking tape, mark the nails at the point where they protrude from the box sides. Remove the nails, and use a hacksaw or Dremel cutting tool to cut the nails approximately 1/16" short of the masking tape mark. Reinsert the nails; they should be recessed inside the holes. Fill the holes with wood filler. Slide the lift-out tray into the box so it rests on top of the dividers. For questions concerning this project, please send a SASE to: Gary MacKay, 2779 Canvasback Trail, Myrtle Beach, SC 29588. Gary's book, Box-Making Projects for the Scroll Saw, is available from Fox Chapel Publishing at www.FoxChapelPublishing.com. ^ Woodturning Design'9 For new projects, woodturning events, reader's forum, brcg board, contact information and subscription information, log onto: www.woodturninadesian.com 78 • Creative Woodworks & Crafts April 2009 |


