Creative Woodworks & crafts 2009-04, страница 38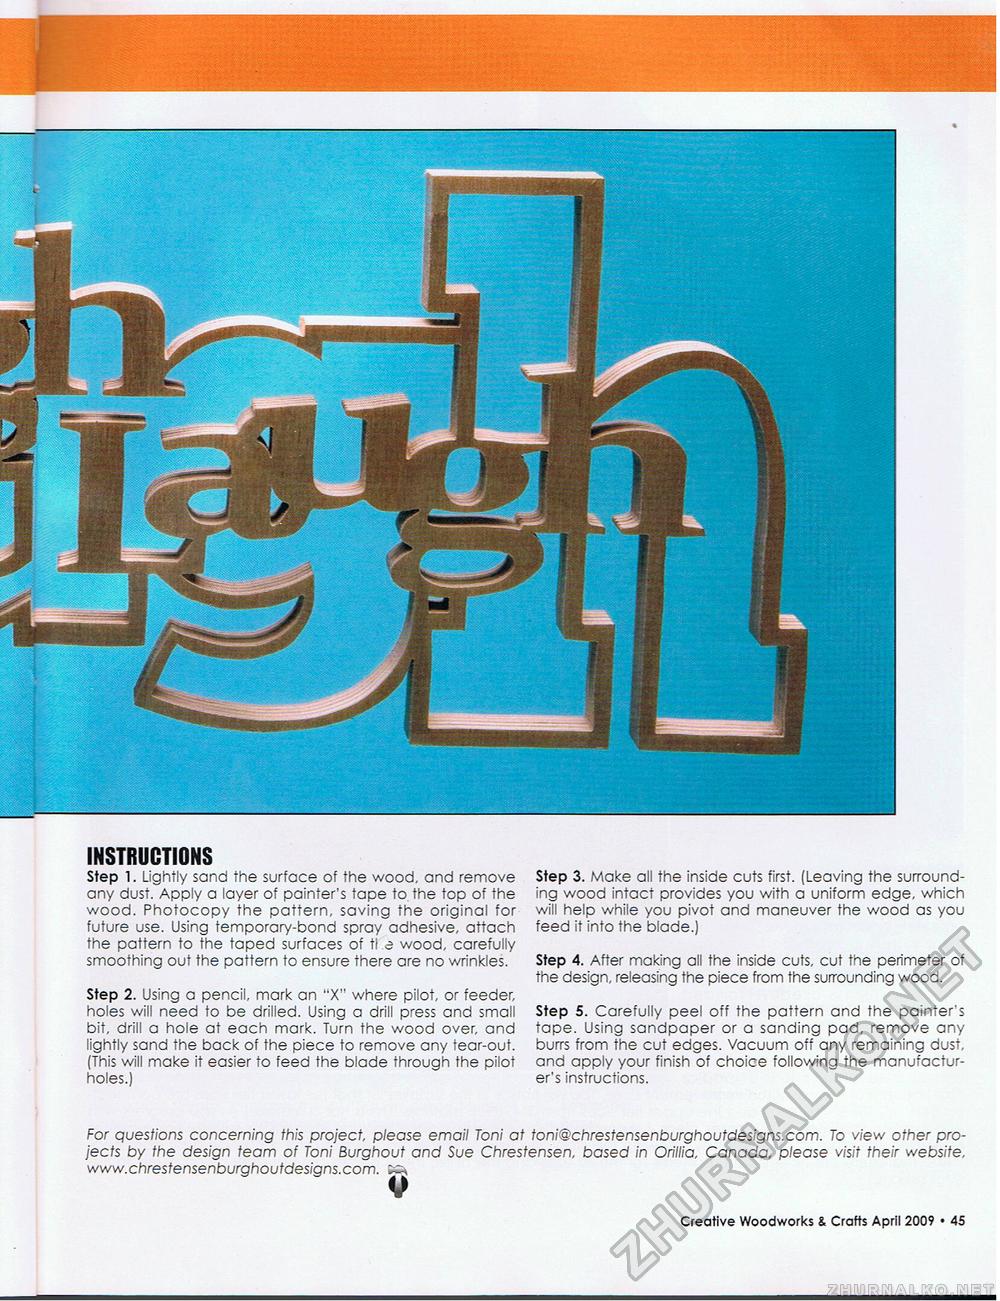
INSTRUCTIONS Step 1. Lightly sand the surface of the wood, and remove any dust. Apply a layer of painter's tape to the top of the wood. Photocopy the pattern, saving the original for future use. Using temporary-bond spray adhesive, attach the pattern to the taped surfaces of ti e wood, carefully smoothing out the pattern to ensure there are no wrinkles. Step 2. Using a pencil, mark an "X" where pilot, or feeder, holes will need to be drilled. Using a drill press and small bit, drill a hole at each mark. Turn the wood over, and lightly sand the back of the piece to remove any tear-out. (This will make it easier to feed the blade through the pilot holes.) Step 3. Make all the inside cuts first. (Leaving the surrounding wood intact provides you with a uniform edge, which will help while you pivot and maneuver the wood as you feed it into the blade.) Step 4. After making all the inside cuts, cut the perimeter of the design, releasing the piece from the surrounding wood. Step 5. Carefully peel off the pattern and the painter's tape. Using sandpaper or a sanding pad, remove any burrs from the cut edges. Vacuum off any remaining dust, and apply your finish of choice following the manufacturer's instructions. For questions concerning this project, pleose email Toni at toni@chrestensenburghoutdesigns.com. To view other projects by the design team of Toni Burghout and Sue Chrestensen, based in Orillia, Canada, please visit their website, www.chrestensenburghoutdesigns.com. ^ M Creative Woodworks & Crafts April 2009 • 11 |


