Creative Woodworks & crafts 2009-04, страница 41
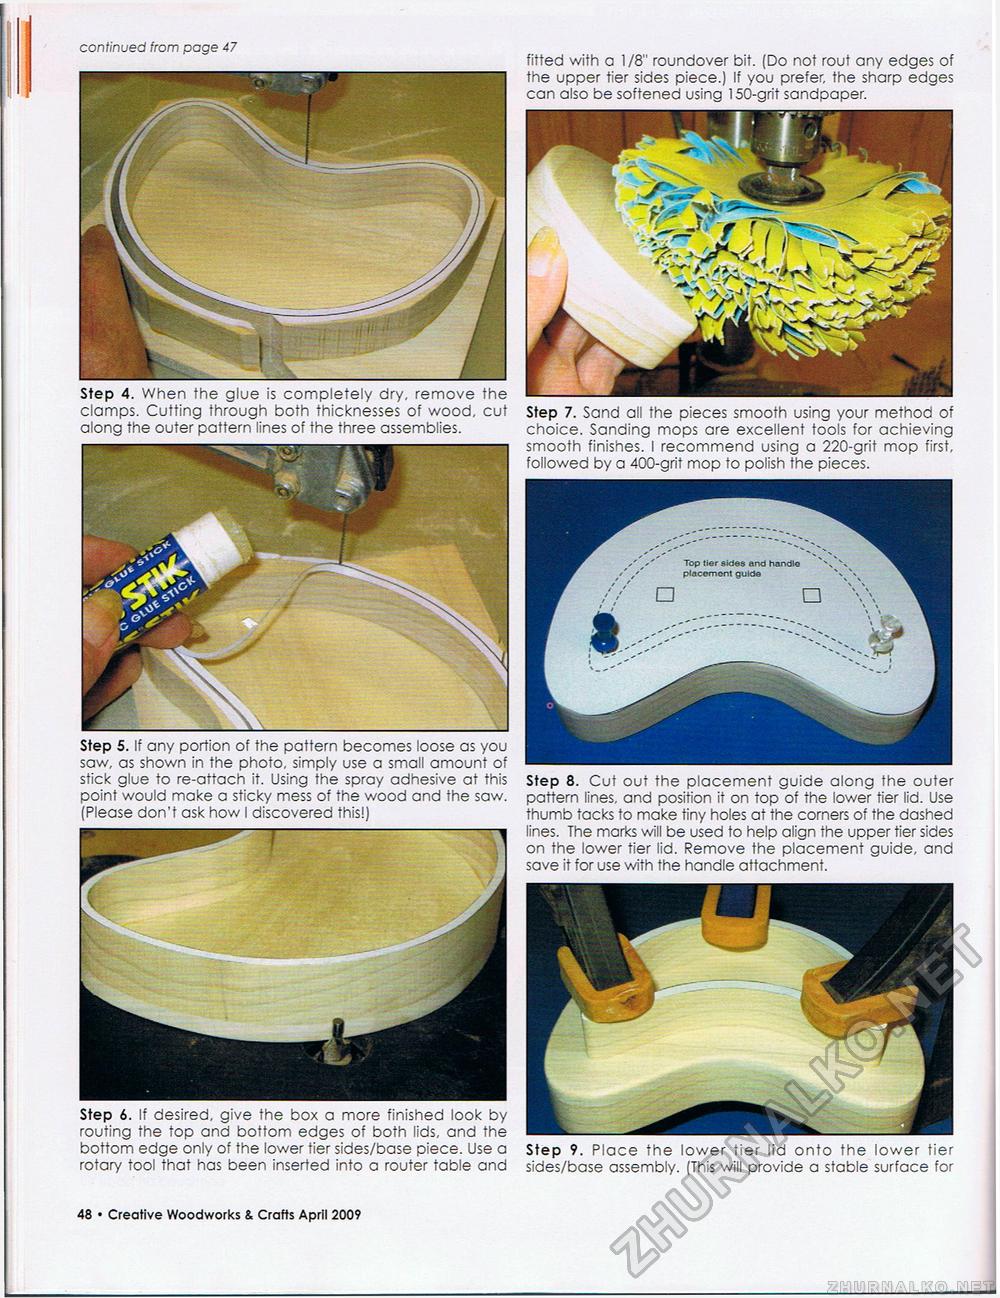
fitted with a 1/8" roundover bit. (Do not rout any edges of the upper tier sides piece.) If you prefer, the sharp edges can also be softened using 150-grit sandpaper. Step 7. Sand all the pieces smooth using your method of choice. Sanding mops are excellent tools for achieving smooth finishes. I recommend using a 220-grit mop first, followed by a 400-grit mop to polish the pieces. Step 8. Cut out the placement guide along the outer pattern lines, and position it on top of the lower tier lid. Use thumb tacks to make tiny holes at the corners of the dashed lines. The marks will be used to help align the upper tier sides on the lower tier lid. Remove the placement guide, and save it for use with the handle attachment. Step 9. Place the lower tier lid onto the lower tier sides/base assembly. (This will provide a stable surface for - continued from page 47 Step 4. When the glue is completely dry, remove the clamps. Cutting through both thicknesses of wood, cut along the outer pattern lines of the three assemblies. Step 5. If any portion of the pattern becomes loose as you saw, as shown in the photo, simply use a small amount of stick glue to re-attach it. Using the spray adhesive at this point would make a sticky mess of the wood and the saw. (Please don't ask how I discovered this!) Step 6. If desired, give the box a more finished look by routing the top and bottom edges of both lids, and the bottom edge only of the lower tier sides/base piece. Use a rotary tool that has been inserted into a router table and 78 • Creative Woodworks & Crafts April 2009 |


