Creative Woodworks & Crafts-059-1998-Fall, страница 29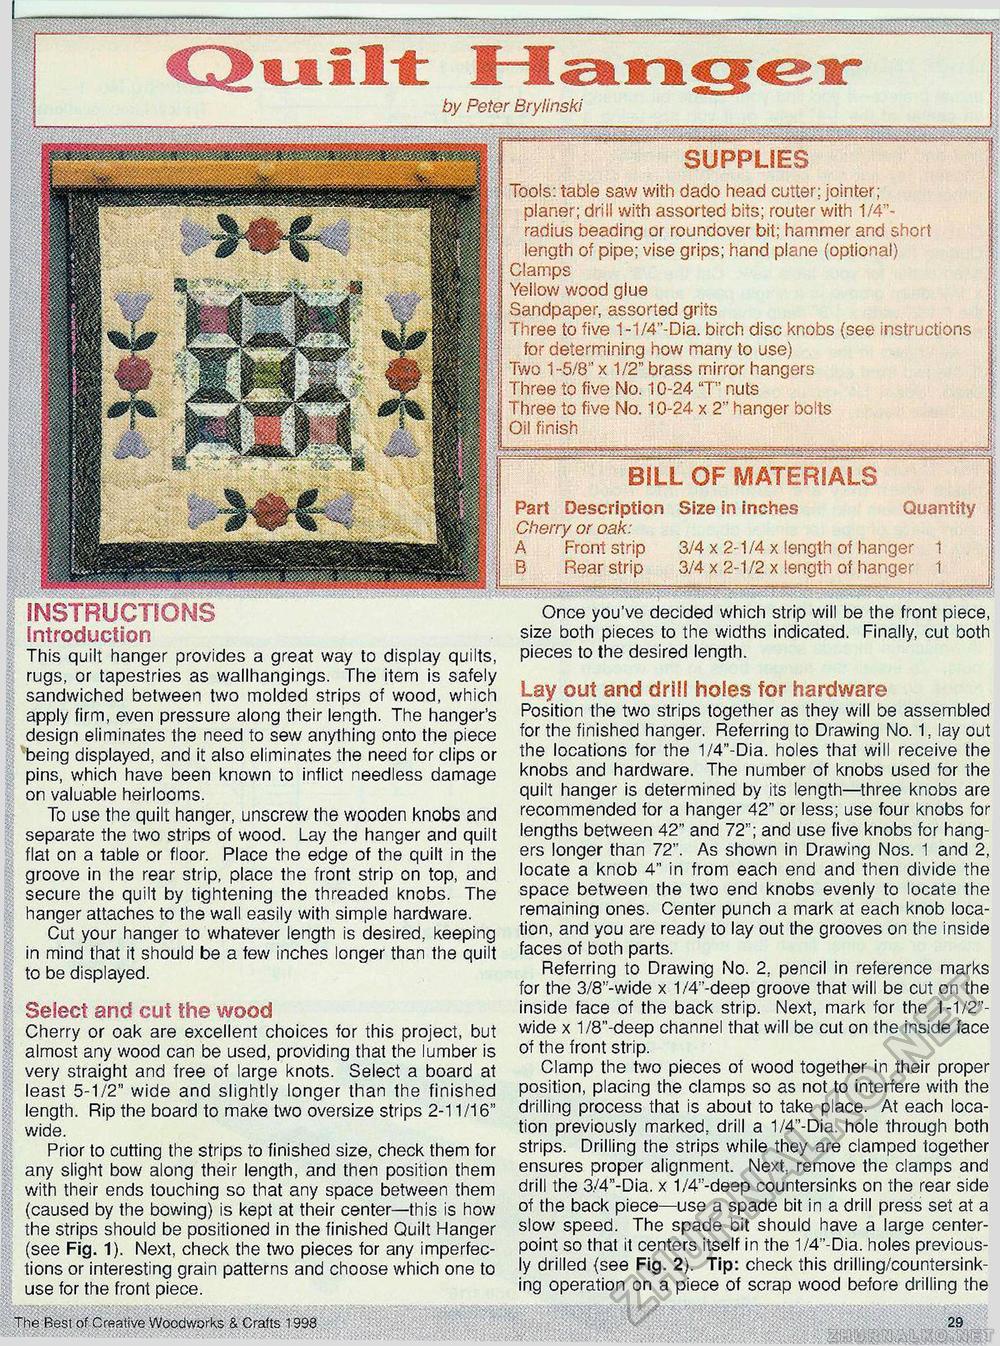
by Peter Brylinski Tools: table saw with dado head cutter; jointer; planer; drill with assorted bits; router with 1/4"-radius beading or roundover bit; hammer and short length of pipe; vise grips; hand plane (optional) Clamps Yellow wood glue Sandpaper, assorted grits Three to five 1-1/4"-Dia. birch disc knobs (see instructions for determining how many to use) Two 1-5/8" x 1/2" brass mirror hangers Three to five No. 10-24 "T" nuts Three to five No. 10-24 x 2" hanger bolts Oil finish Part Description Size in inches Quar Cherry or oak: A Front strip 3/4 x 2-1/4 x length of hanger 1 B Rear strip 3/4 x 2-1/2 x length of hanger 1 INSTRUCTIONS Introduction This quilt hanger provides a great way to display quilts, rugs, or tapestries as wallhangings. The item is safely sandwiched between two molded strips of wood, which apply firm, even pressure along their length. The hanger's design eliminates the need to sew anything onto the piece being displayed, and it also eliminates the need for clips or pins, which have been known to inflict needless damage on valuable heirlooms. To use the quilt hanger, unscrew the wooden knobs and separate the two strips of wood. Lay the hanger and quilt flat on a table or floor. Place the edge of the quilt in the groove in the rear strip, place the front strip on top, and secure the quilt by tightening the threaded knobs. The hanger attaches to the wall easily with simple hardware. Cut your hanger to whatever length is desired, keeping in mind that it should be a few inches longer than the quilt to be displayed. Select and cut the wood Cherry or oak are excellent choices for this project, but almost any wood can be used, providing that the lumber is very straight and free of large knots. Select a board at least 5-1/2" wide and slightly longer than the finished length. Rip the board to make two oversize strips 2-11/16" wide. Prior to cutting the strips to finished size, check them for any slight bow along their length, and then position them with their ends touching so that any space between them (caused by the bowing) is kept at their center—this is how the strips should be positioned in the finished Quilt Hanger (see Fig. 1). Next, check the two pieces for any imperfections or interesting grain patterns and choose which one to use for the front piece. Once you've decided which strip will be the front piece, size both pieces to the widths indicated. Finally, cut both pieces to the desired length. Lay out and drill holes for hardware Position the two strips together as they will be assembled for the finished hanger. Referring to Drawing No. 1, lay out the locations for the 1/4"-Dia. holes that will receive the knobs and hardware. The number of knobs used for the quilt hanger is determined by its length—three knobs are recommended for a hanger 42" or less; use four knobs for lengths between 42" and 72"; and use five knobs for hangers longer than 72". As shown in Drawing Nos. 1 and 2, locate a knob 4" in from each end and then divide the space between the two end knobs evenly to locate the remaining ones. Center punch a mark at each knob location, and you are ready to lay out the grooves on the inside faces of both parts. Referring to Drawing No. 2, pencil in reference marks for the 3/8'-wide x 1/4"-deep groove that will be cut on the inside face of the back strip. Next, mark for the 1-1/2"-wide x 1/8"-deep channel that will be cut on the inside face of the front strip. Clamp the two pieces of wood together in their proper position, placing the clamps so as not to interfere with the drilling process that is about to take place. At each location previously marked, drill a 1/4"-Dia. hole through both strips. Drilling the strips while they are clamped together ensures proper alignment. Next, remove the clamps and drill the 3/4"-Dia. x 1/4"-deep countersinks on the rear side of the back piece—use a spade bit in a drill press set at a slow speed. The spade bit should have a large center-point so that it centers itself in the 1/4"-Dia. holes previously drilled (see Fig. 2). Tip: check this drilling/countersinking operation on a piece of scrap wood before drilling the The Best of Creative Woodworks & Crafts 1998 29 |


