Creative Woodworks & Crafts-059-1998-Fall, страница 60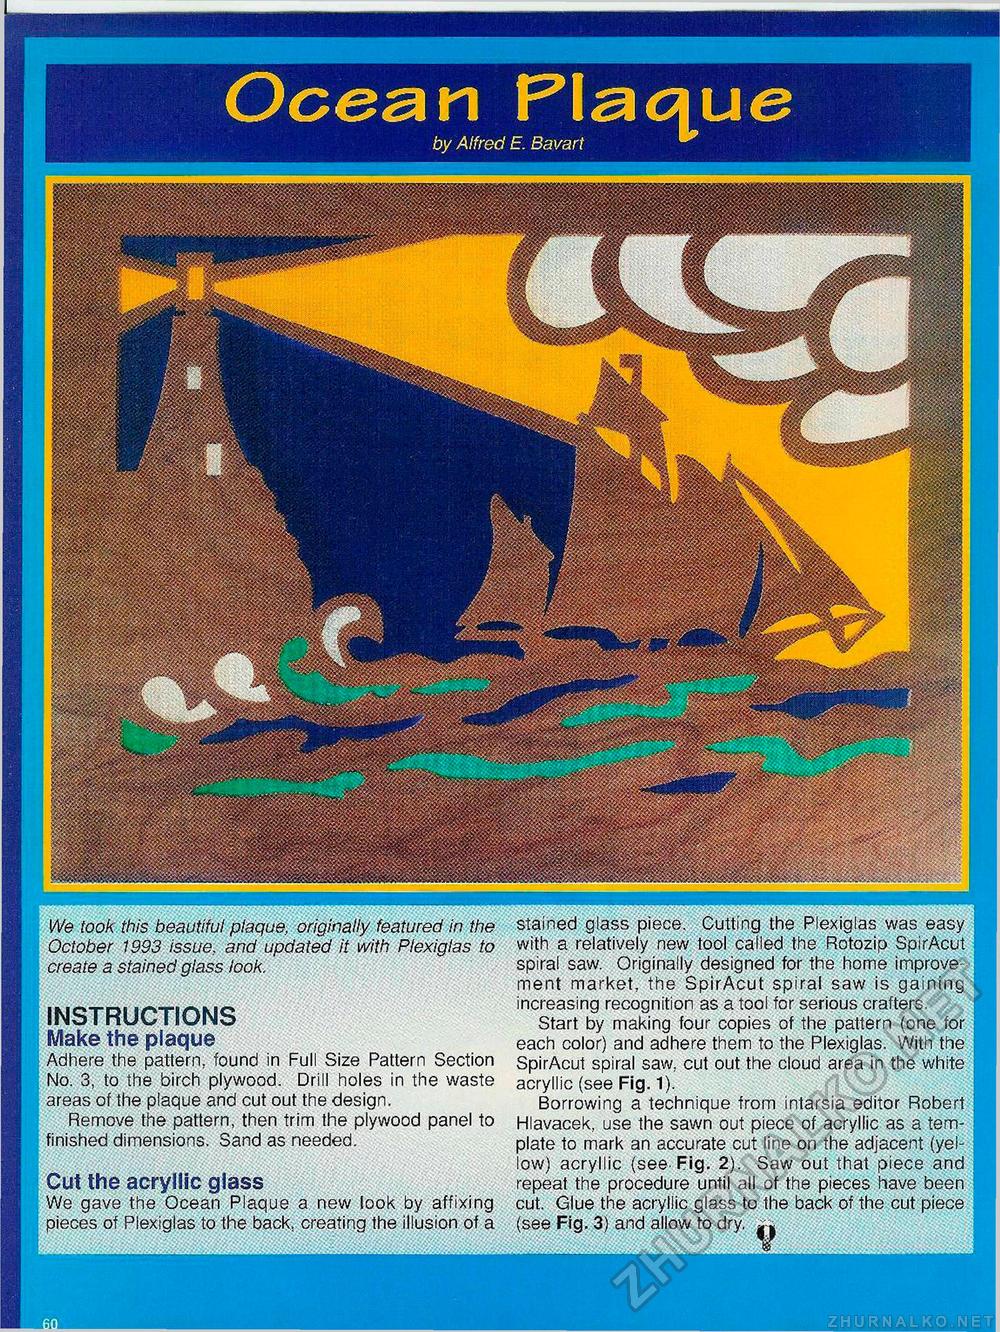
Oceav\ Plaque hi/ Aifr/2%/-! Ft a by Alfred E. Bavart IMHHH stained glass piece. Cutting the Plexiglas was easy with a relatively new tool called the Rotozip SpirAcut spiral saw. Originally designed for the home improvement market, the SpirAcut spiral saw is gaining increasing recognition as a tool for serious crafters. Start by making four copies of the pattern (one for each color) and adhere them to the Plexiglas. With the ; SpirAcut spiral saw, cut out the cloud area in the white j acryllic (see Fig. 1). Borrowing a technique from intarsia editor Robert i Hlavacek, use the sawn out piece of acryllic as a tern- ; plate to mark an accurate cut line on the adjacent (yellow) acryllic (see-Fig. 2). Saw out that piece and repeat the procedure until all of the pieces have been I cut. Glue the acryllic glass to the back of the cut piece (see Fig. 3) and allow to dry. We took this beautiful plaque, originally featured in the October 1993 issue, and updated it with Plexiglas to create a stained glass look. INSTRUCTIONS Make the plaque Adhere the pattern, found in Full Size Pattern Section No. 3, to the birch plywood. Drill holes in the waste areas of the plaque and cut out the design. Remove the pattern, then trim the plywood panel to finished dimensions. Sand as needed. Cut the acryllic glass We gave the Ocean Plaque a new look by affixing pieces of Plexiglas to the back, creating the illusion of a |


