Creative Woodworks & Crafts-059-1998-Fall, страница 62
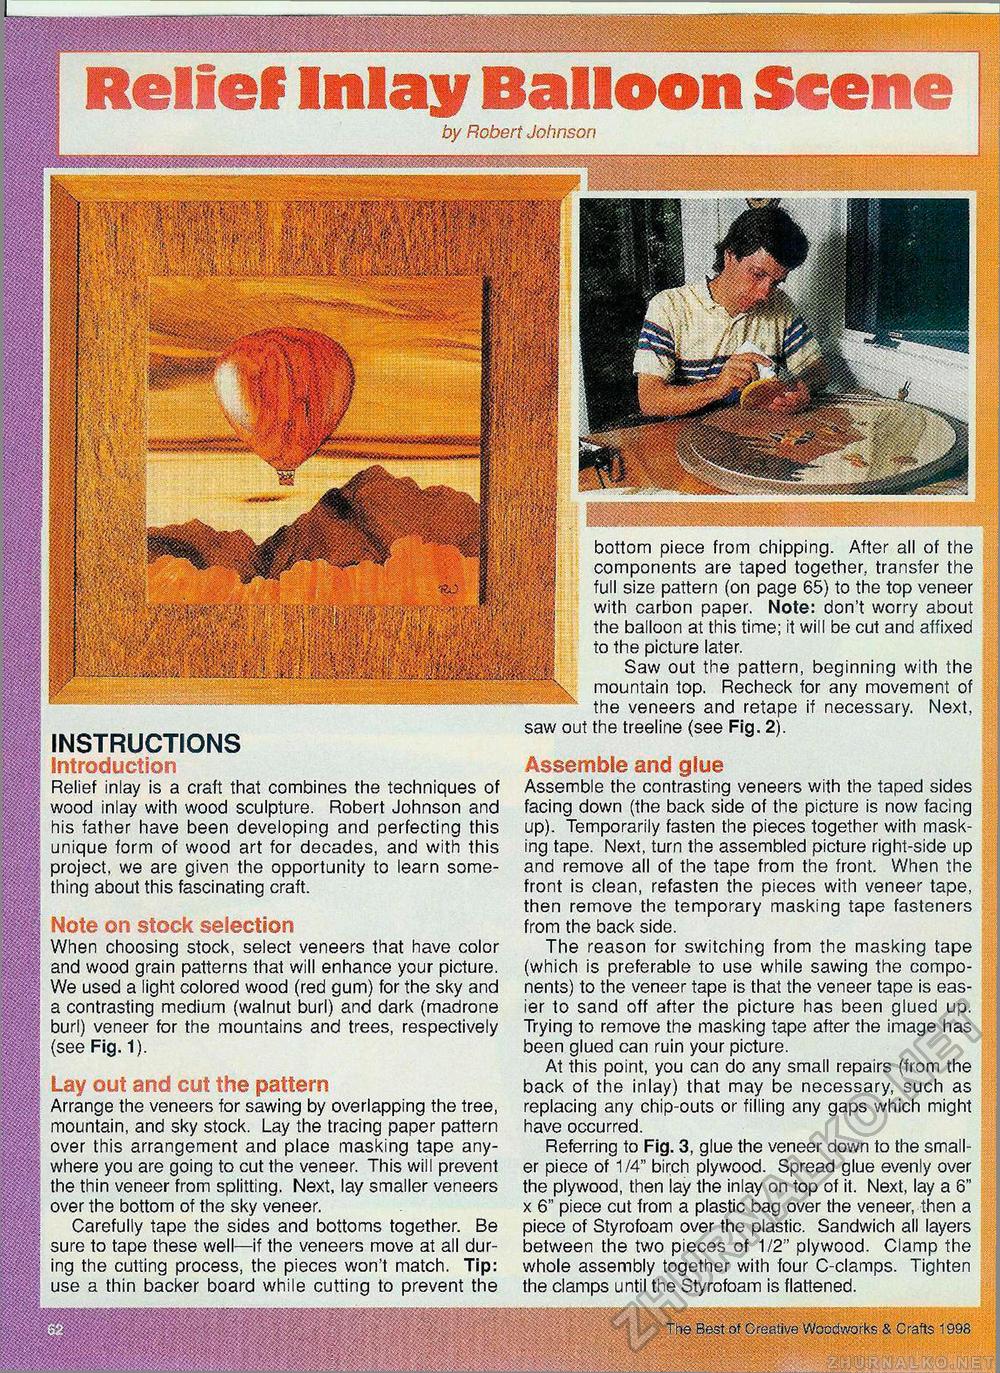
by Robert Johnson WmMwffiflmm, bottom piece from chipping. After ail of the ■j'fs^ components are taped together, transfer the V! full size pattern (on page 65) to the top veneer with carbon paper. Note: don't worry about fj$0 the balloon at this time; it will be cut and affixed •i'lK; t0 the Picture later. Saw out the pattern, beginning with the \ mountain top. Recheck for any movement of the veneers and retape if necessary. Next, saw out the treeline (see Fig. 2). Assemble and glue Assemble the contrasting veneers with the taped sides facing down (the back side of the picture is now facing up). Temporarily fasten the pieces together with masking tape. Next, turn the assembled picture right-side up and remove all of the tape from the front. When the front is clean, refasten the pieces with veneer tape, then remove the temporary masking tape fasteners from the back side. The reason for switching from the masking tape (which is preferable to use while sawing the components) to the veneer tape is that the veneer tape is easier to sand off after the picture has been glued up. Trying to remove the masking tape after the image has been glued can ruin your picture. At this point, you can do any small repairs (from the back of the inlay) that may be necessary, such as replacing any chip-outs or filling any gaps which might have occurred. Referring to Fig. 3, glue the veneer down to the smaller piece of 1/4" birch plywood. Spread glue evenly over the plywood, then lay the inlay on top of it. Next, lay a 6" x 6" piece cut from a plastic bag over the veneer, then a piece of Styrofoam over the plastic. Sandwich all layers between the two pieces of 1/2" plywood. Clamp the whole assembly together with four C-clamps. Tighten the clamps until the Styrofoam is flattened. INSTRUCTIONS introduction Relief inlay is a craft that combines the techniques of wood inlay with wood sculpture. Robert Johnson and his father have been developing and perfecting this unique form of wood art for decades, and with this project, we are given the opportunity to learn something about this fascinating craft. Note on stock selection When choosing stock, select veneers that have color and wood grain patterns that will enhance your picture. We used a light colored wood (red gum) for the sky and a contrasting medium (walnut burl) and dark (madrone burl) veneer for the mountains and trees, respectively (see Fig. 1). Lay out and cut the pattern Arrange the veneers for sawing by overlapping the tree, mountain, and sky stock. Lay the tracing paper pattern over this arrangement and place masking tape anywhere you are going to cut the veneer. This will prevent the thin veneer from splitting. Next, lay smaller veneers over the bottom of the sky veneer. Carefully tape the sides and bottoms together. Be sure to tape these well—if the veneers move at all during the cutting process, the pieces won't match. Tip: use a thin backer board while cutting to prevent the The Best of Creative Woodworks & Crafts 1998 |


