Creative Woodworks & Crafts-059-1998-Fall, страница 63
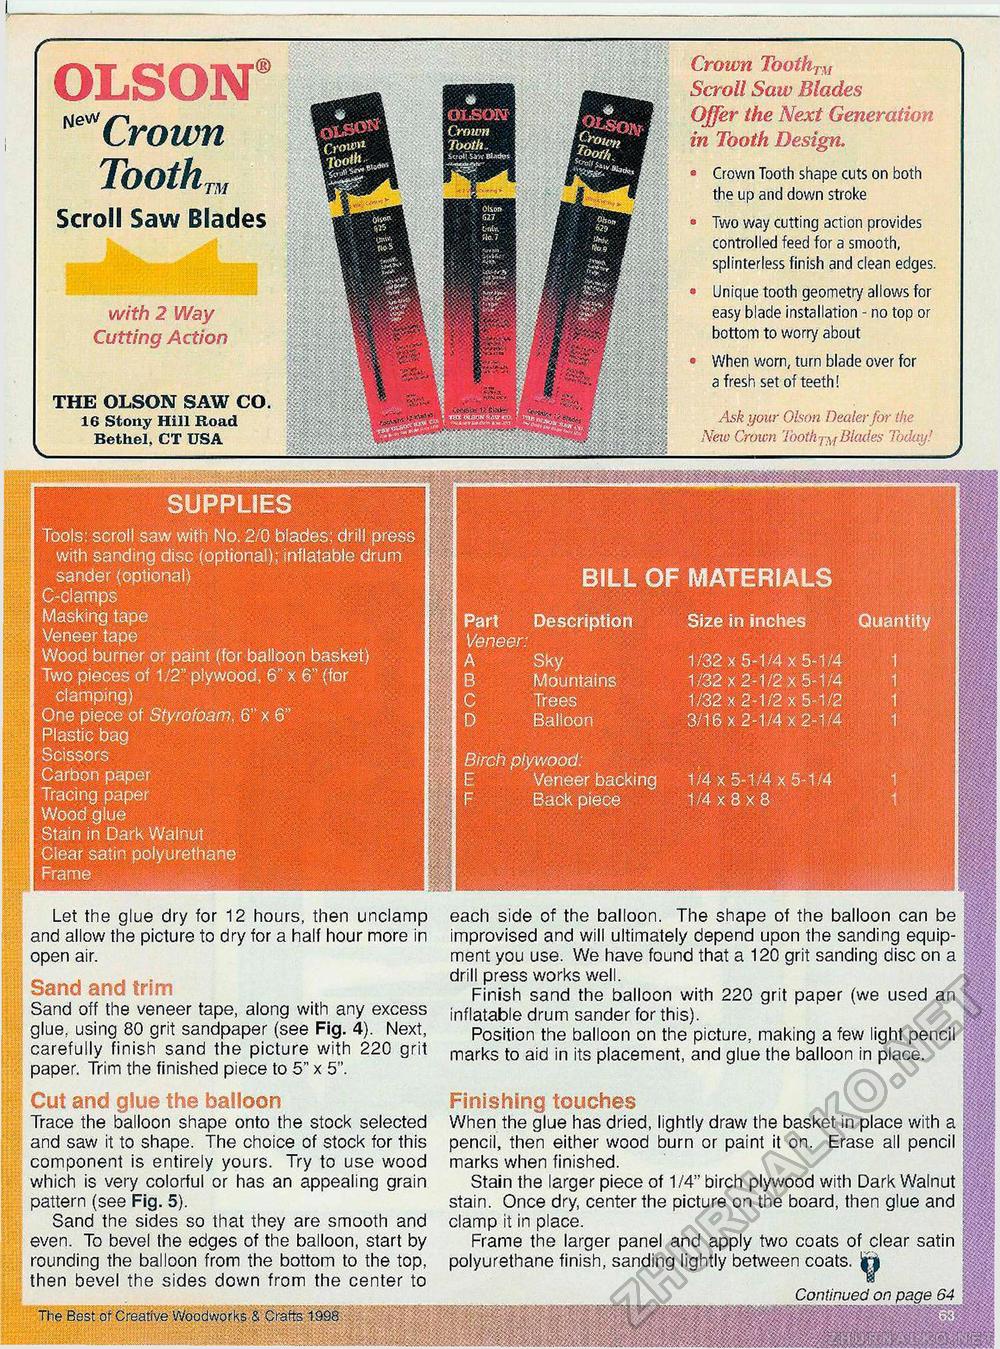
I BILL OF MATERIALS Part Description Size in inches Veneer: A Sky 1/32 x 5-1/4 x £ B Mountains 1/32x2-1/2x5 C Trees 1/32 x 2-1/2 x £ D Balloon 3/16 x 2-1/4 x 2 Birch plywood. Veneer backing 1/4x5-1/4x5-1/4 Back piece 1/4x8x8 The Best of Creative Woodworks & Crafts 1,998 Tools: scroll saw with No. 2/0 biades; drill press with sanding disc (optional); inflatable drum sander (optional} C-clamps Masking tape Veneer tape Wood burner or paint (for balloon basket) Two pieces of 1/2" plywood, 6" x 6" (for clamping) One piece of Styrofoam, 6" x 6" Plastic bag Scissors Carbon paper Tracing paper Wood glue Stain in Dark Walnut Clear satin polyuretbane Frame each side of the balloon. The shape of the balloon can be improvised and will ultimately depend upon the sanding equipment you use. We have found that a 120 grit sanding disc on a drill press works well. Finish sand the balloon with 220 grit paper (we used an inflatable drum sander for this). Position the balloon on the picture, making a few light pencil marks to aid in its placement, and glue the balloon in place. N Crown Toothy Scroll Saw Blades Offer the Next Generation in Tooth Design. • Crown Tooth shape cuts on both the up and down stroke • Two way cutting action provides controlled feed for a smooth, splinterless finish and clean edges. • Unique tooth geometry allows for easy blade installation - no top or bottom to worry about • When worn, turn blade over for a fresh set of teeth! Ask your Olson Dealer far the New Crown Tooth fM Biades Today! Let the glue dry for 12 hours, then unclamp and allow the picture to dry for a half hour more in open air. Sand and trimSand off the veneer tape, along with any excess glue, using 80 grit sandpaper (see Fig. 4). Next, carefully finish sand the picture with 220 grit paper. Trim the finished piece to 5" x 5". Cut and glue the balloonTrace the balloon shape onto the stock selected and saw it to shape. The choice of stock for this component is entirely yours. Try to use wood which is very colorful or has an appealing grain pattern (see Fig. 5). Sand the sides so that they are smooth and even. To bevel the edges of the balloon, start by rounding the balloon from the bottom to the top, then bevel the sides down from the center to Finishing touchesWhen the glue has dried, lightly draw the basket in place with a pencil, then either wood burn or paint it on. Erase all pencil marks when finished. Stain the larger piece of 1/4" birch plywood with Dark Walnut stain. Once dry, center the picture on the board, then glue and clamp it in place. Frame the larger panel and apply two coats of clear satin ji polyurethane finish, sanding lightly between coats, ira with 2 Way Cutting Action THE OLSON SAW CO. 16 Stony Hill Road Bethel, CT USA Continued on page 64 OLSON® NeWCrown Toothm Scroll Saw Blades |


