Creative Woodworks & crafts-111-2005-Holiday, страница 20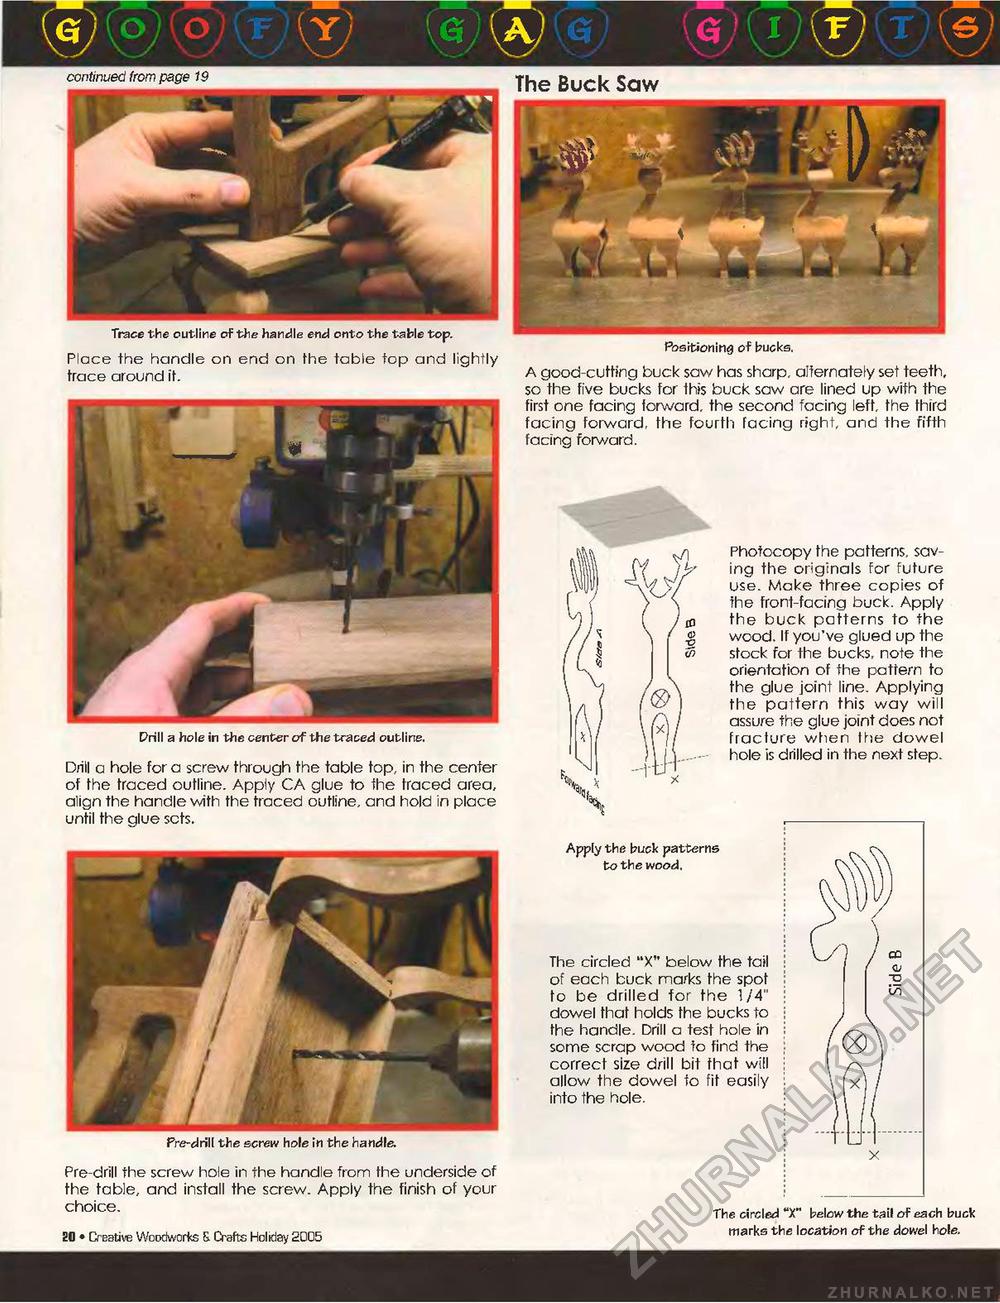
Trace the outline of the handle end onto the table top. Place the handle on end on the table fop and lightly trace around it. Prill a hole in the center of the traced outline. Drill a hole for a screw through the table top, in the center of the traced outline. Appiy CA glue to the traced area, align the handle with the traced outline, and hold in place until the glue sets. Pre-drill the screw hole in the handle. Pre-dril! the screw hole in the handle from the underside of the table, and install the screw. Apply the finish of your choice. i flfl • Creative Woodworks & Crafts Holiday S005 Apply the buck patterns to the wood, The circled "X" below the tail of each buck marks the spot to be drilled for the 1/4" dowel that holds the bucks to the handle. Drill a test hole in some scrap wood to find the correct size drill bit that will allow the dowel to fit easily into the hole. The circled "X" below the tail of each buck marks the location of the dowel hole. Positioning of bucks. A good-cutting buck saw has sharp, alternately set teeth, so the five bucks for this buck saw are lined up with the first one facing forward, the second facing left, the third facing forward, the fourth facing right, and the fifth facing forward. Photocopy the patterns, saving the originals for future use. Make three copies of the front-facing buck. Apply the buck patterns to the wood. If you've glued up the stock for the bucks, note the orientation of the pattern to the glue joint line. Applying the pattern this way will assure the glue joint does not fracture when the dowel hole is drilled in the next step. continued from page 19 The Buck Saw |


