Creative Woodworks & crafts-111-2005-Holiday, страница 23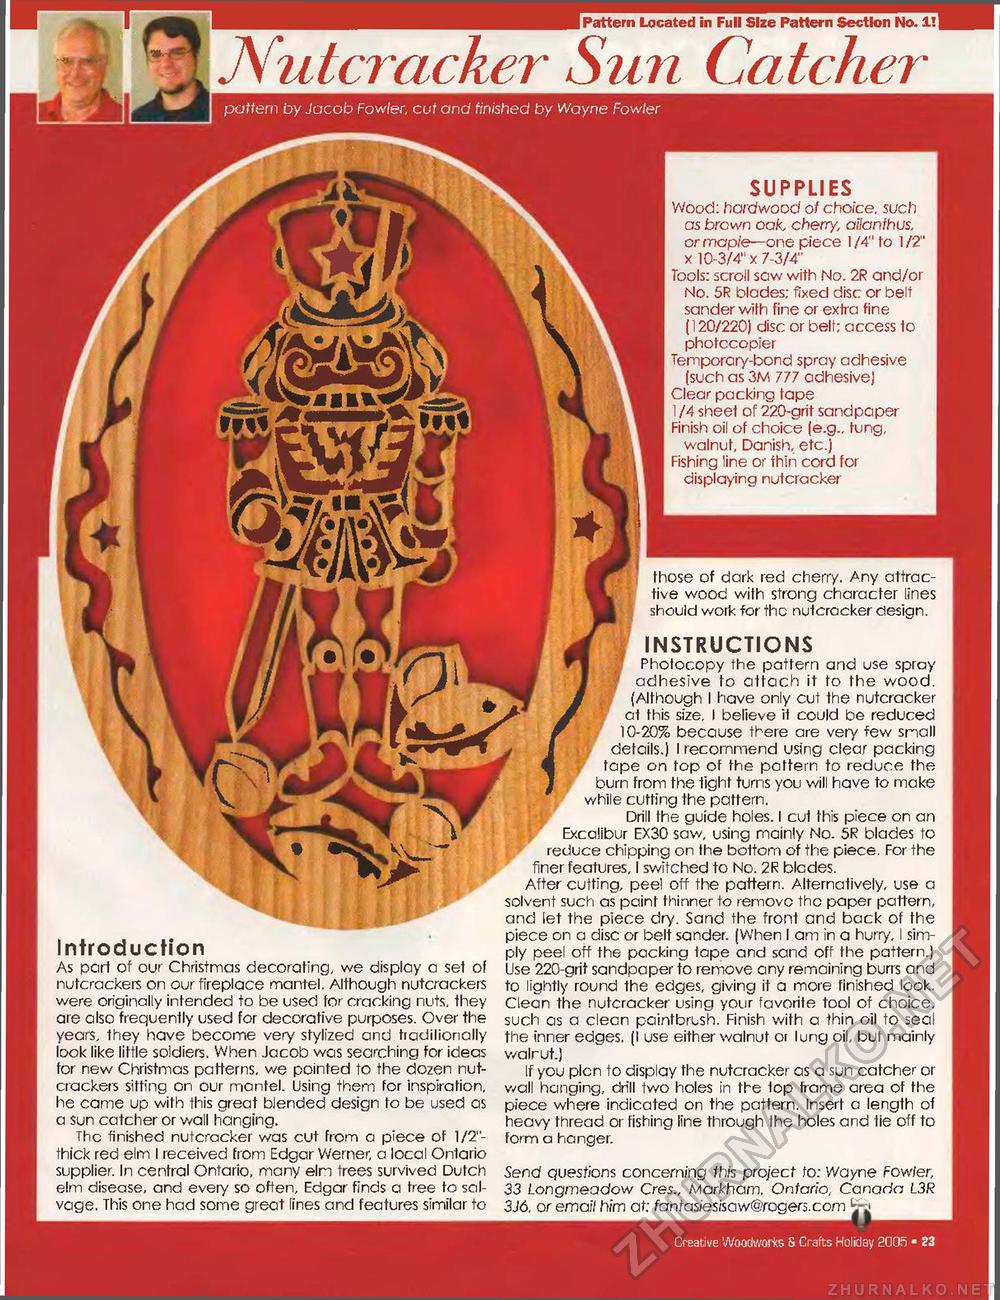
pattern by Jacob Fowfee cut and finished by Wayne Fowler IB! SUPPLIES Wood: hardwood of choice, such as brown oak, cherry, ailanfhus, or map/e—one piece 1 /4" to 1 /2" x 10-3/4" x 7-3/4" Tools: scroll saw with No. 2R and/or No. 5R blades; fixed disc or belt sander with fine or extra fine (120/220) disc or belt; access to photocopier Temporary-bond spray adhesive (such as 3M 777 adhesive) Clear packing tape 1 /4 sheet of 220-grit sandpaper-Finish oil of choice (e.g.. tung, walnut, Danish, etc.) Fishing line or thin cord for displaying nutcracker Introduction As part of our Christmas decorating, we display a set of nutcrackers on our fireplace mantel. Although nutcrackers were originally intended to be used for cracking nuts, they are also frequently used for decorative purposes. Over the years, they have become very stylized and tiadilionally look like little soldiers. When Jacob was searching for ideas for new Christmas patterns, we pointed to the dozen nutcrackers sitting on our mantel. Using them for inspiration, he came up with this great blended design to be used as a sun catcher or wall hanging. The finished nutcracker was cut From a piece of 1/2"-thick red elm I received from Edgar Werner, a local Ontario supplier. In central Ontario, many elm trees survived Dutch elm disease, and every so often, Edgar finds a free to salvage, This one had some great lines and features similar to those of dark red cherry. Any attractive wood with strong character lines should wori< for the nutcracker design. INSTRUCTIONS Photocopy the pattern and use spray adhesive to attach it to the wood. (Although I have only cut the nutcracker at this size. I believe it could be reduced 10-20% because there are very few small details.) I recommend using clear packing tape on top of the pattern to reduce the burn from the tight turns you will have to make while cutting the pattern, Drill the guide holes. I cut this piece on an Excalibur EX30 saw, using mainly No. 5R blades to reduce chipping on the bottom of the piece. For the finer features, I switched to No. 2R blcdes. After cutting, peel off the pattern. Alternatively, use a solvent such as paint thinner to remove the paper pattern, and let the piece dry. Sand the front and back of the piece on a disc or belt sander. (When I am in a hurry, I simply peel off the packing tape and sand off the pattern.) Use 220-grit sandpaper to remove any remaining burrs and to lightly round the edges, giving it a more finished look-Clean the nutcracker using your favorite tool of choice, such as a eleen paintbrush. Finish with a thin oil to seal the inner edges. (I use either walnut or lung oil, but mainly v/alrut.) If you plcn to display the nutcracker as a sun catcher or wall hanging, drill two holes in the fop frame area of the piece where indicated on the pattern. Insert a length of heavy thread or fishing line through the holes and tie off to form a hanger. Send questions concerning this project to: Wayne Fowler, 33 Longrneadow Cres., Markham. Ontario, Canada L3R 3J6. or emai/ him at; fantasiesisaw@ragers.com ' I Pattern Located in Full Size Pattern Section No. 1!] Nutcracker Sun Catcher Creative Woodworks & Crafts Holiday 2C05 ■ 23 |


