Popular Woodworking 2000-02 № 113, страница 20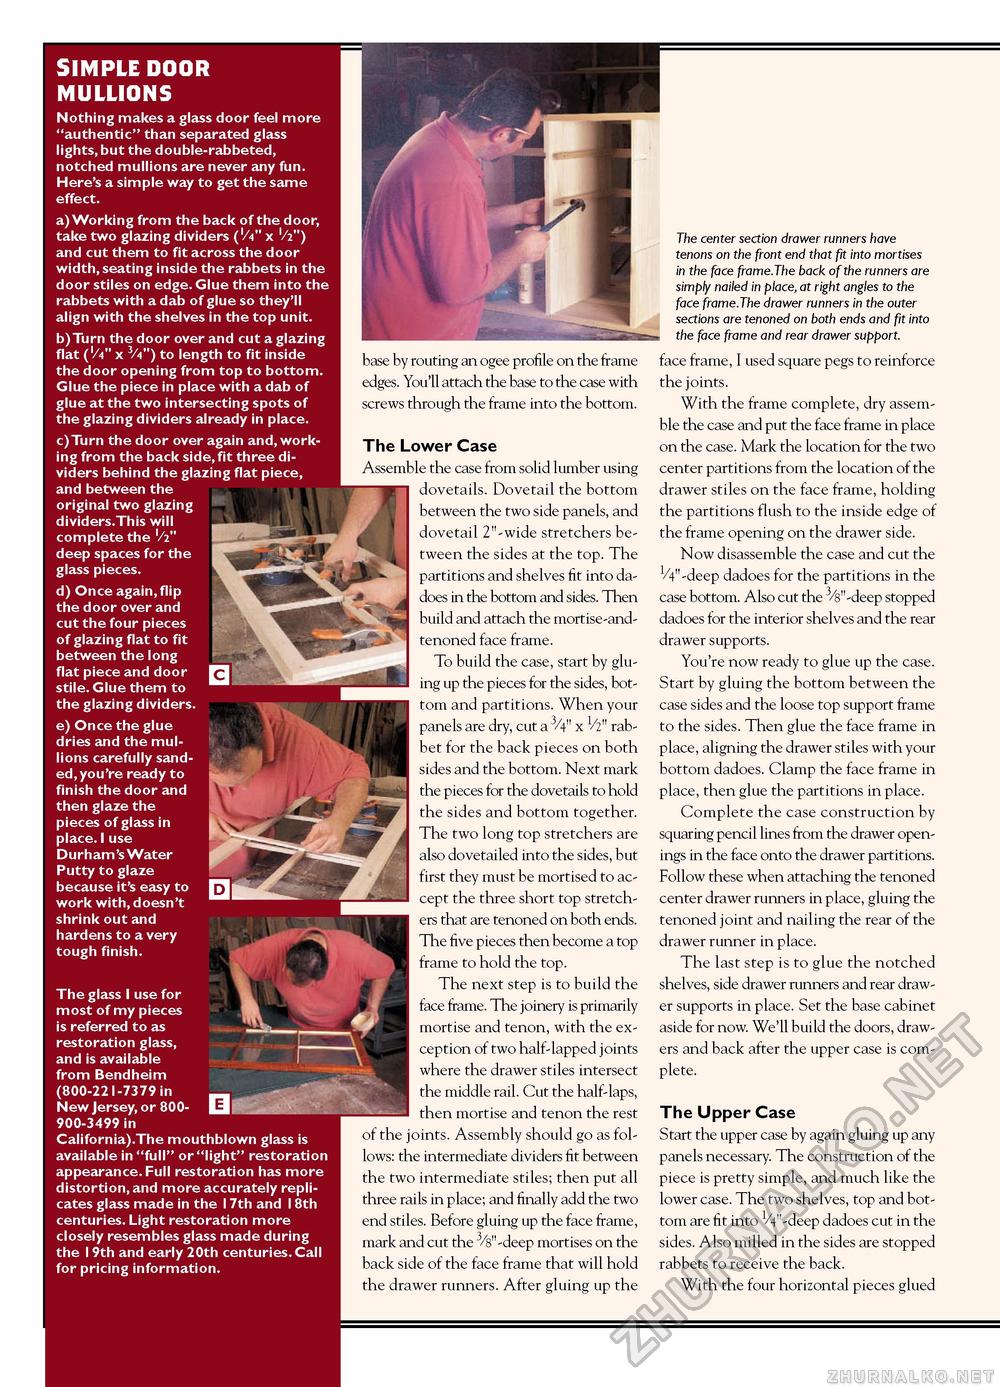
simple door mullions Nothing makes a glass door feel more "authentic" than separated glass lights, but the double-rabbeted, notched mullions are never any fun. Here's a simple way to get the same effect. a) Working from the back of the door, take two glazing dividers ('/V' x '/2") and cut them to fit across the door width, seating inside the rabbets in the door stiles on edge. Glue them into the rabbets with a dab of glue so they'll align with the shelves in the top unit. b) Turn the door over and cut a glazing flat ('/4" x 3/4") to length to fit inside the door opening from top to bottom. Glue the piece in place with a dab of glue at the two intersecting spots of the glazing dividers already in place. c) Turn the door over again and, working from the back side, fit three dividers behind the glazing flat piece, and between the original two glazing dividers.This will ^^^^nt complete the Vi" ^^mm— deep spaces for the - A glass pieces. ^^^^PfMIKS d) Once again,flip the door over and cut the four pieces of glazing flat to fit between the long flat piece and door Q stile. Glue them to the glazing dividers. e) Once the glue dries and the mullions carefully sanded,you're ready to g finish the door and then glaze the pieces of glass in because it's easy to work with, doesn't shrink out and hardens to a very tough finish. The glass I use for most of my pieces is referred to as '■■ restoration glass, [ and is available I from Bendheim New Jersey, or 800- [a?* 900-3499 in California).The mouthblown glass is available in "full" or "light" restoration appearance. Full restoration has more distortion, and more accurately replicates glass made in the '7th and '8th centuries. Light restoration more closely resembles glass made during the '9th and early 20th centuries. Call for pricing information. base by routing an ogee profile on the frame edges. You'll attach the base to the case with screws through the frame into the bottom. The Lower Case Assemble the case from solid lumber using dovetails. Dovetail the bottom between the two side panels, and dovetail 2"-wide stretchers between the sides at the top. The partitions and shelves fit into dadoes in the bottom and sides. Then build and attach the mortise-and-tenoned face frame. To build the case, start by gluing up the pieces for the sides, bottom and partitions. When your panels are dry, cut a 3/4" x V2" rabbet for the back pieces on both sides and the bottom. Next mark the pieces for the dovetails to hold the sides and bottom together. The two long top stretchers are also dovetailed into the sides, but first they must be mortised to accept the three short top stretchers that are tenoned on both ends. The five pieces then become a top frame to hold the top. The next step is to build the face frame. The joinery is primarily mortise and tenon, with the exception of two half-lapped joints where the drawer stiles intersect the middle rail. Cut the half-laps, then mortise and tenon the rest of the joints. Assembly should go as follows: the intermediate dividers fit between the two intermediate stiles; then put all three rails in place; and finally add the two end stiles. Before gluing up the face frame, mark and cut the 3/s"-deep mortises on the back side of the face frame that will hold the drawer runners. After gluing up the The center section drawer runners have tenons on the front end that fit into mortises in the face frame.The back of the runners are simply nailed in place, at right angles to the face frame.The drawer runners in the outer sections are tenoned on both ends and fit into the face frame and rear drawer support. face frame, I used square pegs to reinforce the joints. With the frame complete, dry assemble the case and put the face frame in place on the case. Mark the location for the two center partitions from the location of the drawer stiles on the face frame, holding the partitions flush to the inside edge of the frame opening on the drawer side. Now disassemble the case and cut the 1/4"-deep dadoes for the partitions in the case bottom. Also cut the 3/s"-deep stopped dadoes for the interior shelves and the rear drawer supports. You're now ready to glue up the case. Start by gluing the bottom between the case sides and the loose top support frame to the sides. Then glue the face frame in place, aligning the drawer stiles with your bottom dadoes. Clamp the face frame in place, then glue the partitions in place. Complete the case construction by squaring pencil lines from the drawer openings in the face onto the drawer partitions. Follow these when attaching the tenoned center drawer runners in place, gluing the tenoned joint and nailing the rear of the drawer runner in place. The last step is to glue the notched shelves, side drawer runners and rear drawer supports in place. Set the base cabinet aside for now. We'll build the doors, drawers and back after the upper case is complete. The Upper Case Start the upper case by again gluing up any panels necessary. The construction of the piece is pretty simple, and much like the lower case. The two shelves, top and bottom are fit into ^''-deep dadoes cut in the sides. Also milled in the sides are stopped rabbets to receive the back. With the four horizontal pieces glued |


