Popular Woodworking 2000-02 № 113, страница 23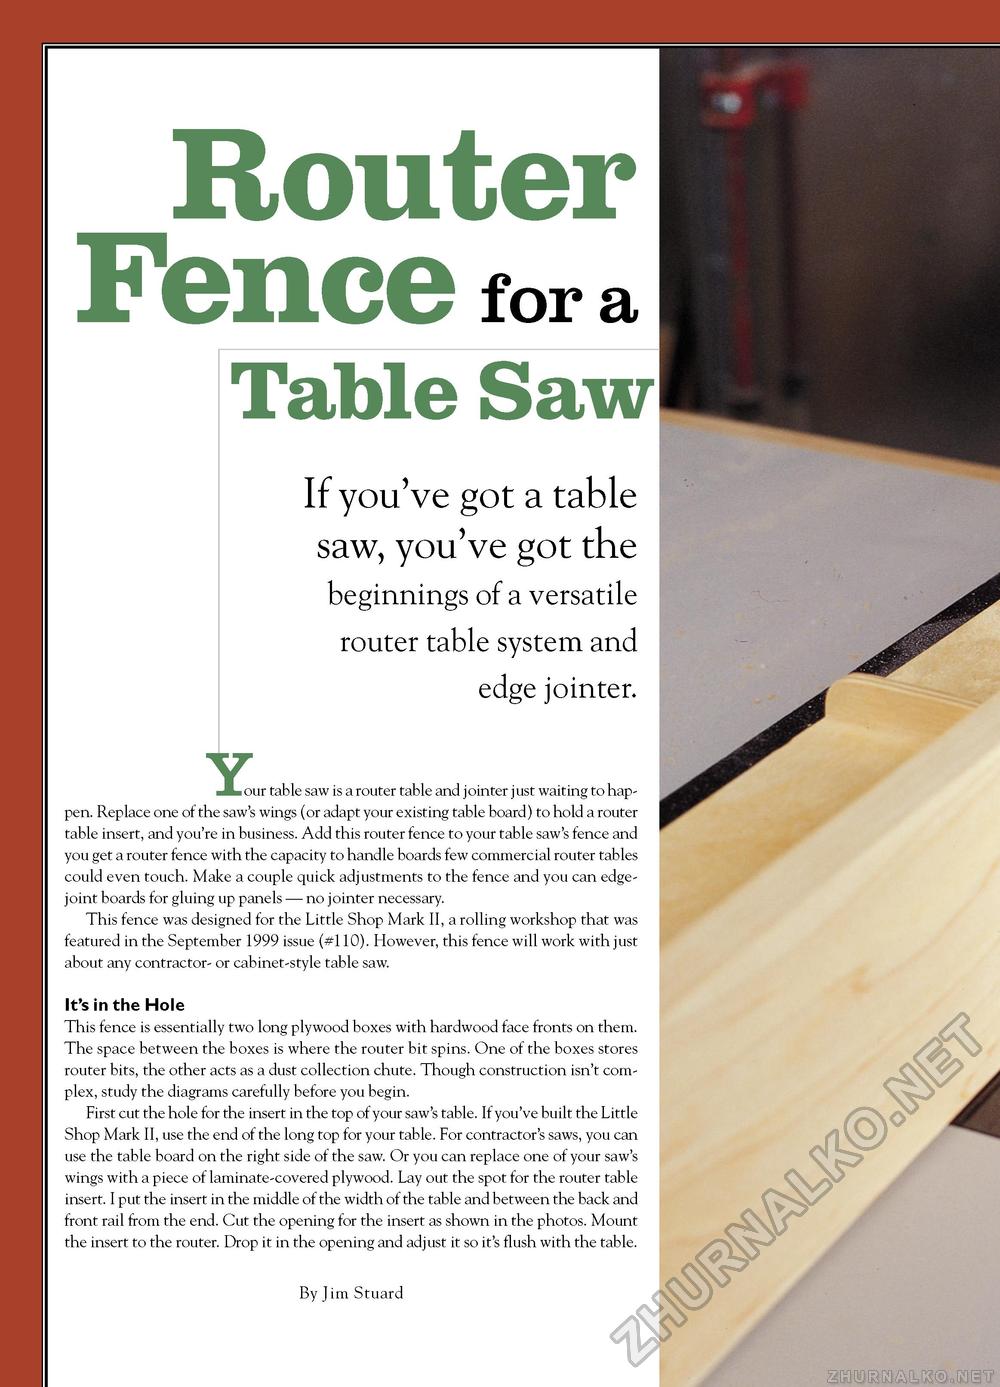
RouterFence for aTable Saw If you've got a table saw, you've got the beginnings of a versatile router table system and edge jointer. our table saw is a router table and jointer just waiting to happen. Replace one of the saw's wings (or adapt your existing table board) to hold a router table insert, and you're in business. Add this router fence to your table saw's fence and you get a router fence with the capacity to handle boards few commercial router tables could even touch. Make a couple quick adjustments to the fence and you can edge-joint boards for gluing up panels — no jointer necessary. This fence was designed for the Little Shop Mark II, a rolling workshop that was featured in the September 1999 issue (#110). However, this fence will work with just about any contractor- or cabinet-style table saw. It's in the Hole This fence is essentially two long plywood boxes with hardwood face fronts on them. The space between the boxes is where the router bit spins. One of the boxes stores router bits, the other acts as a dust collection chute. Though construction isn't complex, study the diagrams carefully before you begin. First cut the hole for the insert in the top of your saw's table. If you've built the Little Shop Mark II, use the end of the long top for your table. For contractor's saws, you can use the table board on the right side of the saw. Or you can replace one of your saw's wings with a piece of laminate-covered plywood. Lay out the spot for the router table insert. I put the insert in the middle of the width of the table and between the back and front rail from the end. Cut the opening for the insert as shown in the photos. Mount the insert to the router. Drop it in the opening and adjust it so it's flush with the table. By Jim Stuard |


