Popular Woodworking 2000-02 № 113, страница 22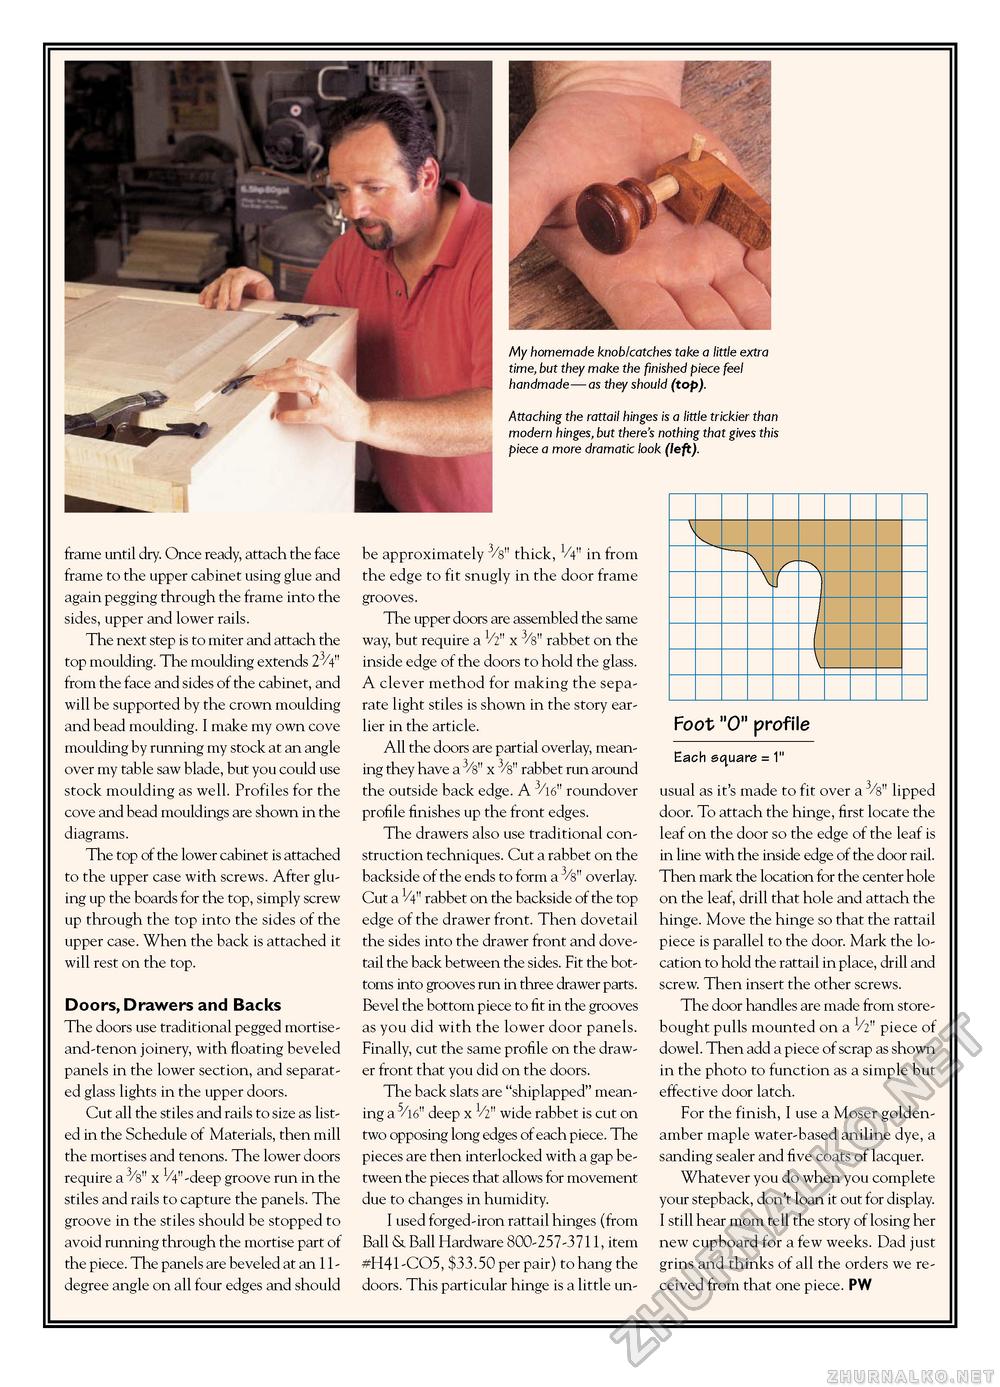
My homemade knob/catches take a little extra time, but they make the finished piece feel handmade—as they should (top). Attaching the rattail hinges is a little trickier than modern hinges, but there's nothing that gives this piece a more dramatic look (left). frame until dry. Once ready, attach the face frame to the upper cabinet using glue and again pegging through the frame into the sides, upper and lower rails. The next step is to miter and attach the top moulding. The moulding extends 23/4" from the face and sides of the cabinet, and will be supported by the crown moulding and bead moulding. I make my own cove moulding by running my stock at an angle over my table saw blade, but you could use stock moulding as well. Profiles for the cove and bead mouldings are shown in the diagrams. The top of the lower cabinet is attached to the upper case with screws. After gluing up the boards for the top, simply screw up through the top into the sides of the upper case. When the back is attached it will rest on the top. Doors, Drawers and Backs The doors use traditional pegged mortise-and-tenon joinery, with floating beveled panels in the lower section, and separated glass lights in the upper doors. Cut all the stiles and rails to size as listed in the Schedule of Materials, then mill the mortises and tenons. The lower doors require a 3/s" x V4"-deep groove run in the stiles and rails to capture the panels. The groove in the stiles should be stopped to avoid running through the mortise part of the piece. The panels are beveled at an 11-degree angle on all four edges and should be approximately 3/s" thick, V4" in from the edge to fit snugly in the door frame grooves. The upper doors are assembled the same way, but require a V2" x 3/s" rabbet on the inside edge of the doors to hold the glass. A clever method for making the separate light stiles is shown in the story earlier in the article. All the doors are partial overlay, meaning they have a 3/s" x 3/s" rabbet run around the outside back edge. A 3/l6" roundover profile finishes up the front edges. The drawers also use traditional construction techniques. Cut a rabbet on the backside of the ends to form a 3/s" overlay. Cut a 1/4" rabbet on the backside of the top edge of the drawer front. Then dovetail the sides into the drawer front and dovetail the back between the sides. Fit the bottoms into grooves run in three drawer parts. Bevel the bottom piece to fit in the grooves as you did with the lower door panels. Finally, cut the same profile on the drawer front that you did on the doors. The back slats are "shiplapped" meaning a 5/l6" deep x V2" wide rabbet is cut on two opposing long edges of each piece. The pieces are then interlocked with a gap between the pieces that allows for movement due to changes in humidity. I used forged-iron rattail hinges (from Ball & Ball Hardware 800-257-3711, item #H41-CO5, $33.50 per pair) to hang the doors. This particular hinge is a little un-
Foot "O" profile Each square = 1" usual as it's made to fit over a 3/s" lipped door. To attach the hinge, first locate the leaf on the door so the edge of the leaf is in line with the inside edge of the door rail. Then mark the location for the center hole on the leaf, drill that hole and attach the hinge. Move the hinge so that the rattail piece is parallel to the door. Mark the location to hold the rattail in place, drill and screw. Then insert the other screws. The door handles are made from store-bought pulls mounted on a V2" piece of dowel. Then add a piece of scrap as shown in the photo to function as a simple but effective door latch. For the finish, I use a Moser golden-amber maple water-based aniline dye, a sanding sealer and five coats of lacquer. Whatever you do when you complete your stepback, don't loan it out for display. I still hear mom tell the story of losing her new cupboard for a few weeks. Dad just grins and thinks of all the orders we received from that one piece. pw |


