Popular Woodworking 2000-04 № 114, страница 18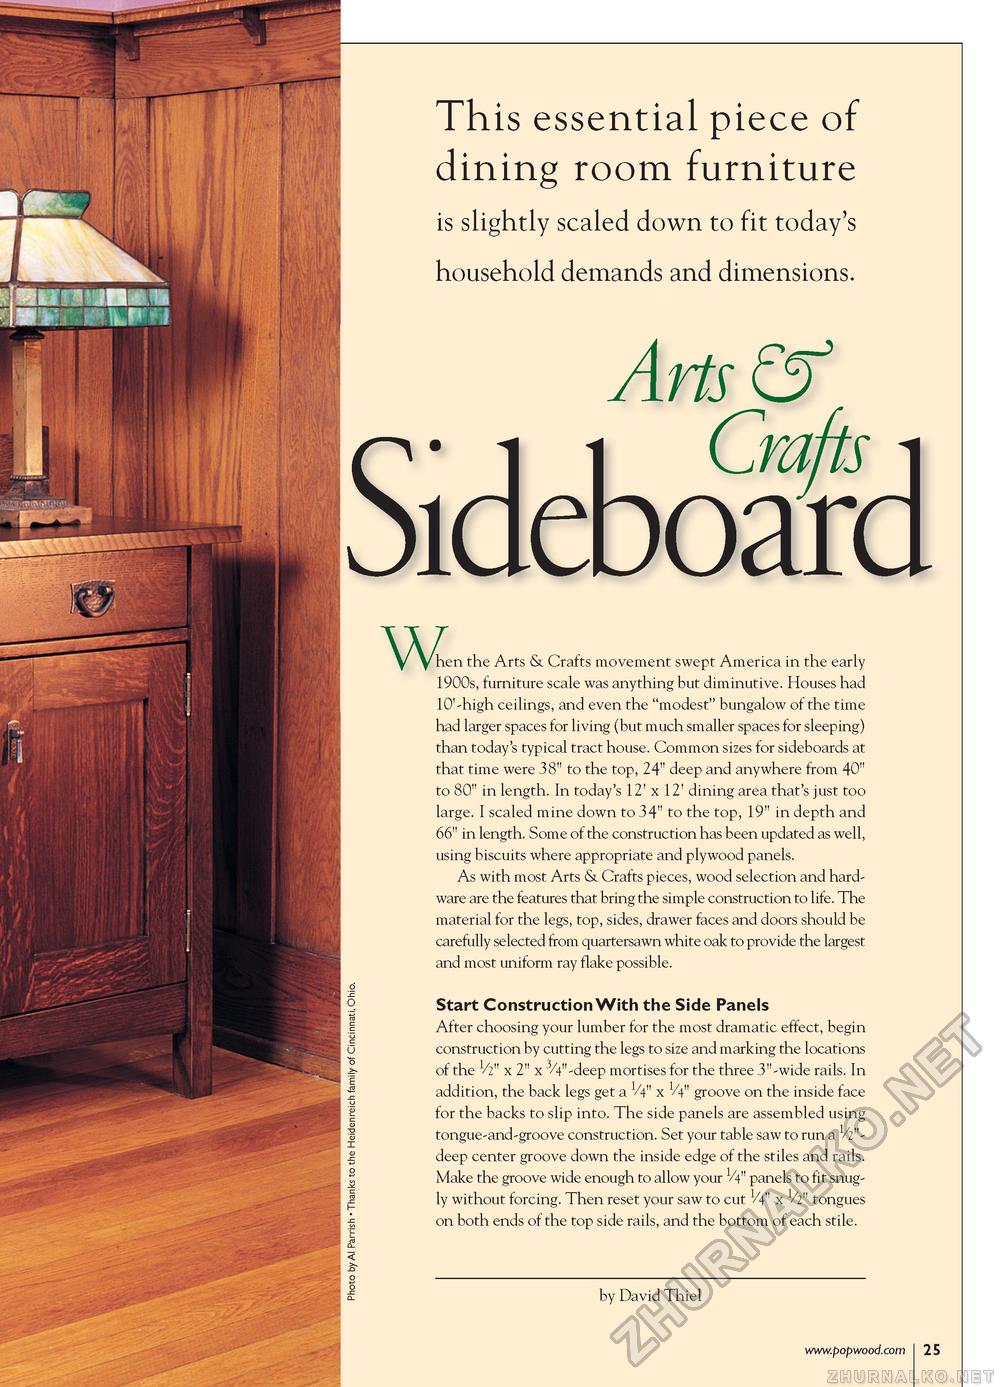
This essential piece of dining room furniture is slightly scaled down to fit today's household demands and dimensions. Arts &hen the Arts & Crafts movement swept America in the early 1900s, furniture scale was anything but diminutive. Houses had 10'-high ceilings, and even the "modest" bungalow of the time had larger spaces for living (but much smaller spaces for sleeping) than today's typical tract house. Common sizes for sideboards at that time were 38" to the top, 24" deep and anywhere from 40" to 80" in length. In today's 12' x 12' dining area that's just too large. I scaled mine down to 34" to the top, 19" in depth and 66" in length. Some of the construction has been updated as well, using biscuits where appropriate and plywood panels. As with most Arts & Crafts pieces, wood selection and hardware are the features that bring the simple construction to life. The material for the legs, top, sides, drawer faces and doors should be carefully selected from quartersawn white oak to provide the largest and most uniform ray flake possible. Start Construction With the Side Panels After choosing your lumber for the most dramatic effect, begin construction by cutting the legs to size and marking the locations of the 1/2" x 2" x /4"-deep mortises for the three 3"-wide rails. In addition, the back legs get a V4" x V4" groove on the inside face for the backs to slip into. The side panels are assembled using tongue-and-groove construction. Set your table saw to run a V2"-deep center groove down the inside edge of the stiles and rails. Make the groove wide enough to allow your V4" panels to fit snugly without forcing. Then reset your saw to cut 1/4" x V2" tongues on both ends of the top side rails, and the bottom of each stile. by David Thiel |


