Popular Woodworking 2000-04 № 114, страница 40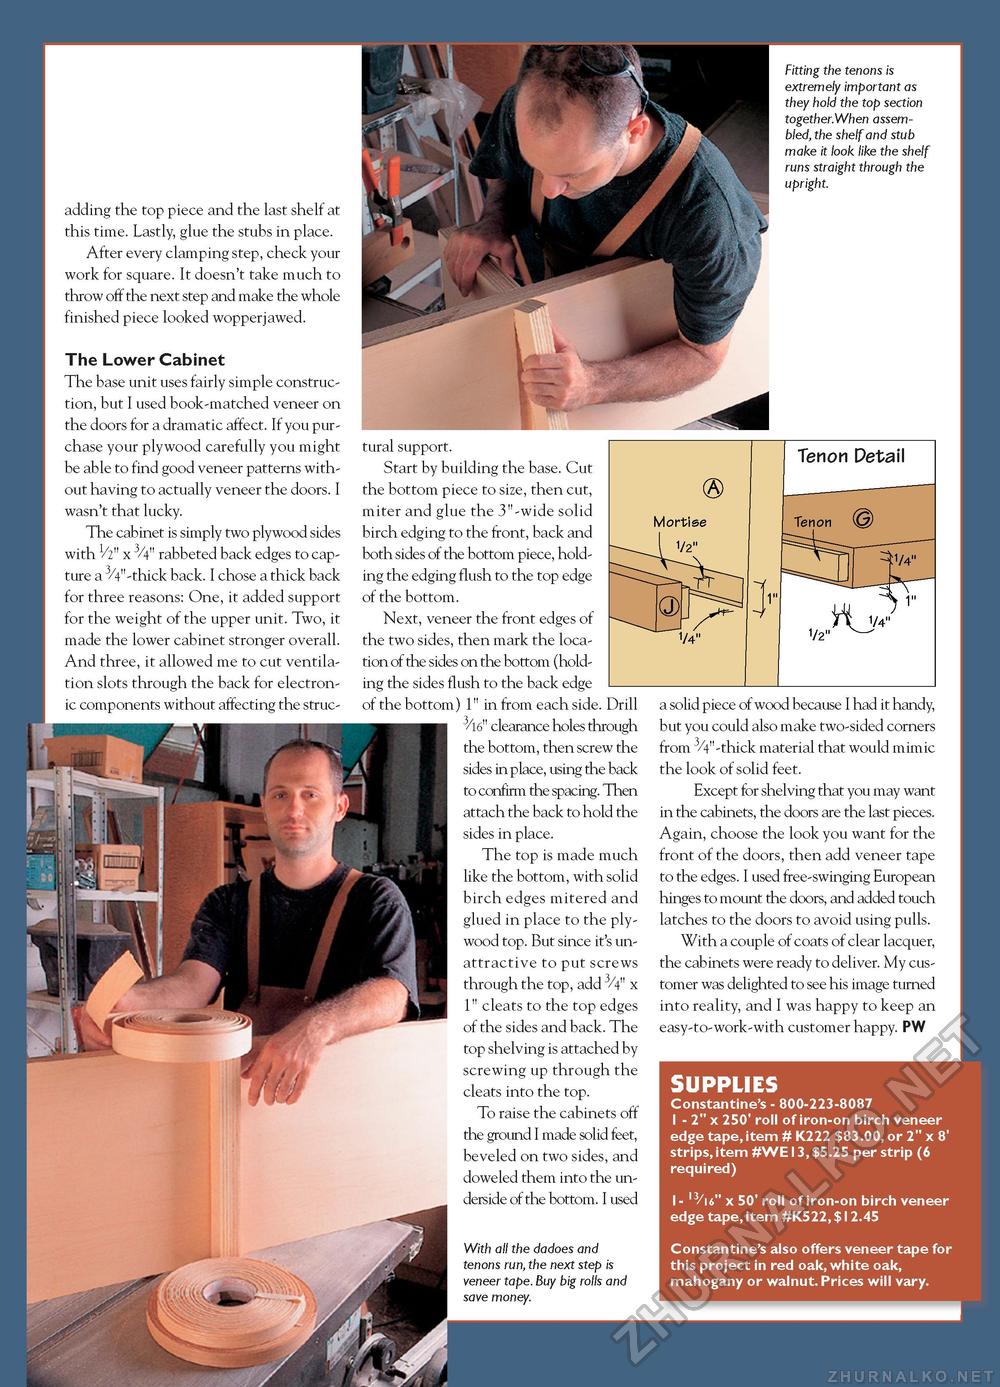
adding the top piece and the last shelf at this time. Lastly, glue the stubs in place. After every clamping step, check your work for square. It doesn't take much to throw off the next step and make the whole finished piece looked wopperjawed. The Lower Cabinet The base unit uses fairly simple construction, but I used book-matched veneer on the doors for a dramatic affect. If you purchase your plywood carefully you might be able to find good veneer patterns without having to actually veneer the doors. I wasn't that lucky. The cabinet is simply two plywood sides with h" x 3/4" rabbeted back edges to capture a 3/4"-thick back. I chose a thick back for three reasons: One, it added support for the weight of the upper unit. Two, it made the lower cabinet stronger overall. And three, it allowed me to cut ventilation slots through the back for electronic components without affecting the struc Fitting the tenons is extremely important as they hold the top section together.When assembled, the shelf and stub make it look like the shelf runs straight through the upright. tural support. Start by building the base. Cut the bottom piece to size, then cut, miter and glue the 3"-wide solid birch edging to the front, back and both sides of the bottom piece, holding the edging flush to the top edge of the bottom. Next, veneer the front edges of the two sides, then mark the location of the sides on the bottom (holding the sides flush to the back edge of the bottom) 1" in from each side. Drill clearance holes through the bottom, then screw the sides in place, using the back to confirm the spacing. Then attach the back to hold the sides in place. The top is made much like the bottom, with solid birch edges mitered and glued in place to the plywood top. But since it's unattractive to put screws through the top, add 3/4" x 1" cleats to the top edges of the sides and back. The top shelving is attached by screwing up through the cleats into the top. To raise the cabinets off the ground I made solid feet, beveled on two sides, and doweled them into the underside of the bottom. I used With all the dadoes and tenons run, the next step is veneer tape. Buy big rolls and save money. A Tenon Detail Tenon 1/2 a* a solid piece of wood because I had it handy, but you could also make two-sided corners from 3/4"-thick material that would mimic the look of solid feet. Except for shelving that you may want in the cabinets, the doors are the last pieces. Again, choose the look you want for the front of the doors, then add veneer tape to the edges. I used free-swinging European hinges to mount the doors, and added touch latches to the doors to avoid using pulls. With a couple of coats of clear lacquer, the cabinets were ready to deliver. My customer was delighted to see his image turned into reality, and I was happy to keep an easy-to-work-with customer happy. PW SUPPLIES Constantine's - 800-223-8087 1 - 2" x 250' roll of iron-on birch veneer edge tape, item # K222 $83.00, or 2" x 8' strips, item #WE13, $5.25 per strip (6 required) 1- l3/i6" x 50' roll of iron-on birch veneer edge tape, item #K522, $12.45 Constantine's also offers veneer tape for this project in red oak, white oak, mahogany or walnut. Prices will vary. |


