Popular Woodworking 2000-10 № 117, страница 43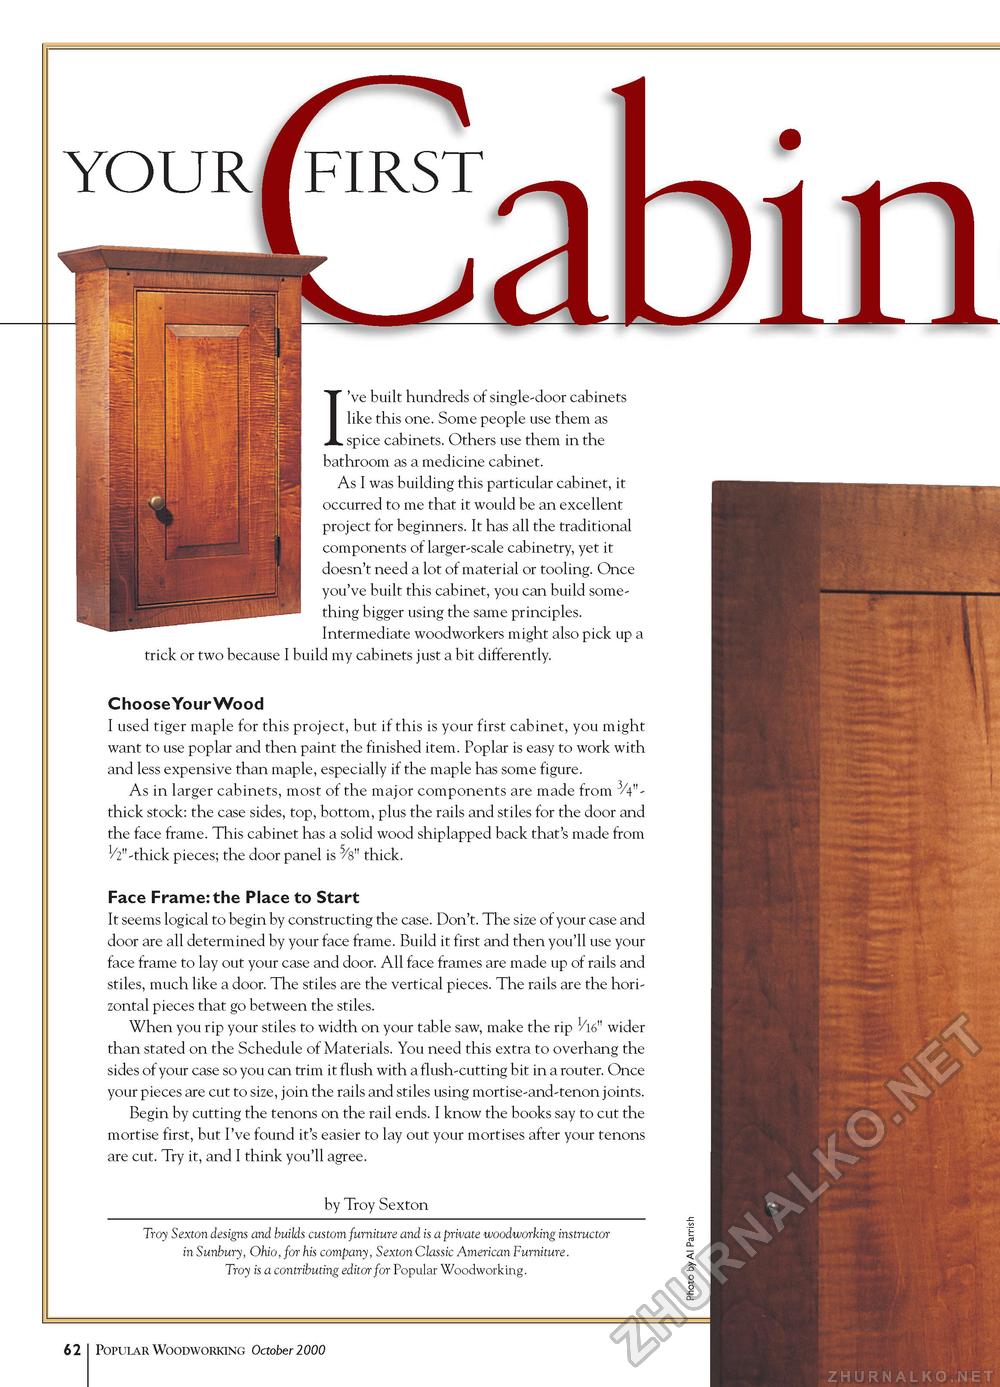
YOURrFIRST 've built hundreds of single-door cabinets like this one. Some people use them as . spice cabinets. Others use them in the bathroom as a medicine cabinet. As I was building this particular cabinet, it occurred to me that it would be an excellent project for beginners. It has all the traditional components of larger-scale cabinetry, yet it doesn't need a lot of material or tooling. Once you've built this cabinet, you can build something bigger using the same principles. Intermediate woodworkers might also pick up a trick or two because I build my cabinets just a bit differently. Choose Your Wood I used tiger maple for this project, but if this is your first cabinet, you might want to use poplar and then paint the finished item. Poplar is easy to work with and less expensive than maple, especially if the maple has some figure. As in larger cabinets, most of the major components are made from 3/4"-thick stock: the case sides, top, bottom, plus the rails and stiles for the door and the face frame. This cabinet has a solid wood shiplapped back that's made from 1/2"-thick pieces; the door panel is 5/s" thick. Face Frame: the Place to Start It seems logical to begin by constructing the case. Don't. The size of your case and door are all determined by your face frame. Build it first and then you'll use your face frame to lay out your case and door. All face frames are made up of rails and stiles, much like a door. The stiles are the vertical pieces. The rails are the horizontal pieces that go between the stiles. When you rip your stiles to width on your table saw, make the rip wider than stated on the Schedule of Materials. You need this extra to overhang the sides of your case so you can trim it flush with a flush-cutting bit in a router. Once your pieces are cut to size, join the rails and stiles using mortise-and-tenon joints. Begin by cutting the tenons on the rail ends. I know the books say to cut the mortise first, but I've found it's easier to lay out your mortises after your tenons are cut. Try it, and I think you'll agree. by Troy Sexton Troy Sexton designs and builds custom furniture and is a private woodworking instructor in Sunbury, Ohio, for his company, Sexton Classic American Furniture. Troy is a contributing editor for Popular Woodworking. 12 Popular Woodworking October 2000 |


