Popular Woodworking 2000-12 № 119, страница 52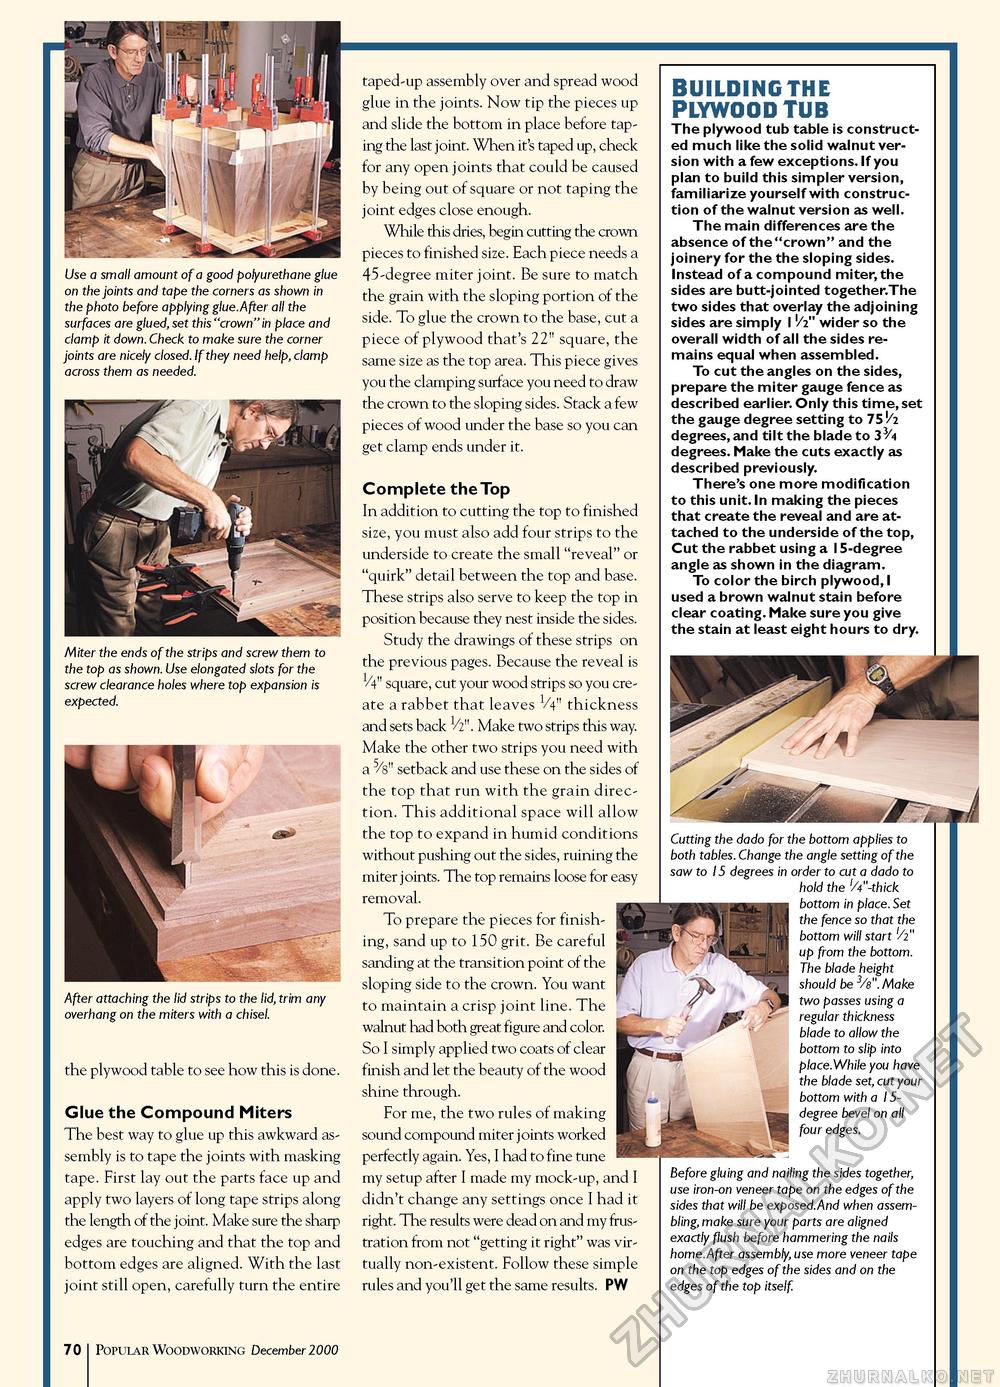
Use a small amount of a good polyurethane glue on the joints and tape the corners as shown in the photo before applying glue.After all the surfaces are glued, set this "crown" in place and clamp it down. Check to make sure the corner joints are nicely closed. If they need help, clamp across them as needed. Miter the ends of the strips and screw them to the top as shown. Use elongated slots for the screw clearance holes where top expansion is expected. After attaching the lid strips to the lid, trim any overhang on the miters with a chisel. the plywood table to see how this is done. Glue the Compound Miters The best way to glue up this awkward assembly is to tape the joints with masking tape. First lay out the parts face up and apply two layers of long tape strips along the length of the joint. Make sure the sharp edges are touching and that the top and bottom edges are aligned. With the last joint still open, carefully turn the entire taped-up assembly over and spread wood glue in the joints. Now tip the pieces up and slide the bottom in place before taping the last joint. When it's taped up, check for any open joints that could be caused by being out of square or not taping the joint edges close enough. While this dries, begin cutting the crown pieces to finished size. Each piece needs a 45-degree miter joint. Be sure to match the grain with the sloping portion of the side. To glue the crown to the base, cut a piece of plywood that's 22" square, the same size as the top area. This piece gives you the clamping surface you need to draw the crown to the sloping sides. Stack a few pieces of wood under the base so you can get clamp ends under it. Complete the Top In addition to cutting the top to finished size, you must also add four strips to the underside to create the small "reveal" or "quirk" detail between the top and base. These strips also serve to keep the top in position because they nest inside the sides. Study the drawings of these strips on the previous pages. Because the reveal is 1/4" square, cut your wood strips so you create a rabbet that leaves V4" thickness and sets back 1/2". Make two strips this way. Make the other two strips you need with a 5/8" setback and use these on the sides of the top that run with the grain direction. This additional space will allow the top to expand in humid conditions without pushing out the sides, ruining the miter joints. The top remains loose for easy removal. To prepare the pieces for finishing, sand up to 150 grit. Be careful sanding at the transition point of the sloping side to the crown. You want to maintain a crisp joint line. The walnut had both great figure and color. So I simply applied two coats of clear finish and let the beauty of the wood shine through. For me, the two rules of making sound compound miter joints worked perfectly again. Yes, I had to fine tune my setup after I made my mock-up, and I didn't change any settings once I had it right. The results were dead on and my frustration from not "getting it right" was virtually non-existent. Follow these simple rules and you'll get the same results. PW BUILDING THE PLYWOOD TUB The plywood tub table is constructed much like the solid walnut version with a few exceptions. If you plan to build this simpler version, familiarize yourself with construction of the walnut version as well. The main differences are the absence of the "crown" and the joinery for the the sloping sides. Instead of a compound miter, the sides are butt-jointed together.The two sides that overlay the adjoining sides are simply 1 '/2" wider so the overall width of all the sides remains equal when assembled. To cut the angles on the sides, prepare the miter gauge fence as described earlier. Only this time, set the gauge degree setting to 75 !/2 degrees, and tilt the blade to 334 degrees. Make the cuts exactly as described previously. There's one more modification to this unit. In making the pieces that create the reveal and are attached to the underside of the top, Cut the rabbet using a 15-degree angle as shown in the diagram. To color the birch plywood, I used a brown walnut stain before clear coating. Make sure you give the stain at least eight hours to dry. Cutting the dado for the bottom applies to both tables. Change the angle setting of the saw to 15 degrees in order to cut a dado to hold the 'A"-thick bottom in place. Set the fence so that the bottom will start '2" up from the bottom. The blade height should be 3/s". Make two passes using a regular thickness blade to allow the bottom to slip into place.While you have the blade set, cut your bottom with a '5-degree bevel on all four edges. Before gluing and nailing the sides together, use iron-on veneer tape on the edges of the sides that will be exposed.And when assembling, make sure your parts are aligned exactly flush before hammering the nails home.After assembly, use more veneer tape on the top edges of the sides and on the edges of the top itself. 70 Popular Woodworking December 1000 |


