Popular Woodworking 2001-06 № 122, страница 39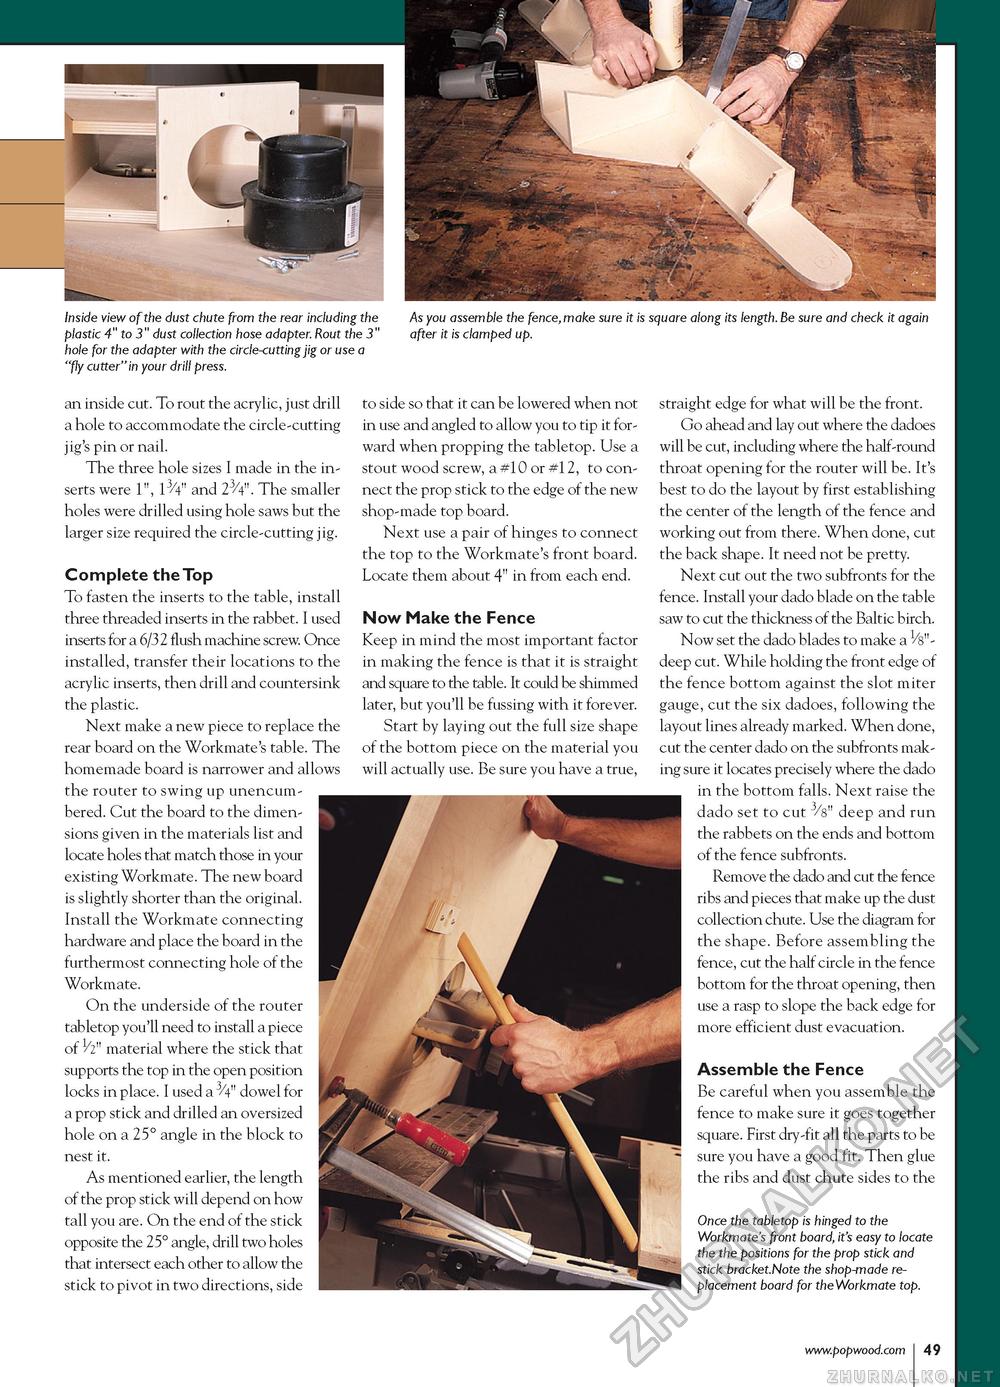
Inside view of the dust chute from the rear including the plastic 4" to 3" dust collection hose adapter. Rout the 3" hole for the adapter with the circle-cutting jig or use a "fly cutter" in your drill press. As you assemble the fence,make sure it is square along its length. Be sure and check it again after it is clamped up. an inside cut. To rout the acrylic, just drill a hole to accommodate the circle-cutting jig's pin or nail. The three hole sizes I made in the inserts were 1", 13/4" and 23/4". The smaller holes were drilled using hole saws but the larger size required the circle-cutting jig. Complete the Top To fasten the inserts to the table, install three threaded inserts in the rabbet. I used inserts for a 6/32 flush machine screw. Once installed, transfer their locations to the acrylic inserts, then drill and countersink the plastic. Next make a new piece to replace the rear board on the Workmate's table. The homemade board is narrower and allows the router to swing up unencumbered. Cut the board to the dimensions given in the materials list and locate holes that match those in your existing Workmate. The new board is slightly shorter than the original. Install the Workmate connecting hardware and place the board in the furthermost connecting hole of the Workmate. On the underside of the router tabletop you'll need to install a piece of h" material where the stick that supports the top in the open position locks in place. I used a 3/4" dowel for a prop stick and drilled an oversized hole on a 25° angle in the block to nest it. As mentioned earlier, the length of the prop stick will depend on how tall you are. On the end of the stick opposite the 25° angle, drill two holes that intersect each other to allow the stick to pivot in two directions, side to side so that it can be lowered when not in use and angled to allow you to tip it forward when propping the tabletop. Use a stout wood screw, a #10 or #12, to connect the prop stick to the edge of the new shop-made top board. Next use a pair of hinges to connect the top to the Workmate's front board. Locate them about 4" in from each end. Now Make the Fence Keep in mind the most important factor in making the fence is that it is straight and square to the table. It could be shimmed later, but you'll be fussing with it forever. Start by laying out the full size shape of the bottom piece on the material you will actually use. Be sure you have a true, straight edge for what will be the front. Go ahead and lay out where the dadoes will be cut, including where the half-round throat opening for the router will be. It's best to do the layout by first establishing the center of the length of the fence and working out from there. When done, cut the back shape. It need not be pretty. Next cut out the two subfronts for the fence. Install your dado blade on the table saw to cut the thickness of the Baltic birch. Now set the dado blades to make a 1/s"-deep cut. While holding the front edge of the fence bottom against the slot miter gauge, cut the six dadoes, following the layout lines already marked. When done, cut the center dado on the subfronts making sure it locates precisely where the dado in the bottom falls. Next raise the dado set to cut 3/s" deep and run the rabbets on the ends and bottom of the fence subfronts. Remove the dado and cut the fence ribs and pieces that make up the dust collection chute. Use the diagram for the shape. Before assembling the fence, cut the half circle in the fence bottom for the throat opening, then use a rasp to slope the back edge for more efficient dust evacuation. Assemble the Fence Be careful when you assemble the fence to make sure it goes together square. First dry-fit all the parts to be sure you have a good fit. Then glue the ribs and dust chute sides to the Once the tabletop is hinged to the Workmate's front board, it's easy to locate the the positions for the prop stick and stick bracket.Note the shop-made replacement board for the Workmate top. |


