Popular Woodworking 2001-06 № 122, страница 49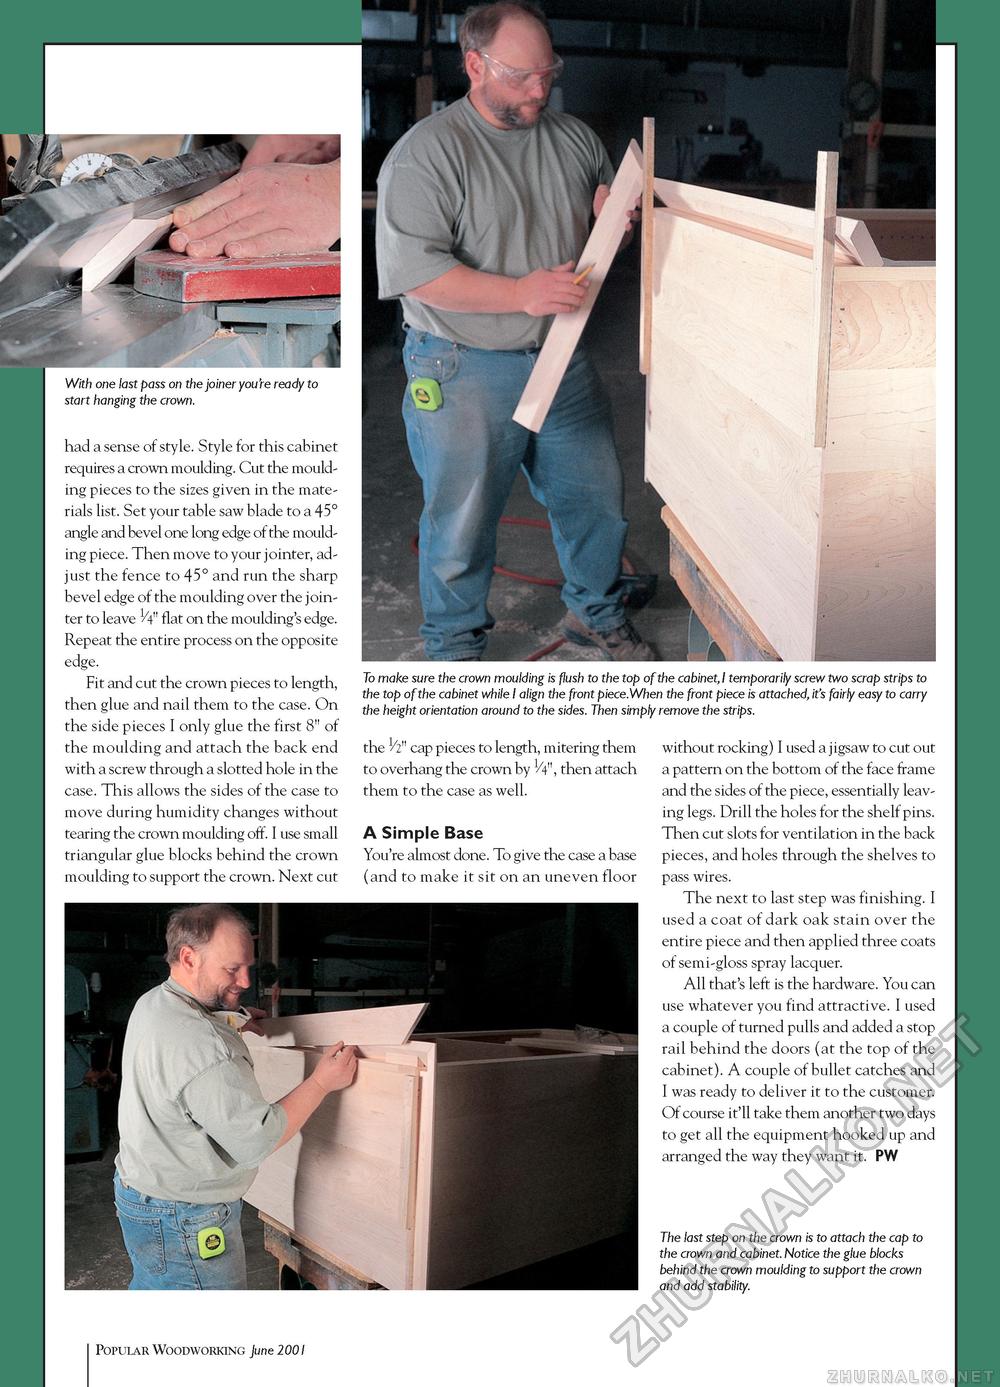
With one last pass on the joiner you're ready to start hanging the crown. had a sense of style. Style for this cabinet requires a crown moulding. Cut the moulding pieces to the sizes given in the materials list. Set your table saw blade to a 45° angle and bevel one long edge of the moulding piece. Then move to your jointer, adjust the fence to 45° and run the sharp bevel edge of the moulding over the jointer to leave l/4" flat on the moulding's edge. Repeat the entire process on the opposite edge. Fit and cut the crown pieces to length, then glue and nail them to the case. On the side pieces I only glue the first 8" of the moulding and attach the back end with a screw through a slotted hole in the case. This allows the sides of the case to move during humidity changes without tearing the crown moulding off. I use small triangular glue blocks behind the crown moulding to support the crown. Next cut To make sure the crown moulding is flush to the top of the cabinet, I temporarily screw two scrap strips to the top of the cabinet while I align the front piece.When the front piece is attached, it's fairly easy to carry the height orientation around to the sides. Then simply remove the strips. the 1/2" cap pieces to length, mitering them to overhang the crown by 1/4", then attach them to the case as well. A Simple Base You're almost done. To give the case a base (and to make it sit on an uneven floor without rocking) I used a jigsaw to cut out a pattern on the bottom of the face frame and the sides of the piece, essentially leaving legs. Drill the holes for the shelf pins. Then cut slots for ventilation in the back pieces, and holes through the shelves to pass wires. The next to last step was finishing. I used a coat of dark oak stain over the entire piece and then applied three coats of semi-gloss spray lacquer. All that's left is the hardware. You can use whatever you find attractive. I used a couple of turned pulls and added a stop rail behind the doors (at the top of the cabinet). A couple of bullet catches and I was ready to deliver it to the customer. Of course it'll take them another two days to get all the equipment hooked up and arranged the way they want it. PW The last step on the crown is to attach the cap to the crown and cabinet. Notice the glue blocks behind the crown moulding to support the crown and add stability. 49 Popular Woodworking June 2001 |


