Popular Woodworking 2001-06 № 122, страница 47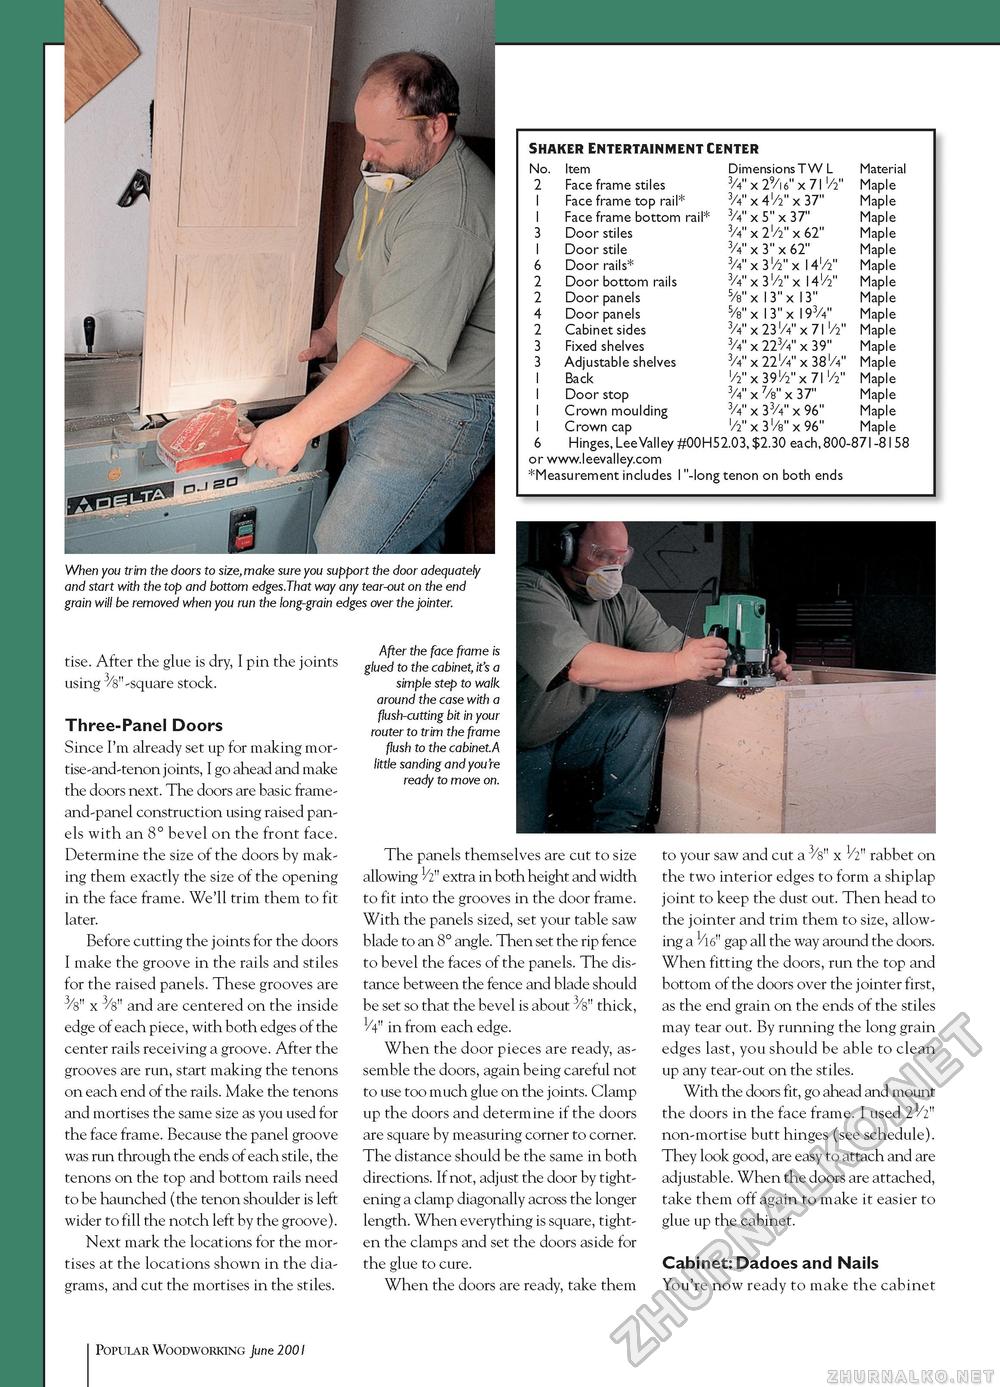
When you trim the doors to size,make sure you support the door adequately and start with the top and bottom edges.That way any tear-out on the end grain will be removed when you run the long-grain edges over the jointer. tise. After the glue is dry, I pin the joints using ^"-square stock. Three-Panel Doors Since I'm already set up for making mor-tise-and-tenon joints, I go ahead and make the doors next. The doors are basic frame-and-panel construction using raised panels with an 8° bevel on the front face. Determine the size of the doors by making them exactly the size of the opening in the face frame. We'll trim them to fit later. Before cutting the joints for the doors I make the groove in the rails and stiles for the raised panels. These grooves are 3/8" x 3/8" and are centered on the inside edge of each piece, with both edges of the center rails receiving a groove. After the grooves are run, start making the tenons on each end of the rails. Make the tenons and mortises the same size as you used for the face frame. Because the panel groove was run through the ends of each stile, the tenons on the top and bottom rails need to be haunched (the tenon shoulder is left wider to fill the notch left by the groove). Next mark the locations for the mortises at the locations shown in the diagrams, and cut the mortises in the stiles. After the face frame is glued to the cabinet, it's a simple step to walk around the case with a flush-cutting bit in your router to trim the frame flush to the cabinet.A little sanding and you're ready to move on. The panels themselves are cut to size allowing V2" extra in both height and width to fit into the grooves in the door frame. With the panels sized, set your table saw blade to an 8° angle. Then set the rip fence to bevel the faces of the panels. The distance between the fence and blade should be set so that the bevel is about 3/8" thick, in from each edge. When the door pieces are ready, assemble the doors, again being careful not to use too much glue on the joints. Clamp up the doors and determine if the doors are square by measuring corner to corner. The distance should be the same in both directions. If not, adjust the door by tightening a clamp diagonally across the longer length. When everything is square, tighten the clamps and set the doors aside for the glue to cure. When the doors are ready, take them to your saw and cut a 3/s" x 1/2" rabbet on the two interior edges to form a shiplap joint to keep the dust out. Then head to the jointer and trim them to size, allowing a 1/l6" gap all the way around the doors. When fitting the doors, run the top and bottom of the doors over the jointer first, as the end grain on the ends of the stiles may tear out. By running the long grain edges last, you should be able to clean up any tear-out on the stiles. With the doors fit, go ahead and mount the doors in the face frame. I used 21/2" non-mortise butt hinges (see schedule). They look good, are easy to attach and are adjustable. When the doors are attached, take them off again to make it easier to glue up the cabinet. Cabinet: Dadoes and Nails You're now ready to make the cabinet 47 Popular Woodworking June 2001 |
|||||||||||||||||||||||||||||||||||||||||||||||||||||||||||||||||||||||||||||||||||||||||||||||||||||||||


