Popular Woodworking 2001-08 № 123, страница 9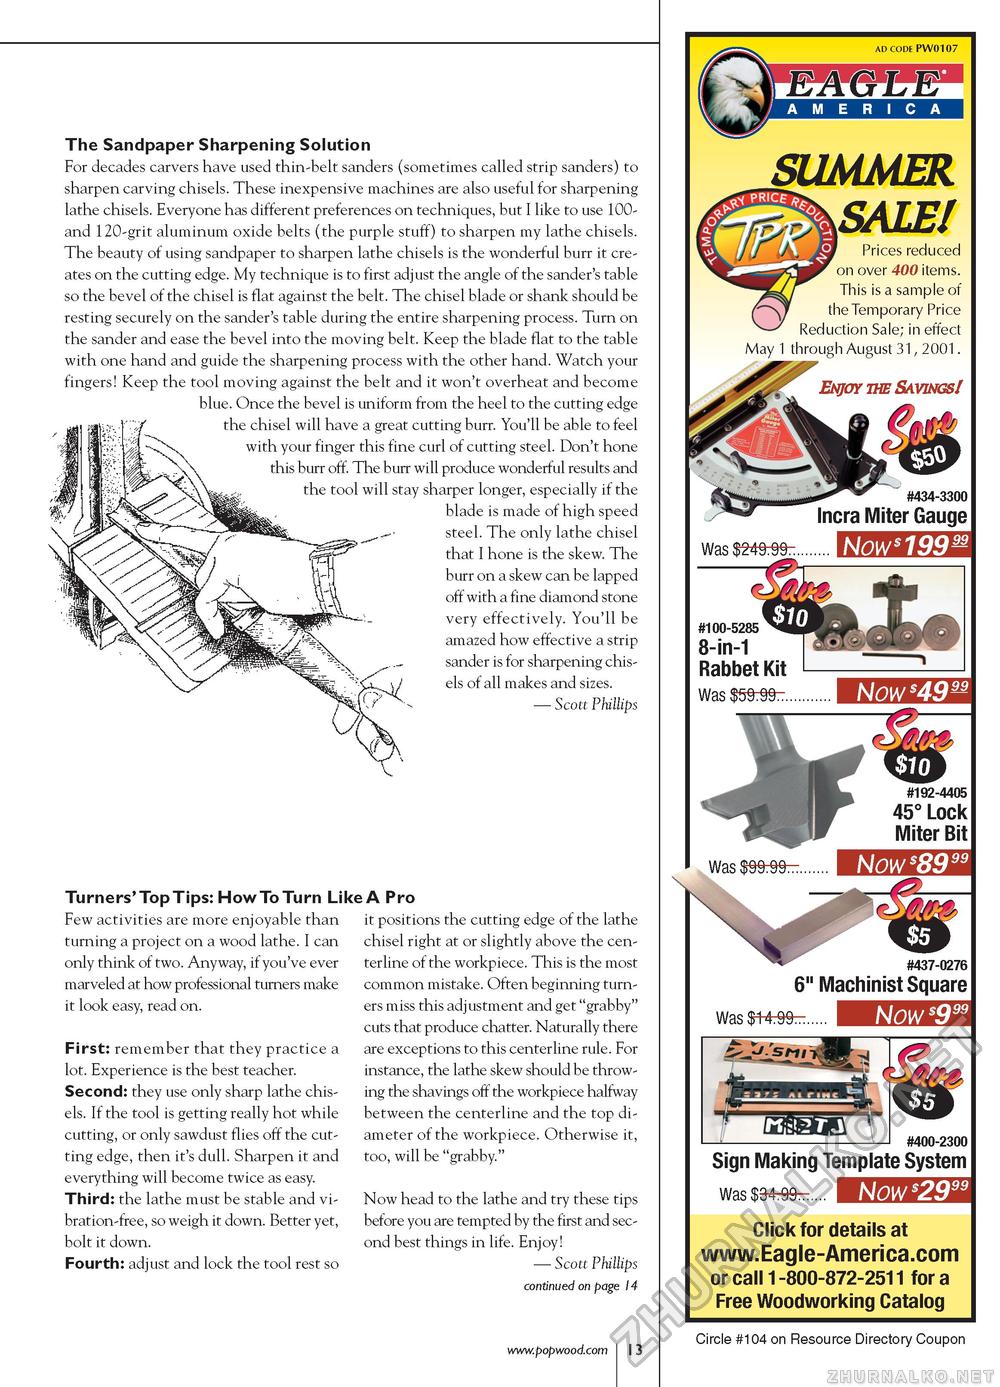
The Sandpaper Sharpening Solution For decades carvers have used thin-belt sanders (sometimes called strip sanders) to sharpen carving chisels. These inexpensive machines are also useful for sharpening lathe chisels. Everyone has different preferences on techniques, but I like to use 100-and 120-grit aluminum oxide belts (the purple stuff) to sharpen my lathe chisels. The beauty of using sandpaper to sharpen lathe chisels is the wonderful burr it creates on the cutting edge. My technique is to first adjust the angle of the sander's table so the bevel of the chisel is flat against the belt. The chisel blade or shank should be resting securely on the sander's table during the entire sharpening process. Turn on the sander and ease the bevel into the moving belt. Keep the blade flat to the table with one hand and guide the sharpening process with the other hand. Watch your fingers! Keep the tool moving against the belt and it won't overheat and become blue. Once the bevel is uniform from the heel to the cutting edge the chisel will have a great cutting burr. You'll be able to feel with your finger this fine curl of cutting steel. Don't hone this burr off. The burr will produce wonderful results and the tool will stay sharper longer, especially if the blade is made of high speed steel. The only lathe chisel that I hone is the skew. The burr on a skew can be lapped off with a fine diamond stone very effectively. You'll be amazed how effective a strip sander is for sharpening chisels of all makes and sizes. — Scott Phillips Turners' Top Tips: How To Turn Like A Pro Few activities are more enjoyable than turning a project on a wood lathe. I can only think of two. Anyway, if you've ever marveled at how professional turners make it look easy, read on. First: remember that they practice a lot. Experience is the best teacher. Second: they use only sharp lathe chisels. If the tool is getting really hot while cutting, or only sawdust flies off the cutting edge, then it's dull. Sharpen it and everything will become twice as easy. Third: the lathe must be stable and vibration-free, so weigh it down. Better yet, bolt it down. Fourth: adjust and lock the tool rest so it positions the cutting edge of the lathe chisel right at or slightly above the cen-terline of the workpiece. This is the most common mistake. Often beginning turners miss this adjustment and get "grabby" cuts that produce chatter. Naturally there are exceptions to this centerline rule. For instance, the lathe skew should be throwing the shavings off the workpiece halfway between the centerline and the top diameter of the workpiece. Otherwise it, too, will be "grabby." Now head to the lathe and try these tips before you are tempted by the first and second best things in life. Enjoy! — Scott Phillips continued on page 14 AD CODE PW0107 /AMERICA SUMMER ,SALE/ Prices reduced on over 400 items. This is a sample of the Temporary Price Reduction Sale; in effect May 1 through August 31, 2001. Enjoythe&mngsI Was $249.99 #434-3300 Incra Miter Gauge Now $19999 #100-5285 8-in-1 Rabbet Kit Was $59.99 Now $4999 6" Machinist Square Now $999 #400-2300 Sign Making Template System Was $34.99...... Now $29" Click for details at www.Eagle-America.com or call 1-800-872-2511 for a Free Woodworking Catalog Circle #104 on Resource Directory Coupon |


