Popular Woodworking 2002-04 № 127, страница 70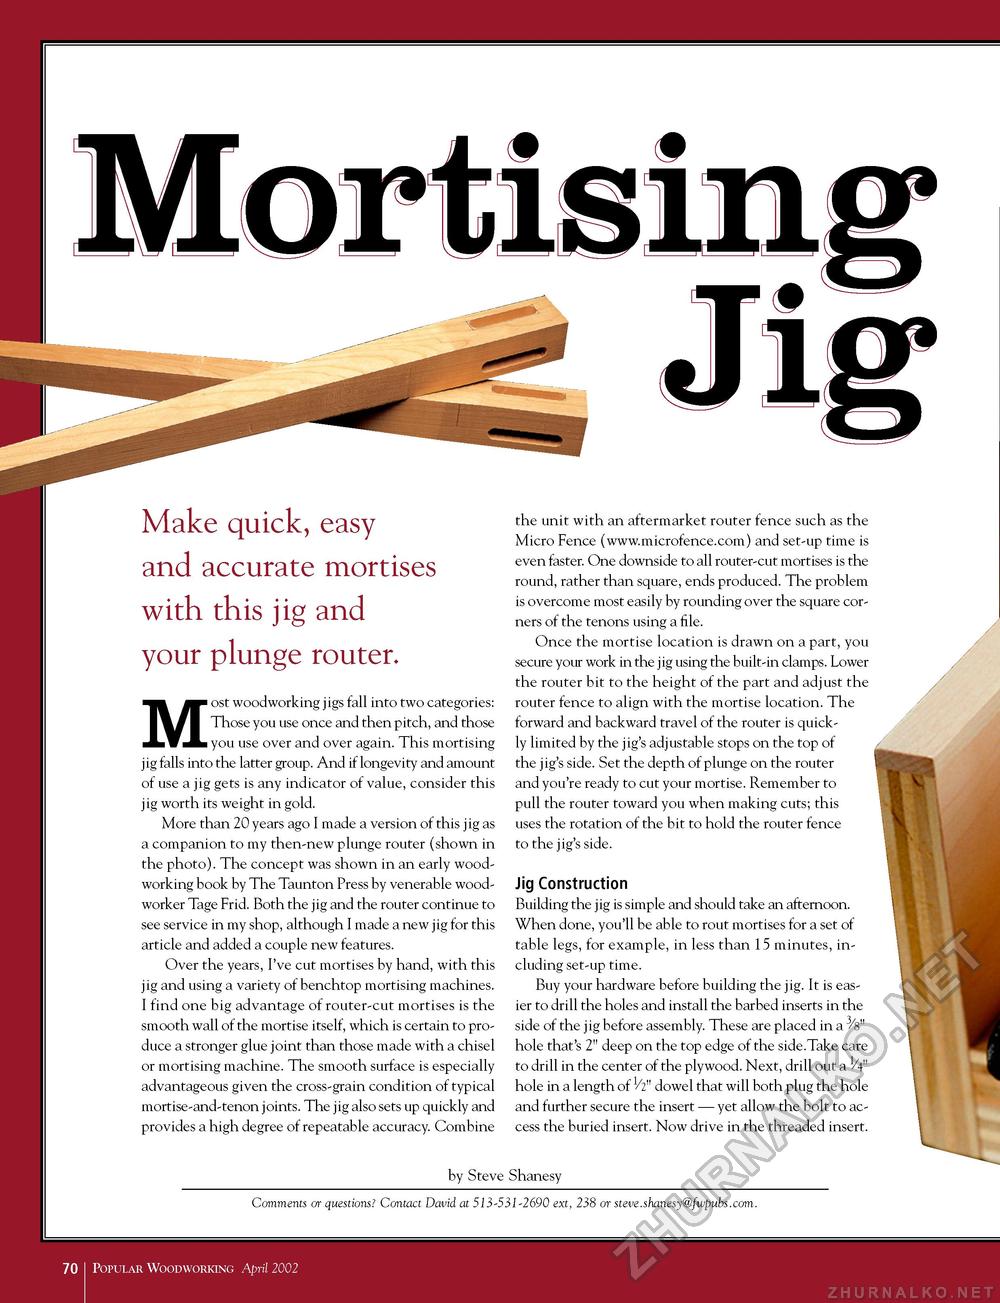
Make quick, easy and accurate mortises with this jig and your plunge router. Most woodworking jigs fall into two categories: Those you use once and then pitch, and those you use over and over again. This mortising jig falls into the latter group. And if longevity and amount of use a jig gets is any indicator of value, consider this jig worth its weight in gold. More than 20 years ago I made a version of this jig as a companion to my then-new plunge router (shown in the photo). The concept was shown in an early woodworking book by The Taunton Press by venerable woodworker Tage Frid. Both the jig and the router continue to see service in my shop, although I made a new jig for this article and added a couple new features. Over the years, I've cut mortises by hand, with this jig and using a variety of benchtop mortising machines. I find one big advantage of router-cut mortises is the smooth wall of the mortise itself, which is certain to produce a stronger glue joint than those made with a chisel or mortising machine. The smooth surface is especially advantageous given the cross-grain condition of typical mortise-and-tenon joints. The jig also sets up quickly and provides a high degree of repeatable accuracy. Combine the unit with an aftermarket router fence such as the Micro Fence (www.microfence.com) and set-up time is even faster. One downside to all router-cut mortises is the round, rather than square, ends produced. The problem is overcome most easily by rounding over the square corners of the tenons using a file. Once the mortise location is drawn on a part, you secure your work in the jig using the built-in clamps. Lower the router bit to the height of the part and adjust the router fence to align with the mortise location. The forward and backward travel of the router is quickly limited by the jig's adjustable stops on the top of the jig's side. Set the depth of plunge on the router and you're ready to cut your mortise. Remember to pull the router toward you when making cuts; this uses the rotation of the bit to hold the router fence to the jig's side. Jig Construction Building the jig is simple and should take an afternoon. When done, you'll be able to rout mortises for a set of table legs, for example, in less than 15 minutes, including set-up time. Buy your hardware before building the jig. It is easier to drill the holes and install the barbed inserts in the side of the jig before assembly. These are placed in a ^s" hole that's 2" deep on the top edge of the side.Take care to drill in the center of the plywood. Next, drill out a V4" hole in a length of Vi" dowel that will both plug the hole and further secure the insert — yet allow the bolt to access the buried insert. Now drive in the threaded insert. by Steve Shanesy Comments or questions? Contact David at 513-531-2690 ext, 238 or steve.shanesy@fwpubs.com. 70 1 Popular Woodworking April 2002 |


