Popular Woodworking 2003-02 № 132, страница 46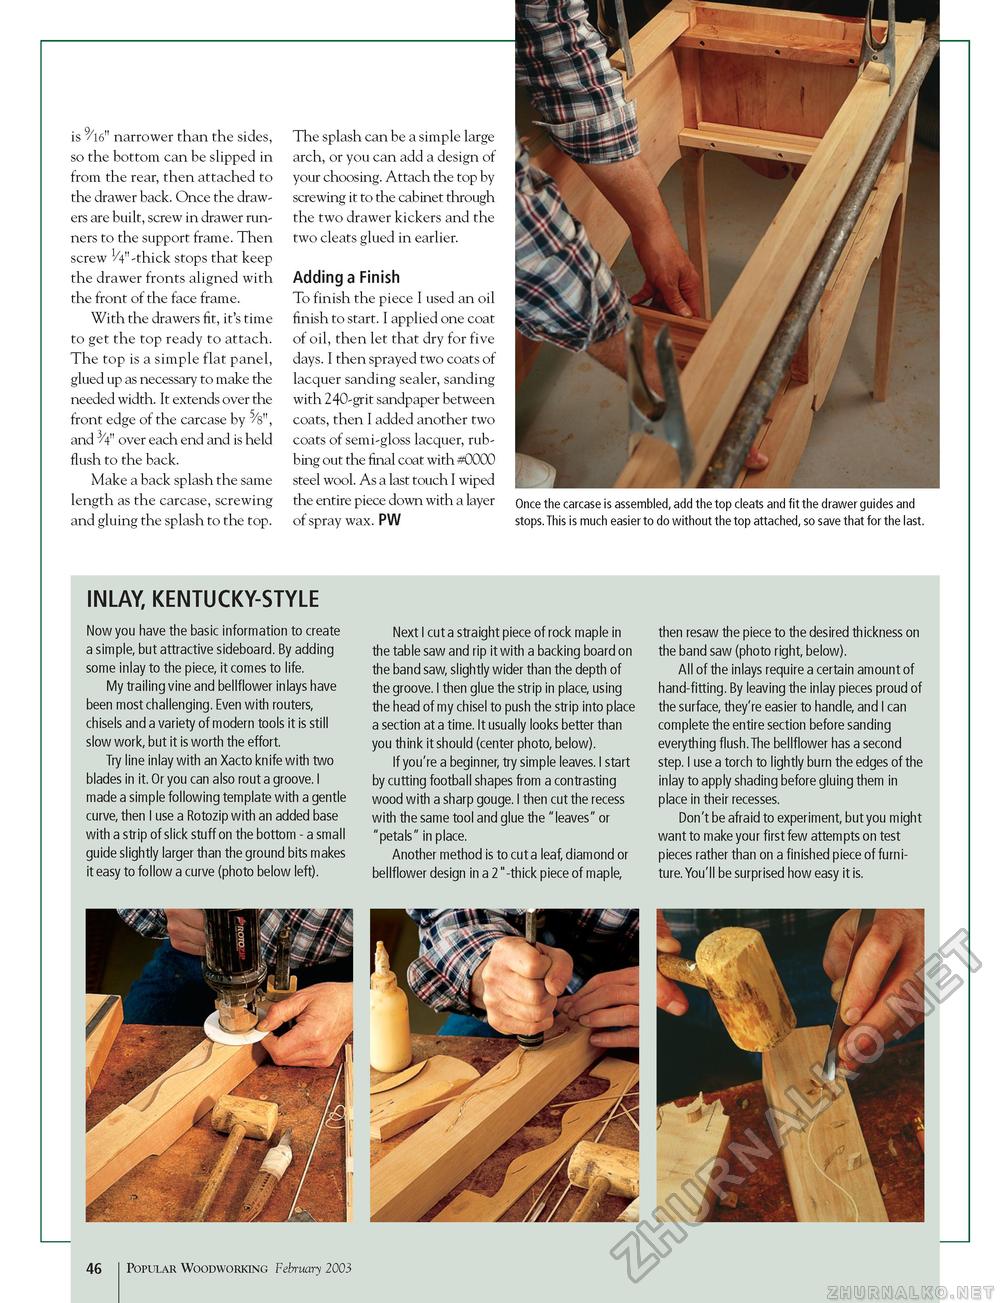
is 9/l6" narrower than the sides, so the bottom can be slipped in from the rear, then attached to the drawer back. Once the drawers are built, screw in drawer runners to the support frame. Then screw 1/4"-thick stops that keep the drawer fronts aligned with the front of the face frame. With the drawers fit, it's time to get the top ready to attach. The top is a simple flat panel, glued up as necessary to make the needed width. It extends over the front edge of the carcase by 5/s", and ^/4" over each end and is held flush to the back. Make a back splash the same length as the carcase, screwing and gluing the splash to the top. The splash can be a simple large arch, or you can add a design of your choosing. Attach the top by screwing it to the cabinet through the two drawer kickers and the two cleats glued in earlier. Adding a Finish To finish the piece I used an oil finish to start. I applied one coat of oil, then let that dry for five days. I then sprayed two coats of lacquer sanding sealer, sanding with 240-grit sandpaper between coats, then I added another two coats of semi-gloss lacquer, rubbing out the final coat with #0000 steel wool. As a last touch I wiped the entire piece down with a layer of spray wax. PW Once the carcase is assembled, add the top cleats and fit the drawer guides and stops.This is much easier to do without the top attached, so save that for the last. INLAY, KENTUCKY-STYLE Now you have the basic information to create a simple, but attractive sideboard. By adding some inlay to the piece, it comes to life. My trailing vine and bellflower inlays have been most challenging. Even with routers, chisels and a variety of modern tools it is still slow work, but it is worth the effort. Try line inlay with an Xacto knife with two blades in it. Or you can also rout a groove. I made a simple following template with a gentle curve, then I use a Rotozip with an added base with a strip of slick stuff on the bottom - a small guide slightly larger than the ground bits makes it easy to follow a curve (photo below left). Next I cut a straight piece of rock maple in the table saw and rip it with a backing board on the band saw, slightly wider than the depth of the groove. I then glue the strip in place, using the head of my chisel to push the strip into place a section at a time. It usually looks better than you think it should (center photo, below). If you're a beginner, try simple leaves. I start by cutting football shapes from a contrasting wood with a sharp gouge. I then cut the recess with the same tool and glue the "leaves" or "petals" in place. Another method is to cut a leaf, diamond or bellflower design in a 2"-thick piece of maple, then resaw the piece to the desired thickness on the band saw (photo right, below). All of the inlays require a certain amount of hand-fitting. By leaving the inlay pieces proud of the surface, they're easier to handle, and I can complete the entire section before sanding everything flush.The bellflower has a second step. I use a torch to lightly burn the edges of the inlay to apply shading before gluing them in place in their recesses. Don't be afraid to experiment, but you might want to make your first few attempts on test pieces rather than on a finished piece of furni-ture.You'll be surprised how easy it is. 46 Popular Woodworking February 2003 |


