Popular Woodworking 2003-02 № 132, страница 60
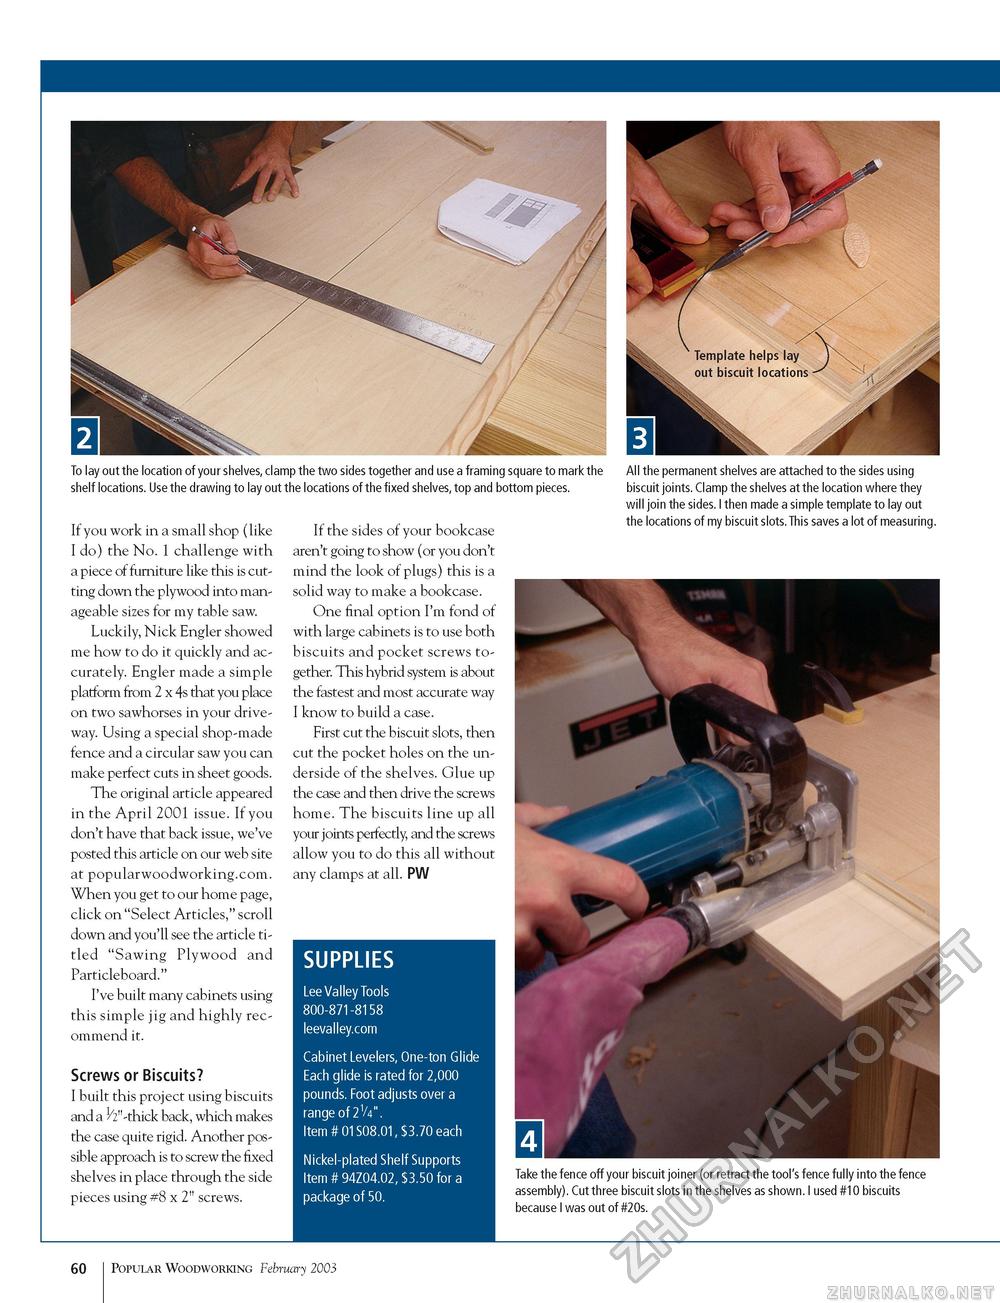
To lay out the location of your shelves, clamp the two sides together and use a framing square to mark the shelf locations. Use the drawing to lay out the locations of the fixed shelves, top and bottom pieces. If you work in a small shop (like I do) the No. 1 challenge with a piece of furniture like this is cutting down the plywood into manageable sizes for my table saw. Luckily, Nick Engler showed me how to do it quickly and accurately. Engler made a simple platform from 2 x 4s that you place on two sawhorses in your driveway. Using a special shop-made fence and a circular saw you can make perfect cuts in sheet goods. The original article appeared in the April 2001 issue. If you don't have that back issue, we've posted this article on our web site at popularwoodworking.com. When you get to our home page, click on "Select Articles," scroll down and you'll see the article titled "Sawing Plywood and Particleboard." I've built many cabinets using this simple jig and highly recommend it. Screws or Biscuits? I built this project using biscuits and a ^"-thick back, which makes the case quite rigid. Another possible approach is to screw the fixed shelves in place through the side pieces using #8 x 2" screws. If the sides of your bookcase aren't going to show (or you don't mind the look of plugs) this is a solid way to make a bookcase. One final option I'm fond of with large cabinets is to use both biscuits and pocket screws together. This hybrid system is about the fastest and most accurate way I know to build a case. First cut the biscuit slots, then cut the pocket holes on the underside of the shelves. Glue up the case and then drive the screws home. The biscuits line up all your joints perfectly, and the screws allow you to do this all without any clamps at all. PW SUPPLIES Lee Valley Tools 800-871-8158 leevalley.com Cabinet Levelers, One-ton Glide Each glide is rated for 2,000 pounds. Foot adjusts over a range of 2V4". Item # 01S08.01, $3.70 each Nickel-plated Shelf Supports Item # 94Z04.02, $3.50 for a package of 50. All the permanent shelves are attached to the sides using biscuit joints. Clamp the shelves at the location where they will join the sides. I then made a simple template to lay out the locations of my biscuit slots. This saves a lot of measuring.
Take the fence off your biscuit joiner (or retract the tool's fence fully into the fence assembly). Cut three biscuit slots in the shelves as shown. I used #10 biscuits because I was out of #20s. 60 Popular Woodworking February 2003 |


