Popular Woodworking 2003-02 № 132, страница 76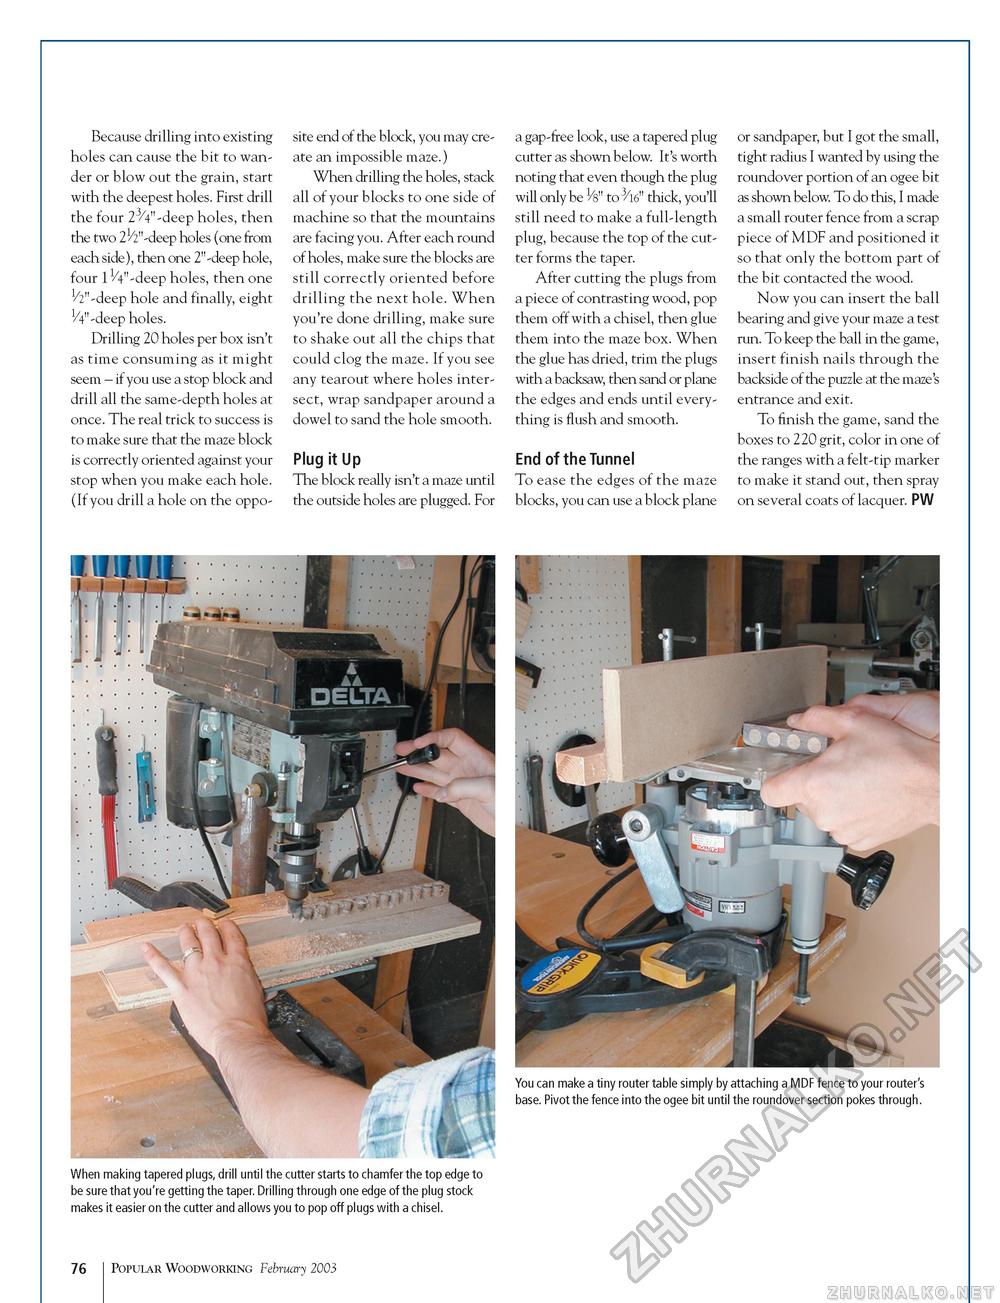
Because drilling into existing holes can cause the bit to wander or blow out the grain, start with the deepest holes. First drill the four 23/4"-deep holes, then the two 21/2"-deep holes (one from each side), then one 2"-deep hole, four 1 V4"-deep holes, then one 1/2"-deep hole and finally, eight 1/4"-deep holes. Drilling 20 holes per box isn't as time consuming as it might seem - if you use a stop block and drill all the same-depth holes at once. The real trick to success is to make sure that the maze block is correctly oriented against your stop when you make each hole. (If you drill a hole on the oppo site end of the block, you may create an impossible maze.) When drilling the holes, stack all of your blocks to one side of machine so that the mountains are facing you. After each round of holes, make sure the blocks are still correctly oriented before drilling the next hole. When you're done drilling, make sure to shake out all the chips that could clog the maze. If you see any tearout where holes intersect, wrap sandpaper around a dowel to sand the hole smooth. Plug it Up The block really isn't a maze until the outside holes are plugged. For a gap-free look, use a tapered plug cutter as shown below. It's worth noting that even though the plug will only be VS" to 3/l6" thick, you'll still need to make a full-length plug, because the top of the cutter forms the taper. After cutting the plugs from a piece of contrasting wood, pop them off with a chisel, then glue them into the maze box. When the glue has dried, trim the plugs with a backsaw, then sand or plane the edges and ends until everything is flush and smooth. End of the Tunnel To ease the edges of the maze blocks, you can use a block plane or sandpaper, but I got the small, tight radius I wanted by using the roundover portion of an ogee bit as shown below. To do this, I made a small router fence from a scrap piece of MDF and positioned it so that only the bottom part of the bit contacted the wood. Now you can insert the ball bearing and give your maze a test run. To keep the ball in the game, insert finish nails through the backside of the puzzle at the maze's entrance and exit. To finish the game, sand the boxes to 220 grit, color in one of the ranges with a felt-tip marker to make it stand out, then spray on several coats of lacquer. PW When making tapered plugs, drill until the cutter starts to chamfer the top edge to be sure that you're getting the taper. Drilling through one edge of the plug stock makes it easier on the cutter and allows you to pop off plugs with a chisel. 76 Popular Woodworking February 2003 |


