Popular Woodworking 2003-04 № 133, страница 52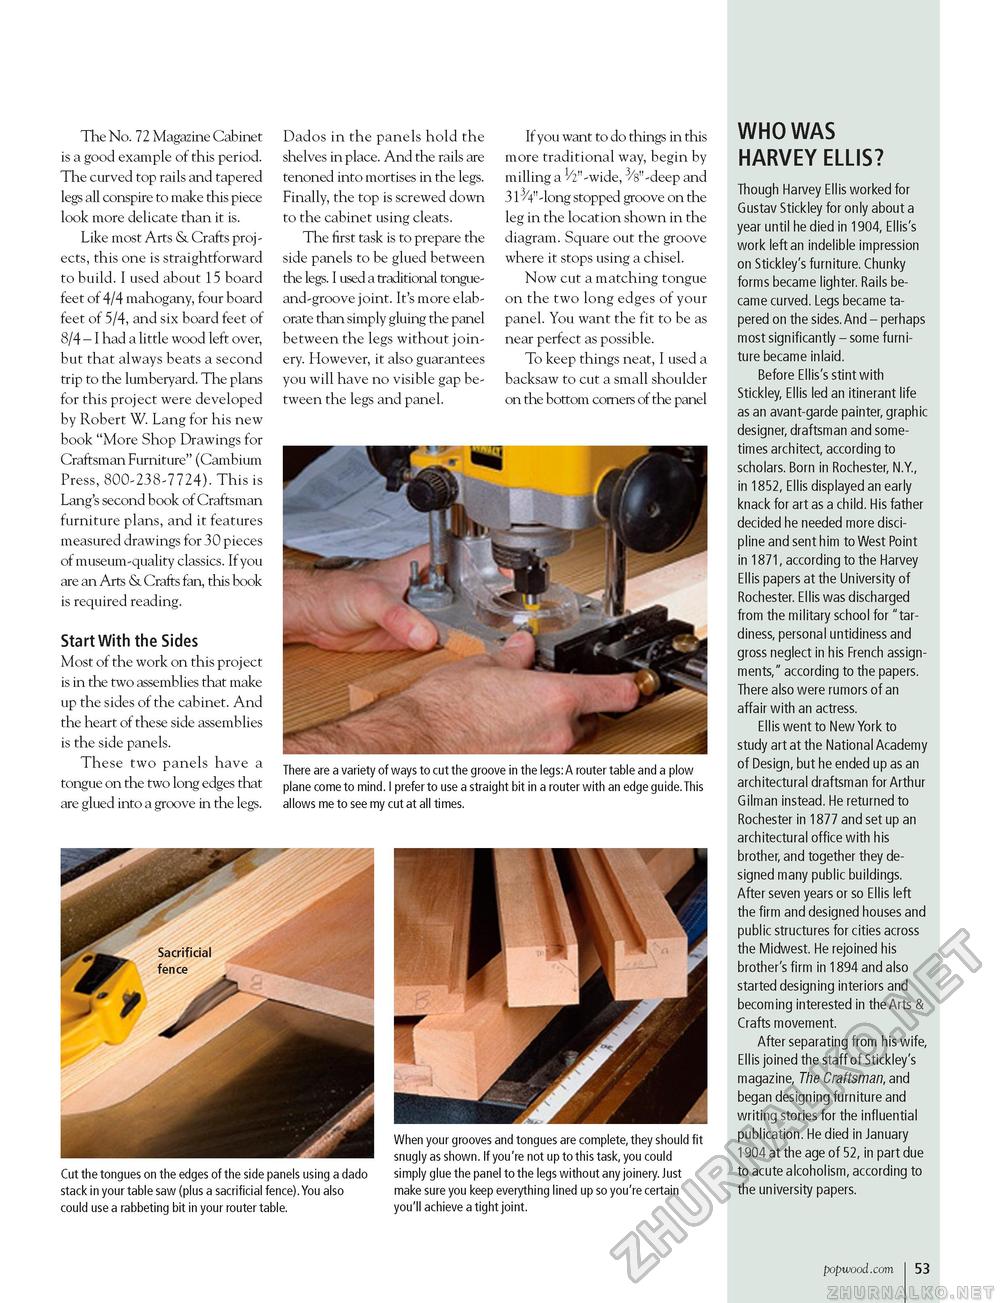
The No. 72 Magazine Cabinet is a good example of this period. The curved top rails and tapered legs all conspire to make this piece look more delicate than it is. Like most Arts & Crafts projects, this one is straightforward to build. I used about 15 board feet of 4/4 mahogany, four board feet of 5/4, and six board feet of 8/4 - I had a little wood left over, but that always beats a second trip to the lumberyard. The plans for this project were developed by Robert W. Lang for his new book "More Shop Drawings for Craftsman Furniture" (Cambium Press, 800-238-7724). This is Lang's second book of Craftsman furniture plans, and it features measured drawings for 30 pieces of museum-quality classics. If you are an Arts & Crafts fan, this book is required reading. Start With the Sides Most of the work on this project is in the two assemblies that make up the sides of the cabinet. And the heart of these side assemblies is the side panels. These two panels have a tongue on the two long edges that are glued into a groove in the legs. Dados in the panels hold the shelves in place. And the rails are tenoned into mortises in the legs. Finally, the top is screwed down to the cabinet using cleats. The first task is to prepare the side panels to be glued between the legs. I used a traditional tongue-and-groove joint. It's more elaborate than simply gluing the panel between the legs without joinery. However, it also guarantees you will have no visible gap between the legs and panel. If you want to do things in this more traditional way, begin by milling a 1/2"-wide, 3/8"-deep and 313/4"-long stopped groove on the leg in the location shown in the diagram. Square out the groove where it stops using a chisel. Now cut a matching tongue on the two long edges of your panel. You want the fit to be as near perfect as possible. To keep things neat, I used a backsaw to cut a small shoulder on the bottom corners of the panel WHO WAS HARVEY ELLIS? Though Harvey Ellis worked for Gustav Stickley for only about a year until he died in 1904, Ellis's work left an indelible impression on Stickley's furniture. Chunky forms became lighter. Rails became curved. Legs became tapered on the sides. And - perhaps most significantly - some furniture became inlaid. Before Ellis's stint with Stickley, Ellis led an itinerant life as an avant-garde painter, graphic designer, draftsman and sometimes architect, according to scholars. Born in Rochester, N.Y., in 1852, Ellis displayed an early knack for art as a child. His father decided he needed more discipline and sent him to West Point in 1871, according to the Harvey Ellis papers at the University of Rochester. Ellis was discharged from the military school for "tardiness, personal untidiness and gross neglect in his French assignments," according to the papers. There also were rumors of an affair with an actress. Ellis went to New York to study art at the National Academy of Design, but he ended up as an architectural draftsman for Arthur Gilman instead. He returned to Rochester in 1877 and set up an architectural office with his brother, and together they designed many public buildings. After seven years or so Ellis left the firm and designed houses and public structures for cities across the Midwest. He rejoined his brother's firm in 1894 and also started designing interiors and becoming interested in the Arts & Crafts movement. After separating from his wife, Ellis joined the staff of Stickley's magazine, The Craftsman, and began designing furniture and writing stories for the influential publication. He died in January 1904 at the age of 52, in part due to acute alcoholism, according to the university papers. There are a variety of ways to cut the groove in the legs:A router table and a plow plane come to mind. I prefer to use a straight bit in a router with an edge guide.This allows me to see my cut at all times. Cut the tongues on the edges of the side panels using a dado simply glue the panel to the legs without any joinery. Just stack in your table saw (plus a sacrificial fence).You also make sure you keep everything lined up so you're certain could use a rabbeting bit in your router table. you'll achieve a tight joint. popwood.com 53 |


