Popular Woodworking 2003-10 № 136, страница 43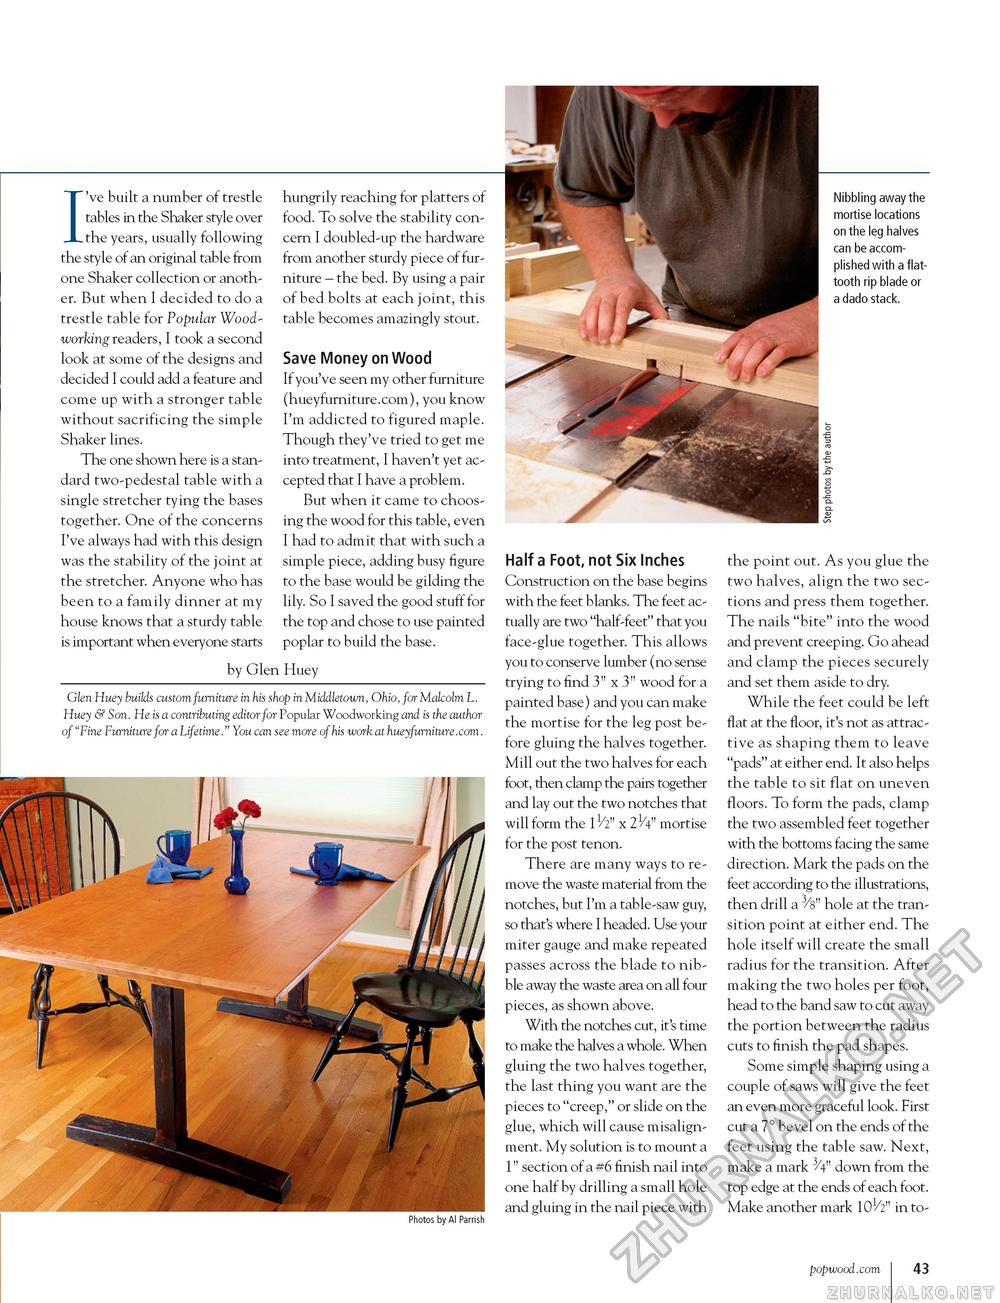
I've built a number of trestle tables in the Shaker style over the years, usually following the style of an original table from one Shaker collection or another. But when I decided to do a trestle table for Popular Woodworking readers, I took a second look at some of the designs and decided I could add a feature and come up with a stronger table without sacrificing the simple Shaker lines. The one shown here is a standard two-pedestal table with a single stretcher tying the bases together. One of the concerns I've always had with this design was the stability of the joint at the stretcher. Anyone who has been to a family dinner at my house knows that a sturdy table is important when everyone starts hungrily reaching for platters of food. To solve the stability concern I doubled-up the hardware from another sturdy piece of furniture - the bed. By using a pair of bed bolts at each joint, this table becomes amazingly stout. Save Money on Wood If you've seen my other furniture (hueyfurniture.com), you know I'm addicted to figured maple. Though they've tried to get me into treatment, I haven't yet accepted that I have a problem. But when it came to choosing the wood for this table, even I had to admit that with such a simple piece, adding busy figure to the base would be gilding the lily. So I saved the good stuff for the top and chose to use painted poplar to build the base. by Glen Huey Glen Huey builds custom furniture in his shop in Middletown, Ohio, for Malcolm L. Huey & Son. He is a contributing editor for Popular Woodworking and is the author of "Fine Furniture for a Lifetime." You can see more of his work at hueyfurniture.com. Nibbling away the mortise locations on the leg halves can be accomplished with a flat-tooth rip blade or a dado stack. Photos by Al Parrish Half a Foot, not Six Inches Construction on the base begins with the feet blanks. The feet actually are two "half-feet" that you face-glue together. This allows you to conserve lumber (no sense trying to find 3" x 3" wood for a painted base) and you can make the mortise for the leg post before gluing the halves together. Mill out the two halves for each foot, then clamp the pairs together and lay out the two notches that will form the IV2" x 21/4" mortise for the post tenon. There are many ways to remove the waste material from the notches, but I'm a table-saw guy, so that's where I headed. Use your miter gauge and make repeated passes across the blade to nibble away the waste area on all four pieces, as shown above. With the notches cut, it's time to make the halves a whole. When gluing the two halves together, the last thing you want are the pieces to "creep," or slide on the glue, which will cause misalignment. My solution is to mount a 1" section of a #6 finish nail into one half by drilling a small hole and gluing in the nail piece with the point out. As you glue the two halves, align the two sections and press them together. The nails "bite" into the wood and prevent creeping. Go ahead and clamp the pieces securely and set them aside to dry. While the feet could be left flat at the floor, it's not as attractive as shaping them to leave "pads" at either end. It also helps the table to sit flat on uneven floors. To form the pads, clamp the two assembled feet together with the bottoms facing the same direction. Mark the pads on the feet according to the illustrations, then drill a 3/8" hole at the transition point at either end. The hole itself will create the small radius for the transition. After making the two holes per foot, head to the band saw to cut away the portion between the radius cuts to finish the pad shapes. Some simple shaping using a couple of saws will give the feet an even more graceful look. First cut a 7° bevel on the ends of the feet using the table saw. Next, make a mark ^V" down from the top edge at the ends of each foot. Make another mark 101/2" in to- popwood.com 43 |


