Popular Woodworking 2003-11 № 137, страница 78
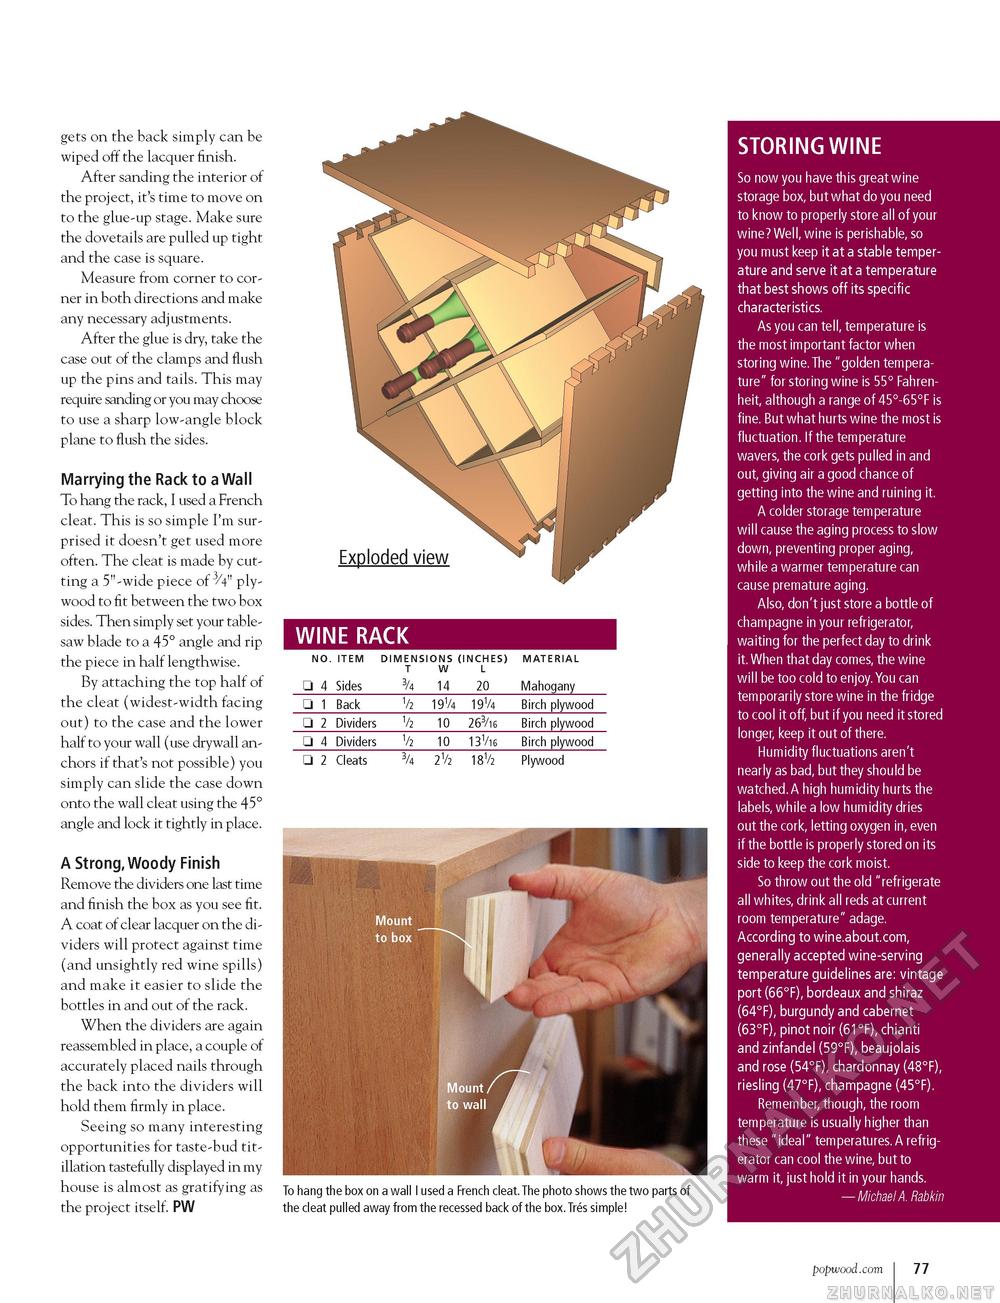
<3 STORING WINE So now you have this great wine storage box, but what do you need to know to properly store all of your wine? Well, wine is perishable, so you must keep it at a stable temperature and serve it at a temperature that best shows off its specific characteristics. As you can tell, temperature is the most important factor when storing wine.The "golden temperature" for storing wine is 55° Fahrenheit, although a range of 45°-65°F is fine. But what hurts wine the most is fluctuation. If the temperature wavers, the cork gets pulled in and out, giving air a good chance of getting into the wine and ruining it. A colder storage temperature will cause the aging process to slow down, preventing proper aging, while a warmer temperature can cause premature aging. Also, don't just store a bottle of champagne in your refrigerator, waiting for the perfect day to drink it. When that day comes, the wine will be too cold to enjoy.You can temporarily store wine in the fridge to cool it off, but if you need it stored longer, keep it out of there. Humidity fluctuations aren't nearly as bad, but they should be watched.A high humidity hurts the labels, while a low humidity dries out the cork, letting oxygen in, even if the bottle is properly stored on its side to keep the cork moist. So throw out the old "refrigerate all whites, drink all reds at current room temperature" adage. According to wine.about.com, generally accepted wine-serving temperature guidelines are: vintage port (66°F), bordeaux and shiraz (64°F), burgundy and cabernet (63°F), pinot noir (61°F), chianti and zinfandel (59°F), beaujolais and rose (54°F), chardonnay (48°F), riesling (47°F), champagne (45°F). Remember, though, the room temperature is usually higher than these "ideal" temperatures. A refrigerator can cool the wine, but to warm it, just hold it in your hands. —Michael A. Rabkin gets on the back simply can be wiped off the lacquer finish. After sanding the interior of the project, it's time to move on to the glue-up stage. Make sure the dovetails are pulled up tight and the case is square. Measure from corner to corner in both directions and make any necessary adjustments. After the glue is dry, take the case out of the clamps and flush up the pins and tails. This may require sanding or you may choose to use a sharp low-angle block plane to flush the sides. Marrying the Rack to a Wall To hang the rack, I used a French cleat. This is so simple I'm surprised it doesn't get used more often. The cleat is made by cutting a 5"-wide piece of 3/4" plywood to fit between the two box sides. Then simply set your table-saw blade to a 45° angle and rip the piece in half lengthwise. By attaching the top half of the cleat (widest-width facing out) to the case and the lower half to your wall (use drywall anchors if that's not possible) you simply can slide the case down onto the wall cleat using the 45° angle and lock it tightly in place. A Strong,Woody Finish Remove the dividers one last time and finish the box as you see fit. A coat of clear lacquer on the dividers will protect against time (and unsightly red wine spills) and make it easier to slide the bottles in and out of the rack. When the dividers are again reassembled in place, a couple of accurately placed nails through the back into the dividers will hold them firmly in place. Seeing so many interesting opportunities for taste-bud tit-illation tastefully displayed in my house is almost as gratifying as the project itself. PW Exploded view
To hang the box on a wall I used a French cleat. The photo shows the two parts of the cleat pulled away from the recessed back of the box.Tres simple! popwood.com 77 |
||||||||||||||||||||||||||||||||||||||


