Popular Woodworking 2004-02 № 139, страница 74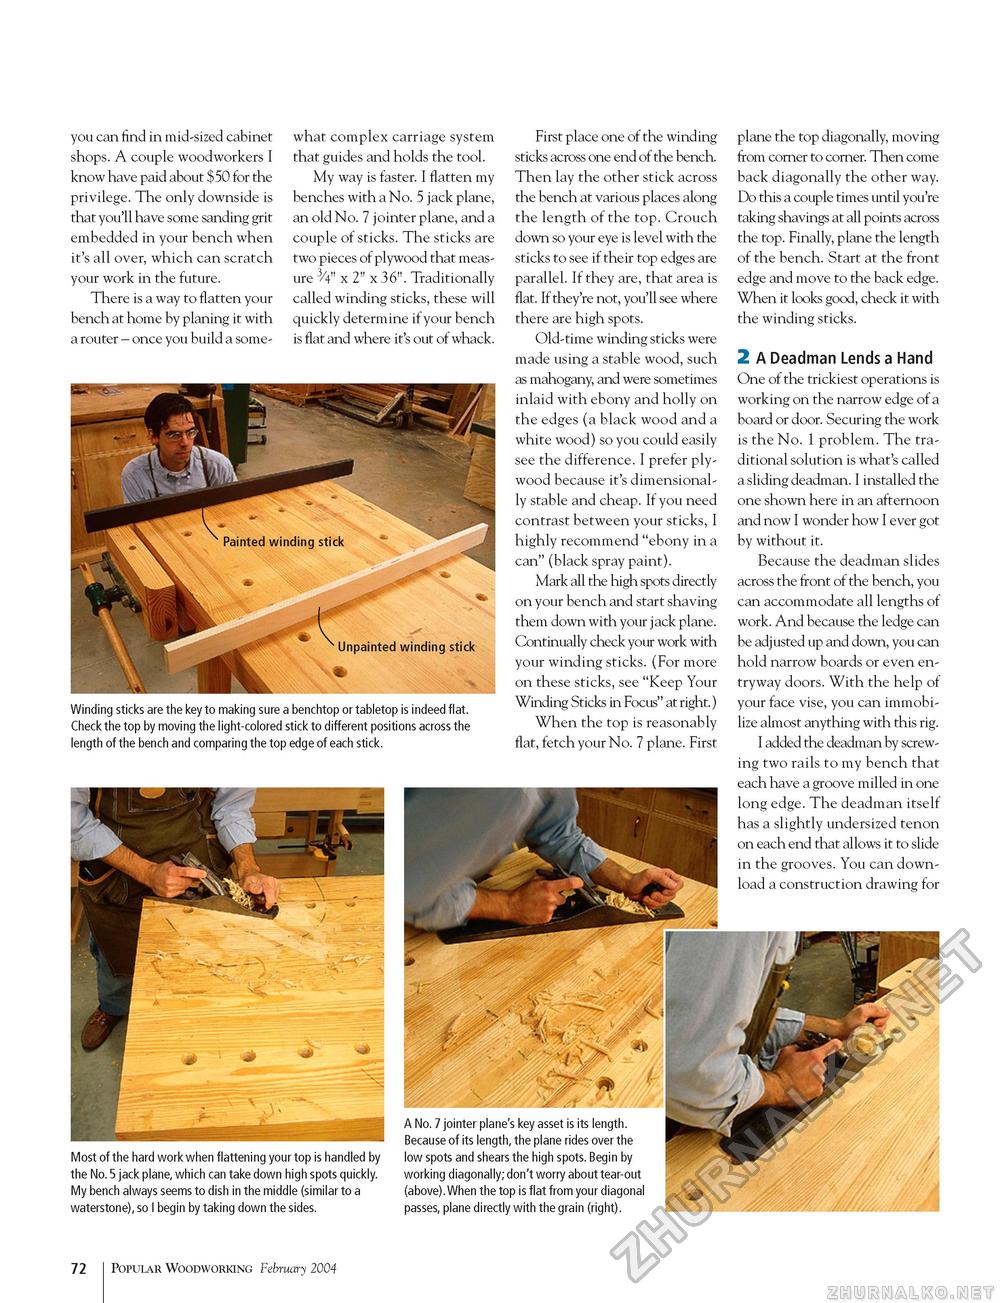
you can find in mid-sized cabinet shops. A couple woodworkers I know have paid about $50 for the privilege. The only downside is that you'll have some sanding grit embedded in your bench when it's all over, which can scratch your work in the future. There is a way to flatten your bench at home by planing it with a router - once you build a some what complex carriage system that guides and holds the tool. My way is faster. I flatten my benches with a No. 5 jack plane, an old No. 7 jointer plane, and a couple of sticks. The sticks are two pieces of plywood that measure 3/4" x 2" x 36". Traditionally called winding sticks, these will quickly determine if your bench is flat and where it's out of whack. Winding sticks are the key to making sure a benchtop or tabletop is indeed flat. Check the top by moving the light-colored stick to different positions across the length of the bench and comparing the top edge of each stick. First place one of the winding sticks across one end of the bench. Then lay the other stick across the bench at various places along the length of the top. Crouch down so your eye is level with the sticks to see if their top edges are parallel. If they are, that area is flat. If they're not, you'll see where there are high spots. Old-time winding sticks were made using a stable wood, such as mahogany, and were sometimes inlaid with ebony and holly on the edges (a black wood and a white wood) so you could easily see the difference. I prefer plywood because it's dimensional-ly stable and cheap. If you need contrast between your sticks, I highly recommend "ebony in a can" (black spray paint). Mark all the high spots directly on your bench and start shaving them down with your jack plane. Continually check your work with your winding sticks. (For more on these sticks, see "Keep Your Winding Sticks in Focus" at right.) When the top is reasonably flat, fetch your No. 7 plane. First plane the top diagonally, moving from corner to corner. Then come back diagonally the other way. Do this a couple times until you're taking shavings at all points across the top. Finally, plane the length of the bench. Start at the front edge and move to the back edge. When it looks good, check it with the winding sticks. 2 A Deadman Lends a Hand One of the trickiest operations is working on the narrow edge of a board or door. Securing the work is the No. 1 problem. The traditional solution is what's called a sliding deadman. I installed the one shown here in an afternoon and now I wonder how I ever got by without it. Because the deadman slides across the front of the bench, you can accommodate all lengths of work. And because the ledge can be adjusted up and down, you can hold narrow boards or even en-tryway doors. With the help of your face vise, you can immobilize almost anything with this rig. I added the deadman by screwing two rails to my bench that each have a groove milled in one long edge. The deadman itself has a slightly undersized tenon on each end that allows it to slide in the grooves. You can download a construction drawing for Most of the hard work when flattening your top is handled by the No. 5 jack plane, which can take down high spots quickly. My bench always seems to dish in the middle (similar to a waterstone), so I begin by taking down the sides. A No. 7 jointer plane's key asset is its length. Because of its length, the plane rides over the low spots and shears the high spots. Begin by working diagonally; don't worry about tear-out (above).When the top is flat from your diagonal passes, plane directly with the grain (right). 72 Popular Woodworking February 2004 |


