Popular Woodworking 2004-10 № 143, страница 61
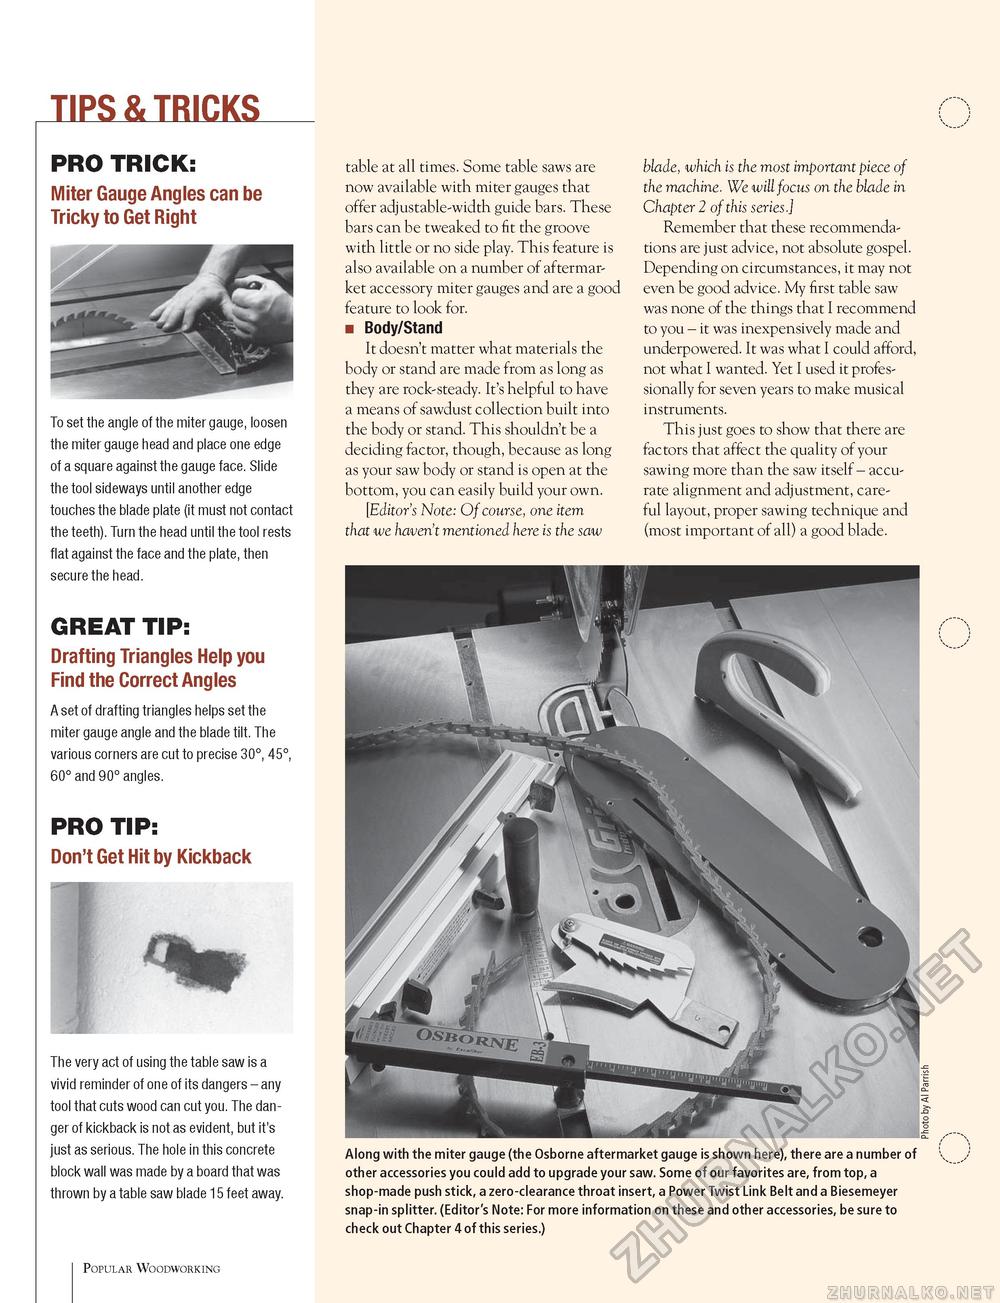
TIPS & TRICKS PRO TRICK: Miter Gauge Angles can be Tricky to Get Right To set the angle of the miter gauge, loosen the miter gauge head and place one edge of a square against the gauge face. Slide the tool sideways until another edge touches the blade plate (it must not contact the teeth). Turn the head until the tool rests flat against the face and the plate, then secure the head. GREAT TIP: Drafting Triangles Help you Find the Correct Angles A set of drafting triangles helps set the miter gauge angle and the blade tilt. The various corners are cut to precise 30°, 45°, 60° and 90° angles. PRO TIP: Don't Get Hit by Kickback The very act of using the table saw is a vivid reminder of one of its dangers - any tool that cuts wood can cut you. The danger of kickback is not as evident, but it's just as serious. The hole in this concrete block wall was made by a board that was thrown by a table saw blade 15 feet away. Popular Woodworking table at all times. Some table saws are now available with miter gauges that offer adjustable-width guide bars. These bars can be tweaked to fit the groove with little or no side play. This feature is also available on a number of aftermar-ket accessory miter gauges and are a good feature to look for. ■ Body/Stand It doesn't matter what materials the body or stand are made from as long as they are rock-steady. It's helpful to have a means of sawdust collection built into the body or stand. This shouldn't be a deciding factor, though, because as long as your saw body or stand is open at the bottom, you can easily build your own. [Editor's Note: Of course, one item that we haven't mentioned here is the saw blade, which is the most important piece of the machine. We will focus on the blade in Chapter 2 of this series.] Remember that these recommendations are just advice, not absolute gospel. Depending on circumstances, it may not even be good advice. My first table saw was none of the things that I recommend to you - it was inexpensively made and underpowered. It was what I could afford, not what I wanted. Yet I used it professionally for seven years to make musical instruments. This just goes to show that there are factors that affect the quality of your sawing more than the saw itself - accurate alignment and adjustment, careful layout, proper sawing technique and (most important of all) a good blade. Along with the miter gauge (the Osborne aftermarket gauge is shown here), there are a number of other accessories you could add to upgrade your saw. Some of our favorites are, from top, a shop-made push stick, a zero-clearance throat insert, a Power Twist Link Belt and a Biesemeyer snap-in splitter. (Editor's Note: For more information on these and other accessories, be sure to check out Chapter 4 of this series.) |


