Popular Woodworking 2004-11 № 144, страница 82
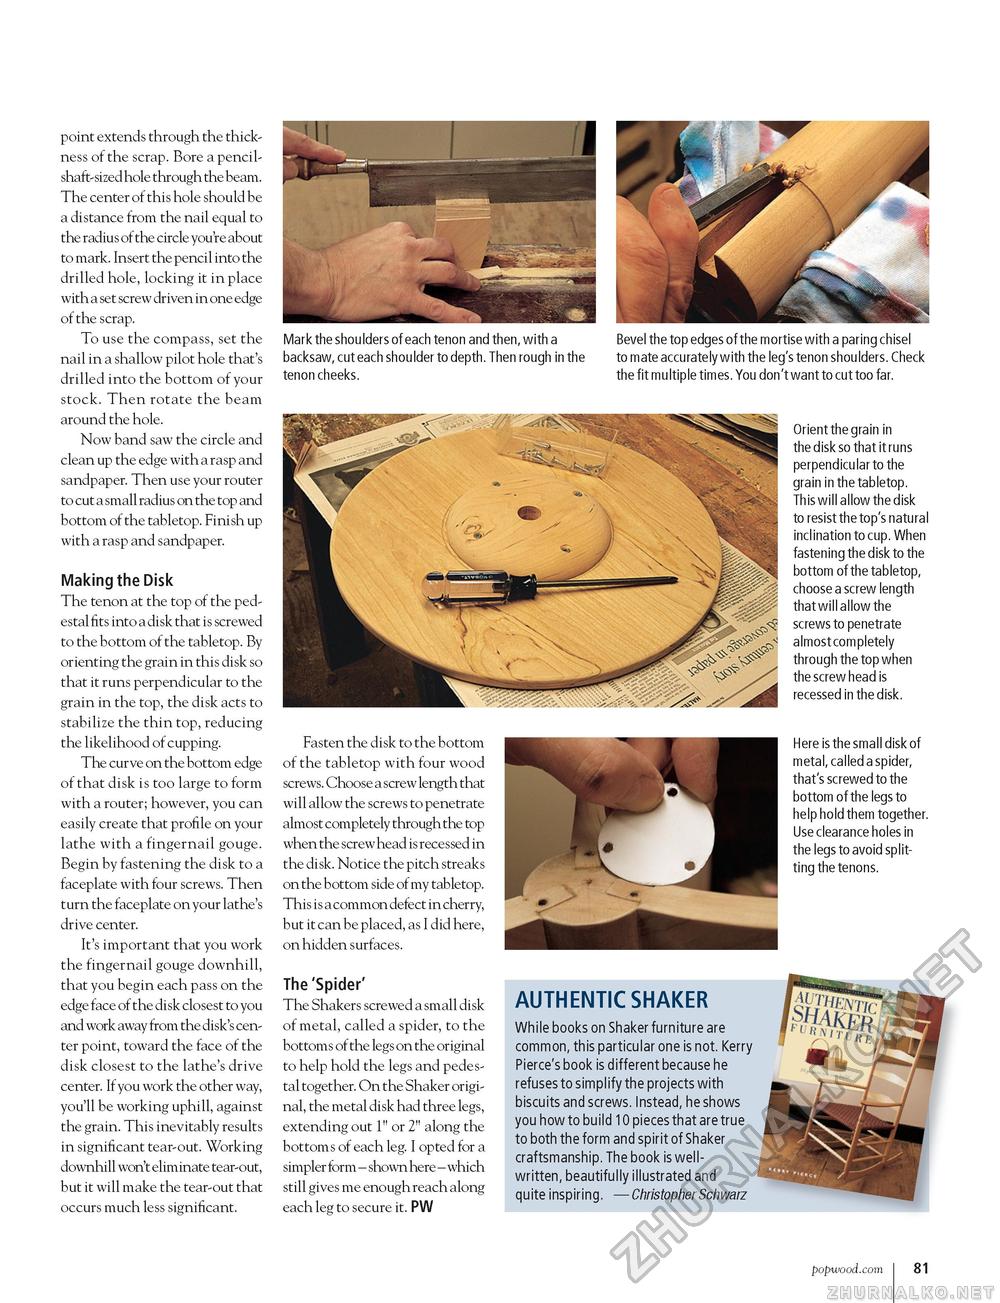
point extends through the thickness of the scrap. Bore a pencil-shaft-sized hole through the beam. The center of this hole should be a distance from the nail equal to the radius of the circle you're about to mark. Insert the pencil into the drilled hole, locking it in place with a set screw driven in one edge of the scrap. To use the compass, set the nail in a shallow pilot hole that's drilled into the bottom of your stock. Then rotate the beam around the hole. Now band saw the circle and clean up the edge with a rasp and sandpaper. Then use your router to cut a small radius on the top and bottom of the tabletop. Finish up with a rasp and sandpaper. Making the Disk The tenon at the top of the pedestal fits into a disk that is screwed to the bottom of the tabletop. By orienting the grain in this disk so that it runs perpendicular to the grain in the top, the disk acts to stabilize the thin top, reducing the likelihood of cupping. The curve on the bottom edge of that disk is too large to form with a router; however, you can easily create that profile on your lathe with a fingernail gouge. Begin by fastening the disk to a faceplate with four screws. Then turn the faceplate on your lathe's drive center. It's important that you work the fingernail gouge downhill, that you begin each pass on the edge face of the disk closest to you and work away from the disk's center point, toward the face of the disk closest to the lathe's drive center. If you work the other way, you'll be working uphill, against the grain. This inevitably results in significant tear-out. Working downhill won't eliminate tear-out, but it will make the tear-out that occurs much less significant. Mark the shoulders of each tenon and then, with a Bevel the top edges of the mortise with a paring chisel backsaw, cut each shoulder to depth. Then rough in the to mate accurately with the leg's tenon shoulders. Check tenon cheeks. the fit multiple times. You don't want to cut too far. Orient the grain in the disk so that it runs perpendicular to the grain in the tabletop. This will allow the disk to resist the top's natural inclination to cup. When fastening the disk to the bottom of the tabletop, choose a screw length that will allow the screws to penetrate almost completely through the top when the screw head is recessed in the disk. Fasten the disk to the bottom of the tabletop with four wood screws. Choose a screw length that will allow the screws to penetrate almost completely through the top when the screw head is recessed in the disk. Notice the pitch streaks on the bottom side of my tabletop. This is a common defect in cherry, but it can be placed, as I did here, on hidden surfaces. Here is the small disk of metal, called a spider, that's screwed to the bottom of the legs to help hold them together. Use clearance holes in the legs to avoid splitting the tenons. The 'Spider' The Shakers screwed a small disk of metal, called a spider, to the bottoms of the legs on the original to help hold the legs and pedestal together. On the Shaker original, the metal disk had three legs, extending out 1"" or 2" along the bottoms of each leg. I opted for a simpler form - shown here - which still gives me enough reach along each leg to secure it. PW AUTHENTIC SHAKER While books on Shaker furniture are common, this particular one is not. Kerry Pierce's book is different because he refuses to simplify the projects with biscuits and screws. Instead, he shows you how to build 10 pieces that are true to both the form and spirit of Shaker craftsmanship. The book is well-written, beautifully illustrated and quite inspiring. — Christopher Schwarz popwood.com 81 |


