Popular Woodworking 2004-12 № 145, страница 76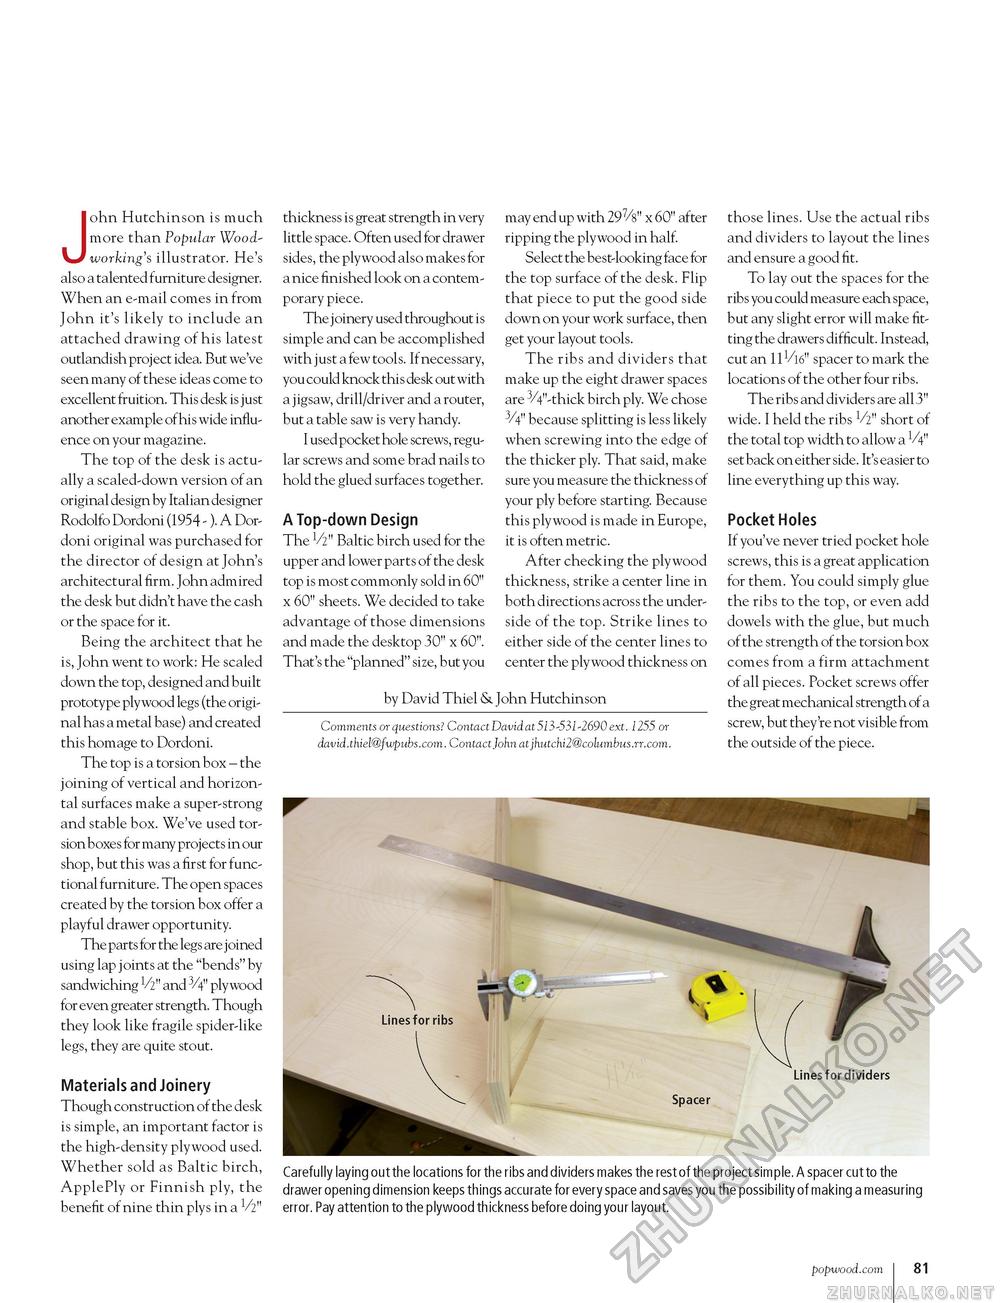
John Hutchinson is much more than Popular Woodworking's illustrator. He's also a talented furniture designer. When an e-mail comes in from John it's likely to include an attached drawing of his latest outlandish project idea. But we've seen many of these ideas come to excellent fruition. This desk is just another example ofhis wide influence on your magazine. The top of the desk is actually a scaled-down version of an original design by Italian designer Rodolfo Dordoni (1954 - ). A Dor-doni original was purchased for the director of design at John's architectural firm. John admired the desk but didn't have the cash or the space for it. Being the architect that he is, John went to work: He scaled down the top, designed and built prototype plywood legs (the original has a metal base) and created this homage to Dordoni. The top is a torsion box - the joining of vertical and horizontal surfaces make a super-strong and stable box. We've used torsion boxes for many projects in our shop, but this was a first for functional furniture. The open spaces created by the torsion box offer a playful drawer opportunity. The parts for the legs are joined using lap joints at the "bends" by sandwiching V2" and 3/4" plywood for even greater strength. Though they look like fragile spider-like legs, they are quite stout. Materials and Joinery Though construction of the desk is simple, an important factor is the high-density plywood used. Whether sold as Baltic birch, ApplePly or Finnish ply, the benefit of nine thin plys in a 1/2" thickness is great strength in very little space. Often used for drawer sides, the plywood also makes for a nice finished look on a contemporary piece. The joinery used throughout is simple and can be accomplished with just a few tools. Ifnecessary, you could knock this desk out with a jigsaw, drill/driver and a router, but a table saw is very handy. I used pocket hole screws, regular screws and some brad nails to hold the glued surfaces together. A Top-down Design The V2" Baltic birch used for the upper and lower parts of the desk top is most commonly sold in 60" x 60" sheets. We decided to take advantage of those dimensions and made the desktop 30" x 60". That's the "planned" size, but you may end up with 29%" x 60" after ripping the plywood in half. Select the best-looking face for the top surface of the desk. Flip that piece to put the good side down on your work surface, then get your layout tools. The ribs and dividers that make up the eight drawer spaces are 3/4"-thick birch ply. We chose 3/4" because splitting is less likely when screwing into the edge of the thicker ply. That said, make sure you measure the thickness of your ply before starting. Because this plywood is made in Europe, it is often metric. After checking the plywood thickness, strike a center line in both directions across the underside of the top. Strike lines to either side of the center lines to center the plywood thickness on those lines. Use the actual ribs and dividers to layout the lines and ensure a good fit. To lay out the spaces for the ribs you could measure each space, but any slight error will make fitting the drawers difficult. Instead, cut an 11/16" spacer to mark the locations of the other four ribs. The ribs and dividers are all 3" wide. I held the ribs V2" short of the total top width to allow a V4" set back on either side. It's easier to line everything up this way. Pocket Holes If you've never tried pocket hole screws, this is a great application for them. You could simply glue the ribs to the top, or even add dowels with the glue, but much of the strength of the torsion box comes from a firm attachment of all pieces. Pocket screws offer the great mechanical strength of a screw, but they're not visible from the outside of the piece. by David Thiel & John Hutchinson Comments or questions? Contact David at 513-531-2690 ext. 1255 or david.thiel@fwpubs.com. Contact John at jhutchi2@columbus.rr.com. Lines for dividers Carefully laying out the locations for the ribs and dividers makes the rest of the project simple. A spacer cut to the drawer opening dimension keeps things accurate for every space and saves you the possibility of making a measuring error. Pay attention to the plywood thickness before doing your layout. popwood.com 101 |


