Popular Woodworking 2004-12 № 145, страница 78
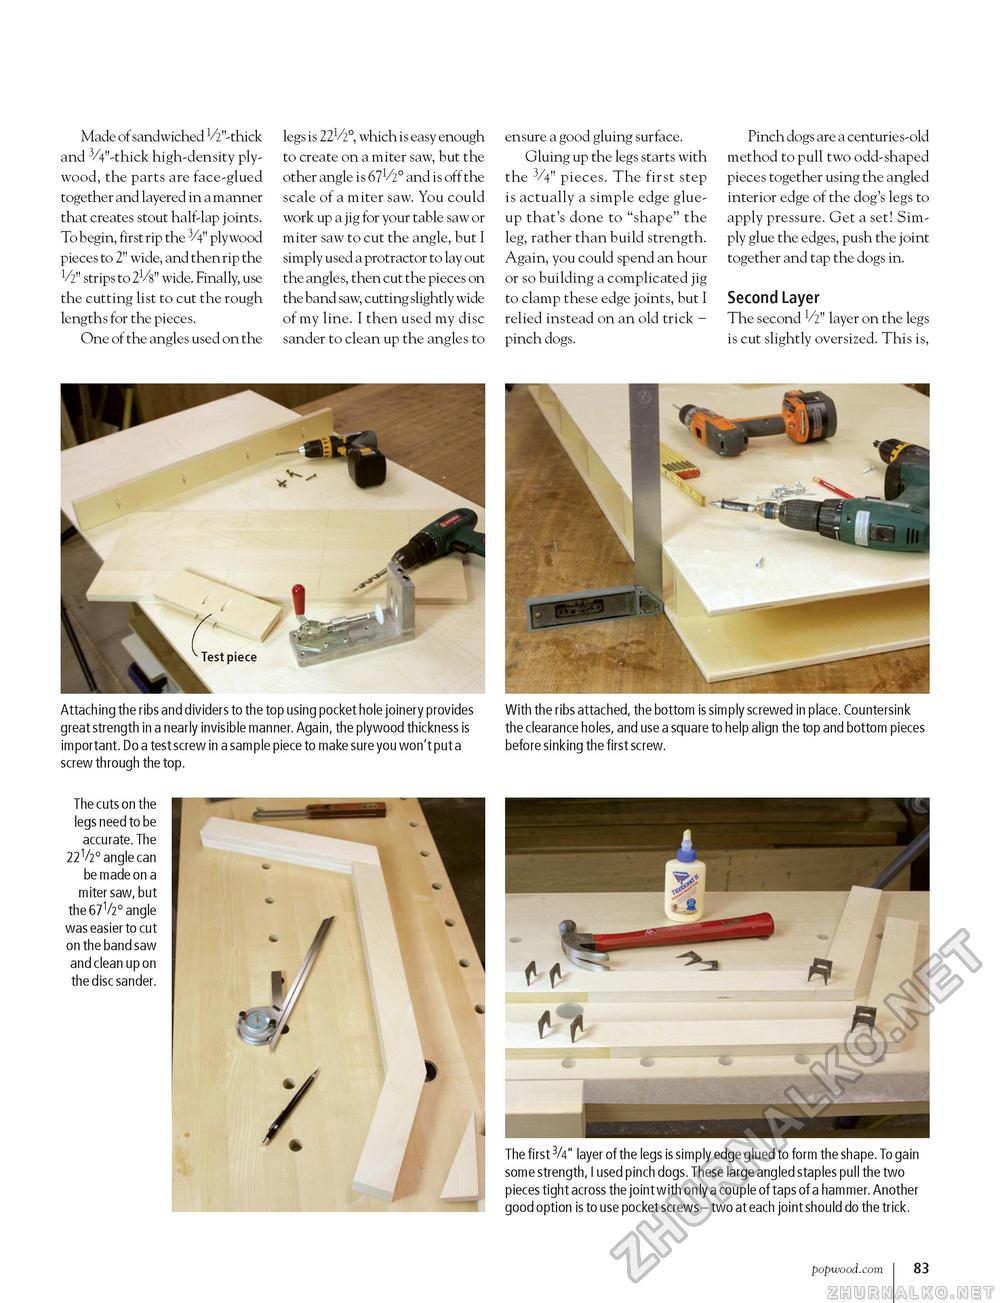
Made of sandwiched ^"-thick and 3/4"-thick high-density plywood, the parts are face-glued together and layered in a manner that creates stout half-lap joints. To begin, first rip the 3/4" plywood pieces to 2" wide, and then rip the V2" strips to 21/8" wide. Finally, use the cutting list to cut the rough lengths for the pieces. One of the angles used on the legs is 221/2°, which is easy enough to create on a miter saw, but the other angle is 671/2° and is off the scale of a miter saw. You could work up a jig for your table saw or miter saw to cut the angle, but I simply used a protractor to lay out the angles, then cut the pieces on the band saw, cutting slightly wide of my line. I then used my disc sander to clean up the angles to ensure a good gluing surface. Gluing up the legs starts with the 3/4" pieces. The first step is actually a simple edge glue-up that's done to "shape" the leg, rather than build strength. Again, you could spend an hour or so building a complicated jig to clamp these edge joints, but I relied instead on an old trick -pinch dogs. Pinch dogs are a centuries-old method to pull two odd-shaped pieces together using the angled interior edge of the dog's legs to apply pressure. Get a set! Simply glue the edges, push the joint together and tap the dogs in. Second Layer The second V2" layer on the legs is cut slightly oversized. This is, Attaching the ribs and dividers to the top using pocket hole joinery provides great strength in a nearly invisible manner. Again, the plywood thickness is important. Do a test screw in a sample piece to make sure you won't put a screw through the top. With the ribs attached, the bottom is simply screwed in place. Countersink the clearance holes, and use a square to help align the top and bottom pieces before sinking the first screw. The cuts on the legs need to be accurate. The 22V20 angle can be made on a miter saw, but the 671/2° angle was easier to cut on the band saw and clean up on the disc sander. The first 3/4" layer of the legs is simply edge glued to form the shape. To gain some strength, I used pinch dogs. These large angled staples pull the two pieces tight across the joint with only a couple of taps of a hammer. Another good option is to use pocket screws - two at each joint should do the trick. popwood.com 101 |


