Popular Woodworking 2005-02 № 146, страница 76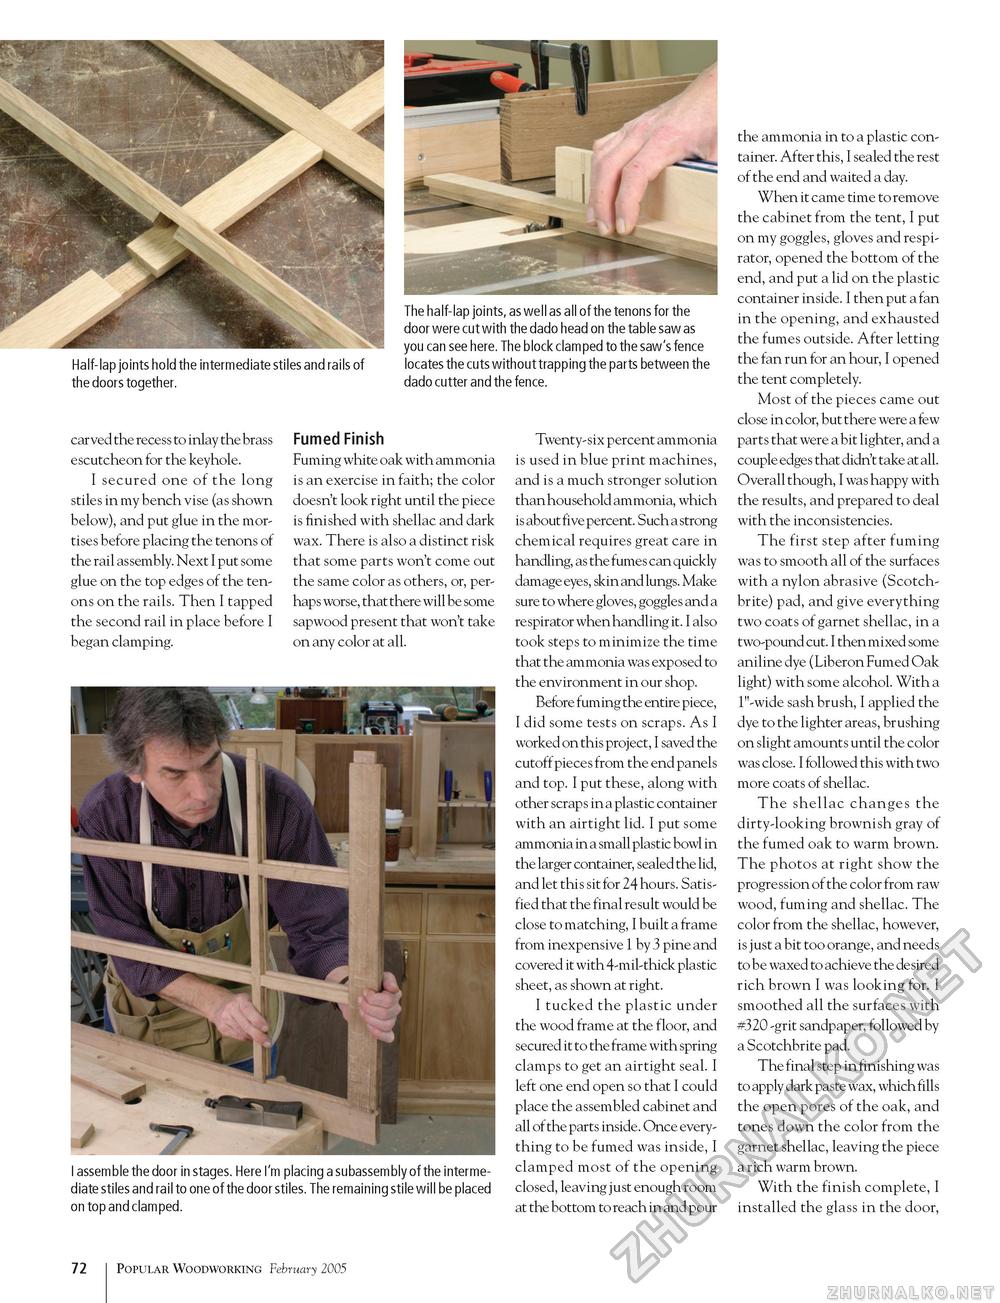
Half-lap joints hold the intermediate stiles and rails of locates the cuts without trapping the parts between the the doors together. dado cutter and the fence. carved the recess to inlay the brass escutcheon for the keyhole. I secured one of the long stiles in my bench vise (as shown below), and put glue in the mortises before placing the tenons of the rail assembly. Next I put some glue on the top edges of the tenons on the rails. Then I tapped the second rail in place before I began clamping. Fumed Finish Fuming white oak with ammonia is an exercise in faith; the color doesn't look right until the piece is finished with shellac and dark wax. There is also a distinct risk that some parts won't come out the same color as others, or, perhaps worse, that there will be some sapwood present that won't take on any color at all. I assemble the door in stages. Here I'm placing a subassembly of the intermediate stiles and rail to one of the door stiles. The remaining stile will be placed on top and clamped. Twenty-six percent ammonia is used in blue print machines, and is a much stronger solution than household ammonia, which is about five percent. Such a strong chemical requires great care in handling, as the fumes can quickly damage eyes, skin and lungs. Make sure to where gloves, goggles and a respirator when handling it. I also took steps to minimize the time that the ammonia was exposed to the environment in our shop. Before fuming the entire piece, I did some tests on scraps. As I worked on this project, I saved the cutoff pieces from the end panels and top. I put these, along with other scrap s in a plastic container with an airtight lid. I put some ammonia in a small plastic bowl in the larger container, sealed the lid, and let this sit for 24 hours. Satisfied that the final result would be close to matching, I built a frame from inexpensive 1 by 3 pine and covered it with 4-mil-thick plastic sheet, as shown at right. I tucked the plastic under the wood frame at the floor, and secured it to the frame with spring clamps to get an airtight seal. I left one end open so that I could place the assembled cabinet and all of the parts inside. Once everything to be fumed was inside, I clamped most of the opening closed, leaving just enough room at the bottom to reach in and pour 72 Popular Woodworking February 2005 the ammonia in to a plastic container. After this, I sealed the rest of the end and waited a day. When it came time to remove the cabinet from the tent, I put on my goggles, gloves and respirator, opened the bottom of the end, and put a lid on the plastic container inside. I then put a fan in the opening, and exhausted the fumes outside. After letting the fan run for an hour, I opened the tent completely. Most of the pieces came out close in color, but there were a few parts that were a bit lighter, and a couple edges that didn't take at all. Overall though, I was happy with the results, and prepared to deal with the inconsistencies. The first step after fuming was to smooth all of the surfaces with a nylon abrasive (Scotch-brite) pad, and give everything two coats of garnet shellac, in a two-pound cut. I then mixed some aniline dye (Liberon Fumed Oak light) with some alcohol. With a 1"-wide sash brush, I applied the dye to the lighter areas, brushing on slight amounts until the color was close. I followed this with two more coats of shellac. The shellac changes the dirty-looking brownish gray of the fumed oak to warm brown. The photos at right show the progression of the color from raw wood, fuming and shellac. The color from the shellac, however, is just a bit too orange, and needs to be waxed to achieve the desired rich brown I was looking for. I smoothed all the surfaces with #320 -grit sandpaper, followed by a Scotchbrite pad. The final step in finishing was to apply dark paste wax, which fills the open pores of the oak, and tones down the color from the garnet shellac, leaving the piece a rich warm brown. With the finish complete, I installed the glass in the door, |


