Popular Woodworking 2005-02 № 146, страница 74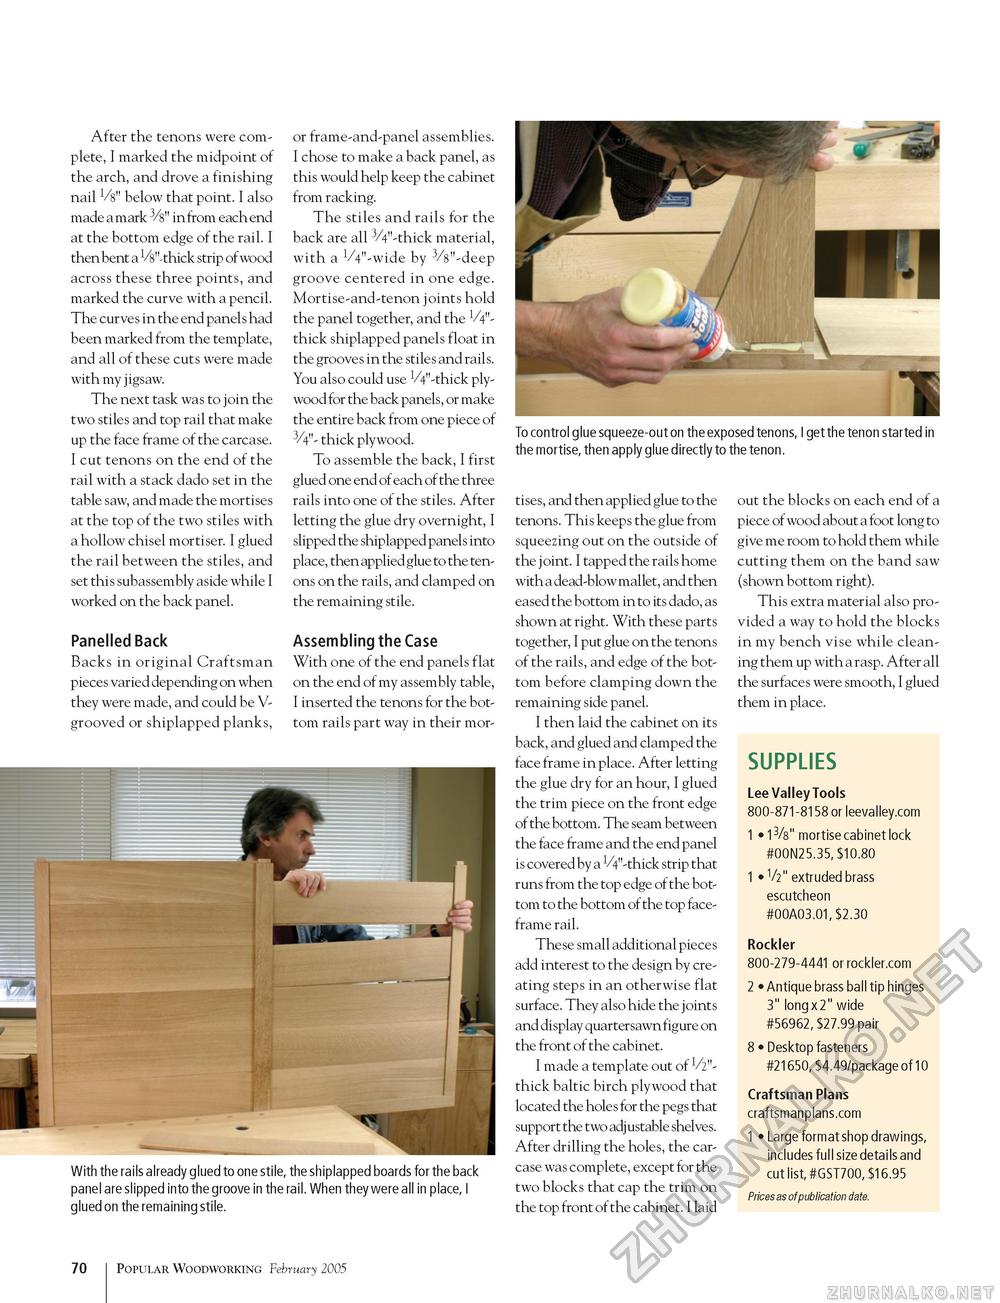
After the tenons were complete, I marked the midpoint of the arch, and drove a finishing nail Vs" below that point. I also made a mark 3/s" in from each end at the bottom edge of the rail. I then bent a MS'-thick strip of wood across these three points, and marked the curve with a pencil. The curves in the end panels had been marked from the template, and all of these cuts were made with my jigsaw. The next task was to join the two stiles and top rail that make up the face frame of the carcase. I cut tenons on the end of the rail with a stack dado set in the table saw, and made the mortises at the top of the two stiles with a hollow chisel mortiser. I glued the rail between the stiles, and set this subassembly aside while I worked on the back panel. Panelled Back Backs in original Craftsman pieces varied depending on when they were made, and could be V-grooved or shiplapped planks, or frame-and-panel assemblies. I chose to make a back panel, as this would help keep the cabinet from racking. The stiles and rails for the back are all 3/4"-thick material, with a W-wide by 3/s"-deep groove centered in one edge. Mortise-and-tenon joints hold the panel together, and the VV-thick shiplapped panels float in the grooves in the stiles and rails. You also could use VV-thick plywood for the back panels, or make the entire back from one piece of 3/4"- thick plywood. To assemble the back, I first glued one end of each of the three rails into one of the stiles. After letting the glue dry overnight, I slipped the shiplapped panels into place, then applied glue to the tenons on the rails, and clamped on the remaining stile. Assembling the Case With one of the end panels flat on the end of my assembly table, I inserted the tenons for the bottom rails part way in their mor To control glue squeeze-out on the exposed tenons, I get the tenon started in the mortise, then apply glue directly to the tenon. With the rails already glued to one stile, the shiplapped boards for the back panel are slipped into the groove in the rail. When they were all in place, I glued on the remaining stile. tises, and then applied glue to the tenons. This keeps the glue from squeezing out on the outside of the joint. I tapped the rails home with a dead-blow mallet, and then eased the bottom in to its dado, as shown at right. With these parts together, I put glue on the tenons of the rails, and edge of the bottom before clamping down the remaining side panel. I then laid the cabinet on its back, and glued and clamped the face frame in place. After letting the glue dry for an hour, I glued the trim piece on the front edge of the bottom. The seam between the face frame and the end panel is covered by a 1/4"-thick strip that runs from the top edge of the bottom to the bottom of the top face-frame rail. These small additional pieces add interest to the design by creating steps in an otherwise flat surface. They also hide the joints and display quartersawn figure on the front of the cabinet. I made a template out of V2"-thick baltic birch plywood that located the holes for the pegs that support the two adjustable shelves. After drilling the holes, the carcase was complete, except for the two blocks that cap the trim on the top front of the cabinet. I laid out the blocks on each end of a piece of wood about a foot long to give me room to hold them while cutting them on the band saw (shown bottom right). This extra material also provided a way to hold the blocks in my bench vise while cleaning them up with a rasp. After all the surfaces were smooth, I glued them in place. SUPPLIES Lee Valley Tools 800-871-8158 or leevalley.com 1 • 13/8" mortise cabinet lock #00N25.35, $10.80 1 • V2" extruded brass escutcheon #00A03.01, $2.30 Rockler 800-279-4441 or rockler.com 2 • Antique brass ball tip hinges 3" long x 2" wide #56962, $27.99 pair 8 • Desktop fasteners #21650, $4.49/package of 10 Craftsman Plans craftsmanplans.com 1 • Large format shop drawings, includes full size details and cut list, #GST700, $16.95 Prices as of publication date. 70 Popular Woodworking February 2005 |


