Popular Woodworking 2005-02 № 146, страница 83
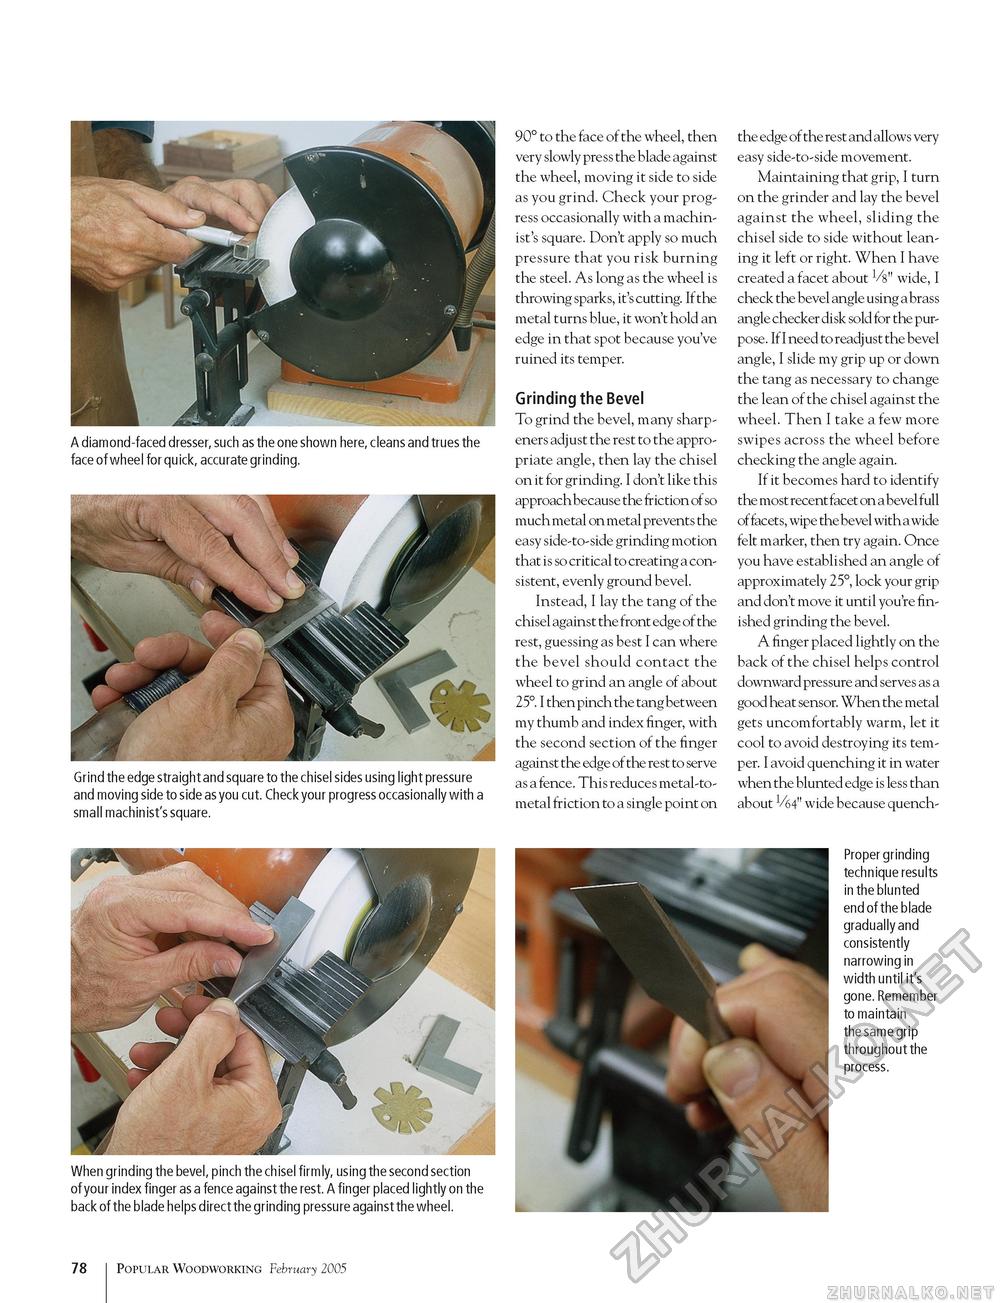
A diamond-faced dresser, such as the one shown here, cleans and trues the face of wheel for quick, accurate grinding. Grind the edge straight and square to the chisel sides using light pressure and moving side to side as you cut. Check your progress occasionally with a small machinist's square. 90° to the face of the wheel, then very slowly press the blade against the wheel, moving it side to side as you grind. Check your progress occasionally with a machinist's square. Don't apply so much pressure that you risk burning the steel. As long as the wheel is throwing sparks, it's cutting. If the metal turns blue, it won't hold an edge in that spot because you've ruined its temper. Grinding the Bevel To grind the bevel, many sharpeners adjust the rest to the appropriate angle, then lay the chisel on it for grinding. I don't like this approach because the friction of so much metal on metal prevents the easy side-to-side grinding motion that is so critical to creating a consistent, evenly ground bevel. Instead, I lay the tang of the chisel against the front edge of the rest, guessing as best I can where the bevel should contact the wheel to grind an angle of about 25°. I then pinch the tang between my thumb and index finger, with the second section of the finger against the edge of the rest to serve as a fence. This reduces metal-to-metal friction to a single point on the edge of the rest and allows very easy side-to-side movement. Maintaining that grip, I turn on the grinder and lay the bevel against the wheel, sliding the chisel side to side without leaning it left or right. When I have created a facet about 1/8" wide, I check the bevel angle using a brass angle checker disk sold for the purpose. If I need to readjust the bevel angle, I slide my grip up or down the tang as necessary to change the lean of the chisel against the wheel. Then I take a few more swipes across the wheel before checking the angle again. If it becomes hard to identify the most recent facet on a bevel full of facets, wipe the bevel with a wide felt marker, then try again. Once you have established an angle of approximately 25°, lock your grip and don't move it until you're finished grinding the bevel. A finger placed lightly on the back of the chisel helps control downward pressure and serves as a good heat sensor. When the metal gets uncomfortably warm, let it cool to avoid destroying its temper. I avoid quenching it in water when the blunted edge is less than about V64" wide because quench- When grinding the bevel, pinch the chisel firmly, using the second section of your index finger as a fence against the rest. A finger placed lightly on the back of the blade helps direct the grinding pressure against the wheel. Proper grinding technique results in the blunted end of the blade gradually and consistently narrowing in width until it's gone. Remember to maintain the same grip throughout the process. 78 Popular Woodworking February 2005 |


