Popular Woodworking 2005-08 № 149, страница 46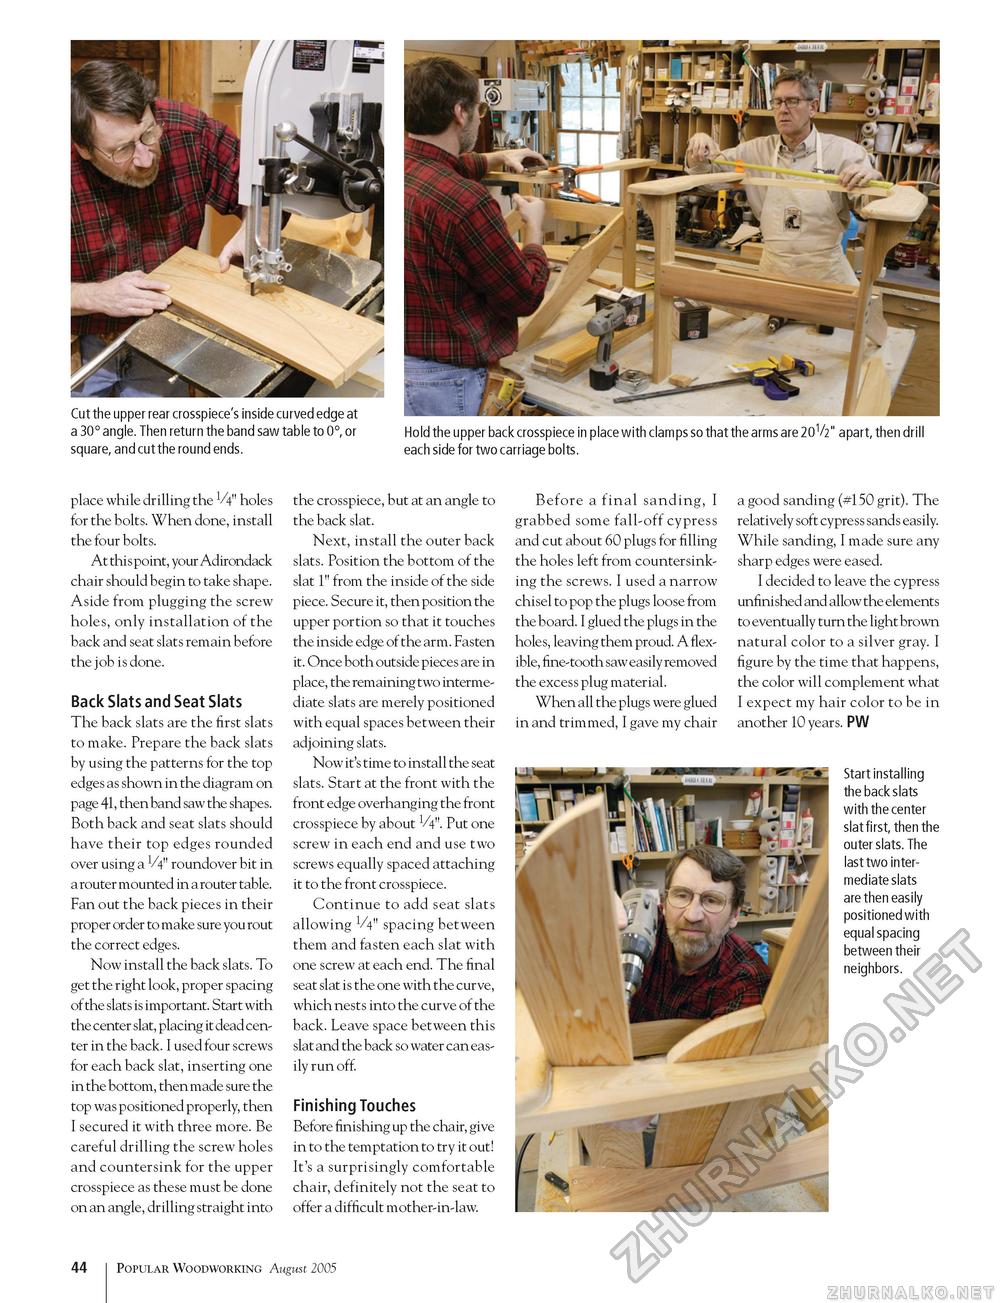
Cut the upper rear crosspiece's inside curved edge at a 30° angle. Then return the band saw table to 0°, or square, and cut the round ends. Hold the upper back crosspiece in place with clamps so that the arms are 201/2" apart, then drill each side for two carriage bolts. place while drilling the V4" holes for the bolts. When done, install the four bolts. At this point, your Adirondack chair should begin to take shape. Aside from plugging the screw holes, only installation of the back and seat slats remain before the job is done. Back Slats and Seat Slats The back slats are the first slats to make. Prepare the back slats by using the patterns for the top edges as shown in the diagram on page 41, then band saw the shapes. Both back and seat slats should have their top edges rounded over using a V4" roundover bit in a router mounted in a router table. Fan out the back pieces in their proper order to make sure you rout the correct edges. Now install the back slats. To get the right look, proper spacing of the slats is important. Start with the center slat, placing it dead center in the back. I used four screws for each back slat, inserting one in the bottom, then made sure the top was positioned properly, then I secured it with three more. Be careful drilling the screw holes and countersink for the upper crosspiece as these must be done on an angle, drilling straight into the crosspiece, but at an angle to the back slat. Next, install the outer back slats. Position the bottom of the slat 1" from the inside of the side piece. Secure it, then position the upper portion so that it touches the inside edge of the arm. Fasten it. Once both outside pieces are in place, the remaining two intermediate slats are merely positioned with equal spaces between their adjoining slats. Now it's time to install the seat slats. Start at the front with the front edge overhanging the front crosspiece by about V4". Put one screw in each end and use two screws equally spaced attaching it to the front crosspiece. Continue to add seat slats allowing V4" spacing between them and fasten each slat with one screw at each end. The final seat slat is the one with the curve, which nests into the curve of the back. Leave space between this slat and the back so water can easily run off. Finishing Touches Before finishing up the chair, give in to the temptation to try it out! It's a surprisingly comfortable chair, definitely not the seat to offer a difficult mother-in-law. Before a final sanding, I grabbed some fall-off cypress and cut about 60 plugs for filling the holes left from countersinking the screws. I used a narrow chisel to pop the plugs loose from the board. I glued the plugs in the hole s, leaving them proud. A flexible, fine-tooth saw easily removed the excess plug material. When all the plugs were glued in and trimmed, I gave my chair a good sanding (#150 grit). The relatively soft cypress sands easily. While sanding, I made sure any sharp edges were eased. I decided to leave the cypress unfinished and allow the elements to eventually turn the light brown natural color to a silver gray. I figure by the time that happens, the color will complement what I expect my hair color to be in another 10 years. PW Start installing the back slats with the center slat first, then the outer slats. The last two intermediate slats are then easily positioned with equal spacing between their neighbors. 44 Popular Woodworking August 2005 |


