Popular Woodworking 2005-08 № 149, страница 45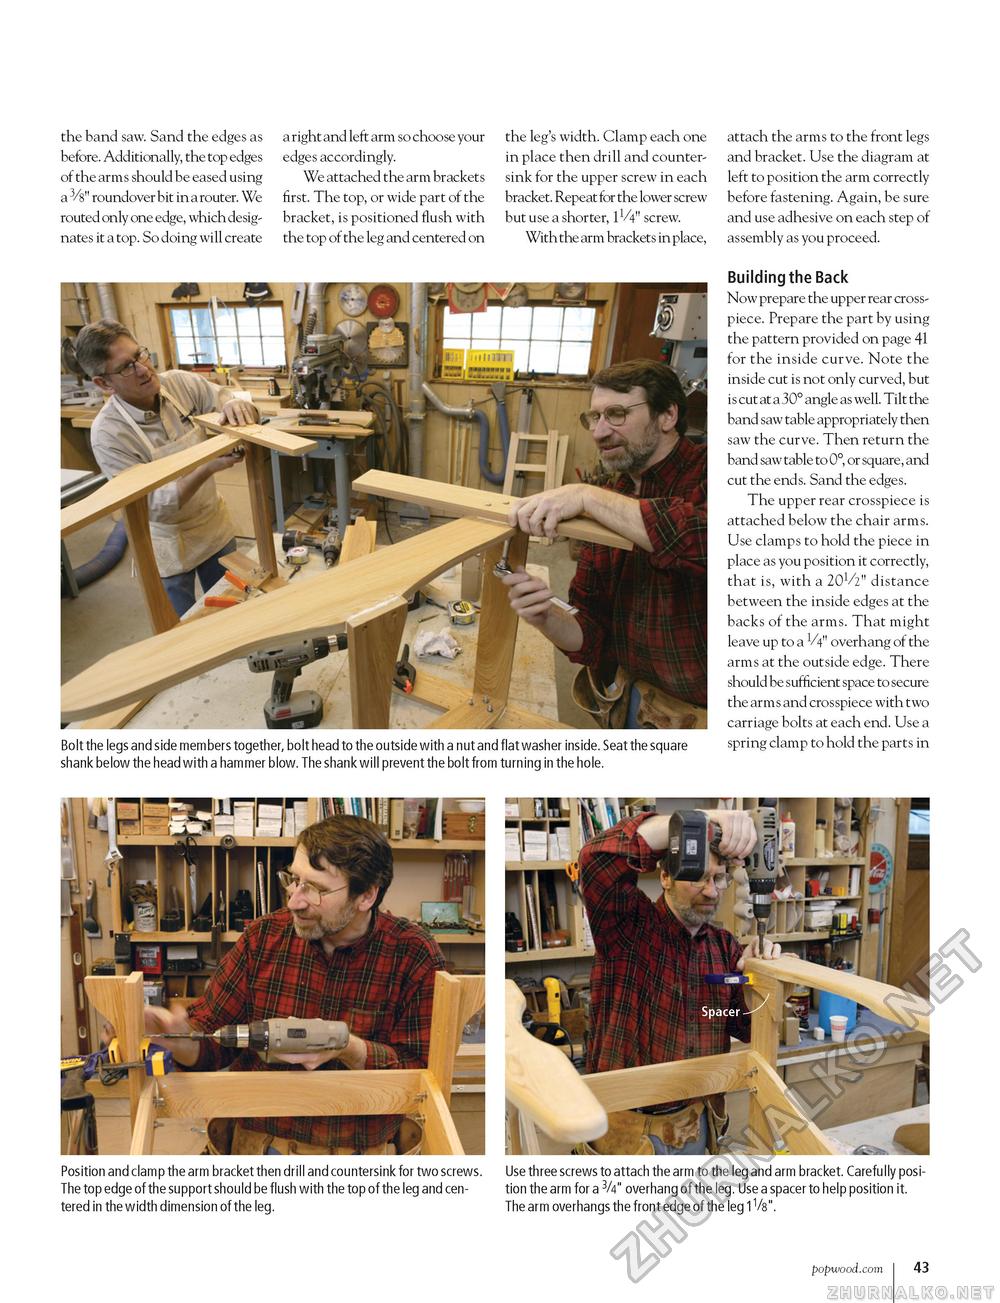
the band saw. Sand the edges as before. Additionally, the top edges of the arms should be eased using a 3/8" roundover bit in a router. We routed only one edge, which designates it a top. So doing will create a right and left arm so choose your edges accordingly. We attached the arm brackets first. The top, or wide part of the bracket, is positioned flush with the top of the leg and centered on the leg's width. Clamp each one in place then drill and countersink for the upper screw in each bracket. Repeat for the lower screw but use a shorter, 1V4" screw. With the arm brackets in place, attach the arms to the front legs and bracket. Use the diagram at left to position the arm correctly before fastening. Again, be sure and use adhesive on each step of assembly as you proceed. Bolt the legs and side members together, bolt head to the outside with a nut and flat washer inside. Seat the square shank below the head with a hammer blow. The shank will prevent the bolt from turning in the hole. Building the Back Now prepare the upper rear cross-piece. Prepare the part by using the pattern provided on page 41 for the inside curve. Note the inside cut is not only curved, but is cut at a 30° angle as well. Tilt the band saw table appropriately then saw the curve. Then return the band saw table to 0°, or square, and cut the ends. Sand the edges. The upper rear crosspiece is attached below the chair arms. Use clamps to hold the piece in place as you position it correctly, that is, with a 201/2" distance between the inside edges at the backs of the arms. That might leave up to a overhang of the arms at the outside edge. There should be sufficient space to secure the arms and crosspiece with two carriage bolts at each end. Use a spring clamp to hold the parts in Position and clamp the arm bracket then drill and countersink for two screws. Use three screws to attach the arm to the leg and arm bracket. Carefully posi-The top edge of the support should be flush with the top of the leg and cen- tion the arm for a 3/4" overhang of the leg. Use a spacer to help position it. tered in the width dimension of the leg. The arm overhangs the front edge of the leg 1V8". popwood.com I 43 |


